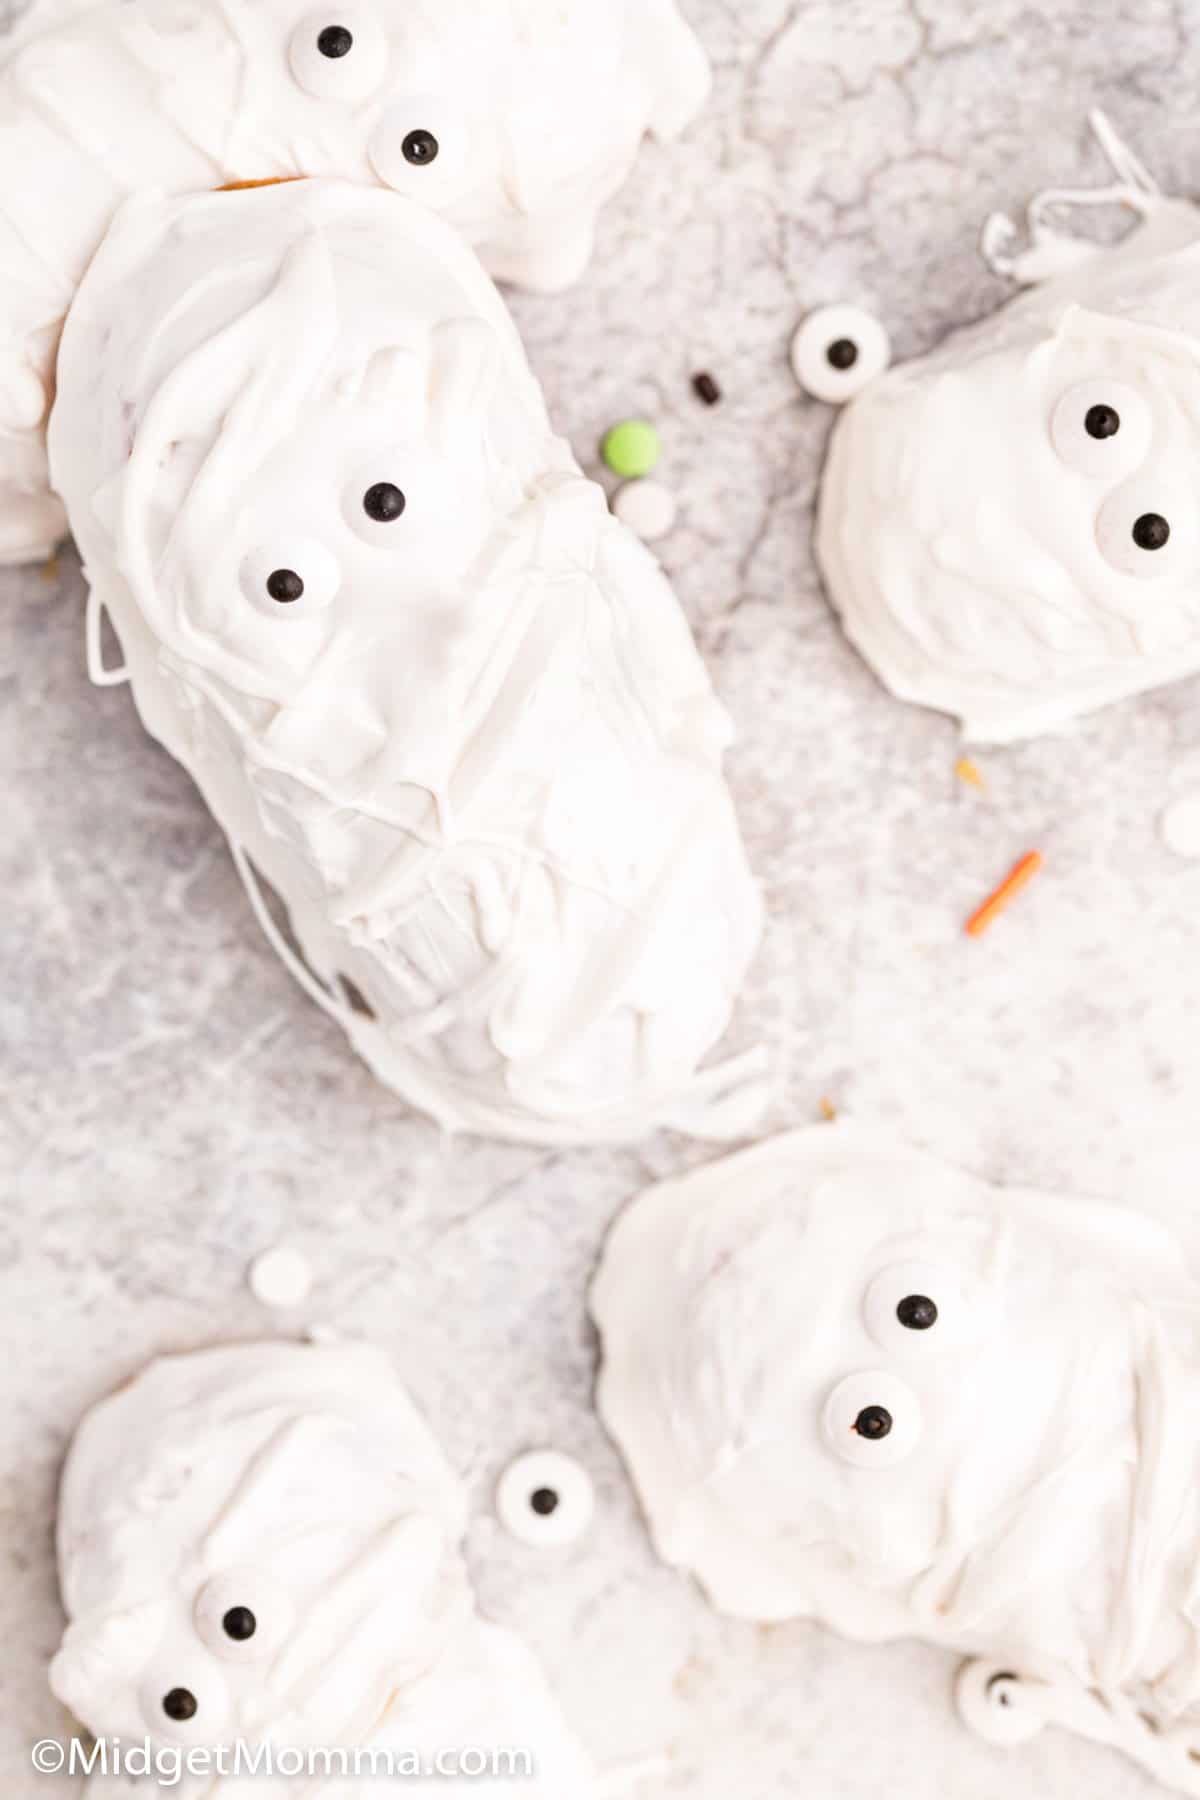
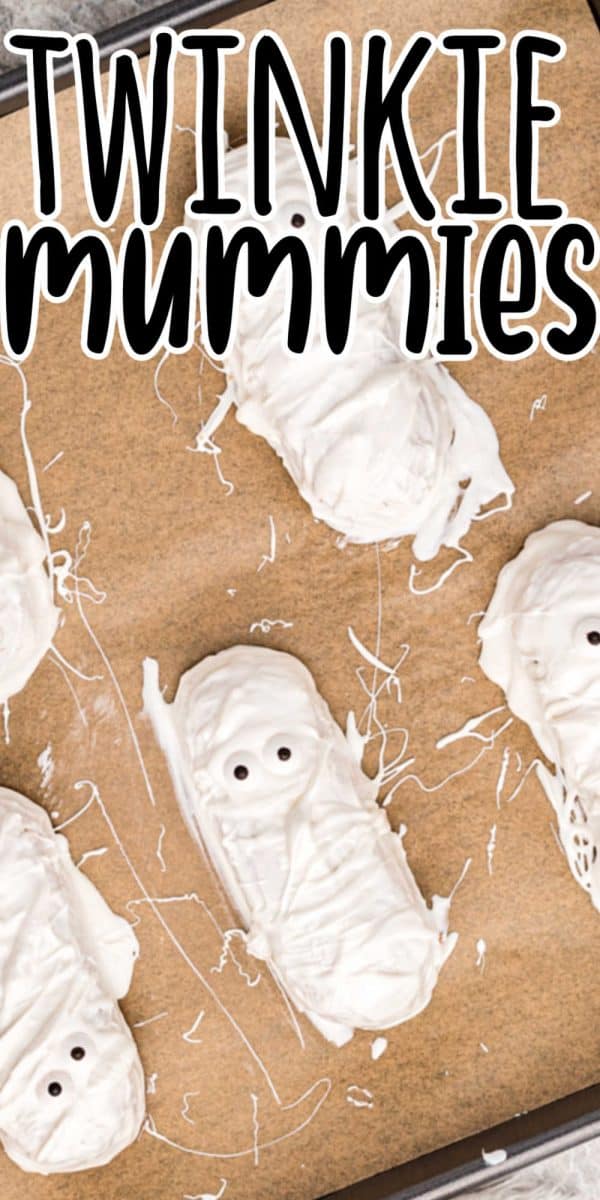
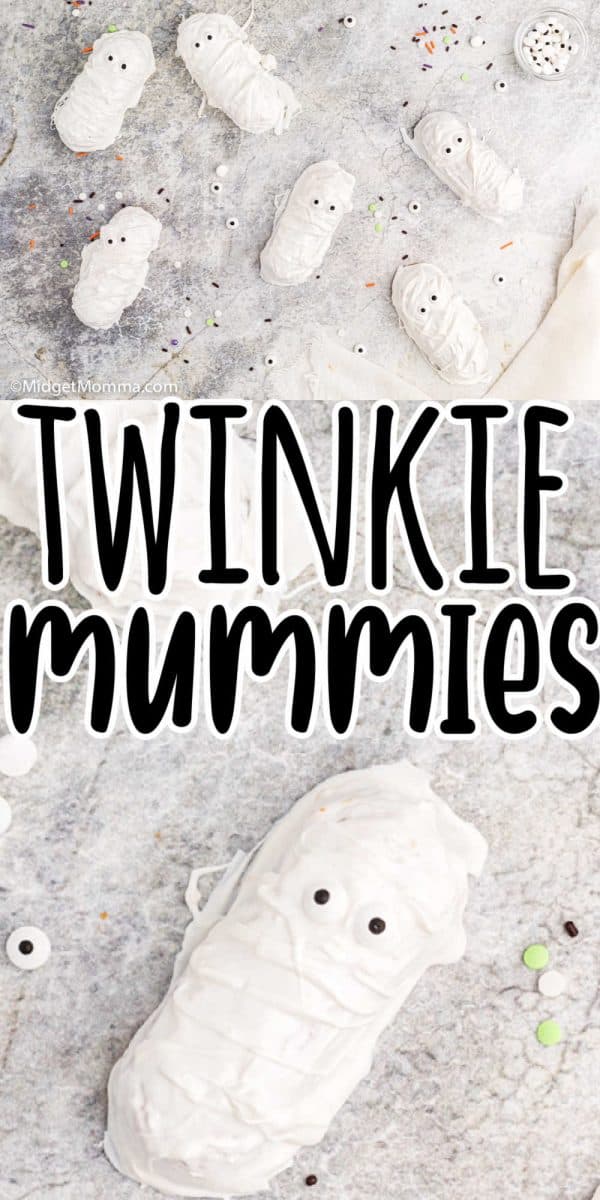
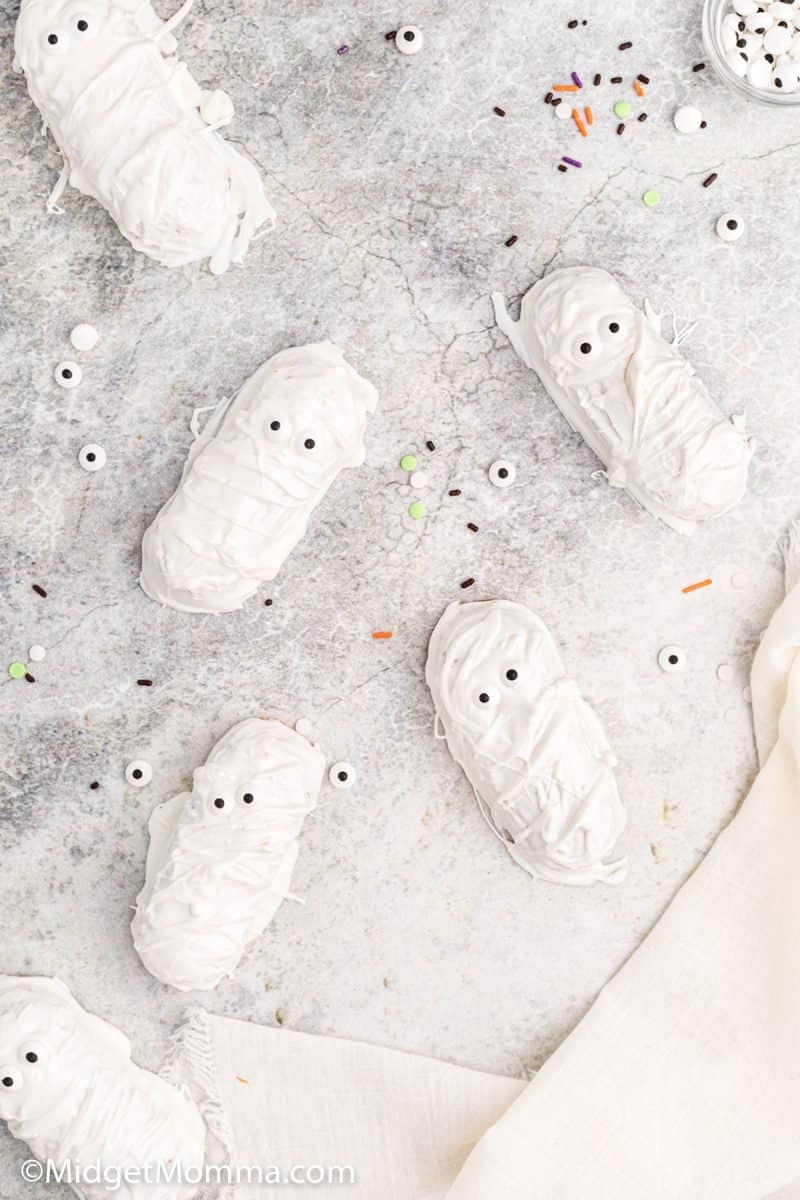
Twinkie mummies. If you are looking for an easy to make Halloween treat, you are going to love these chocolate covered twinkies that are perfect for Halloween. All you need is twinkies, white chocolate and some candy eye balls and they are done in about 20 minutes!
Twinkie Mummies
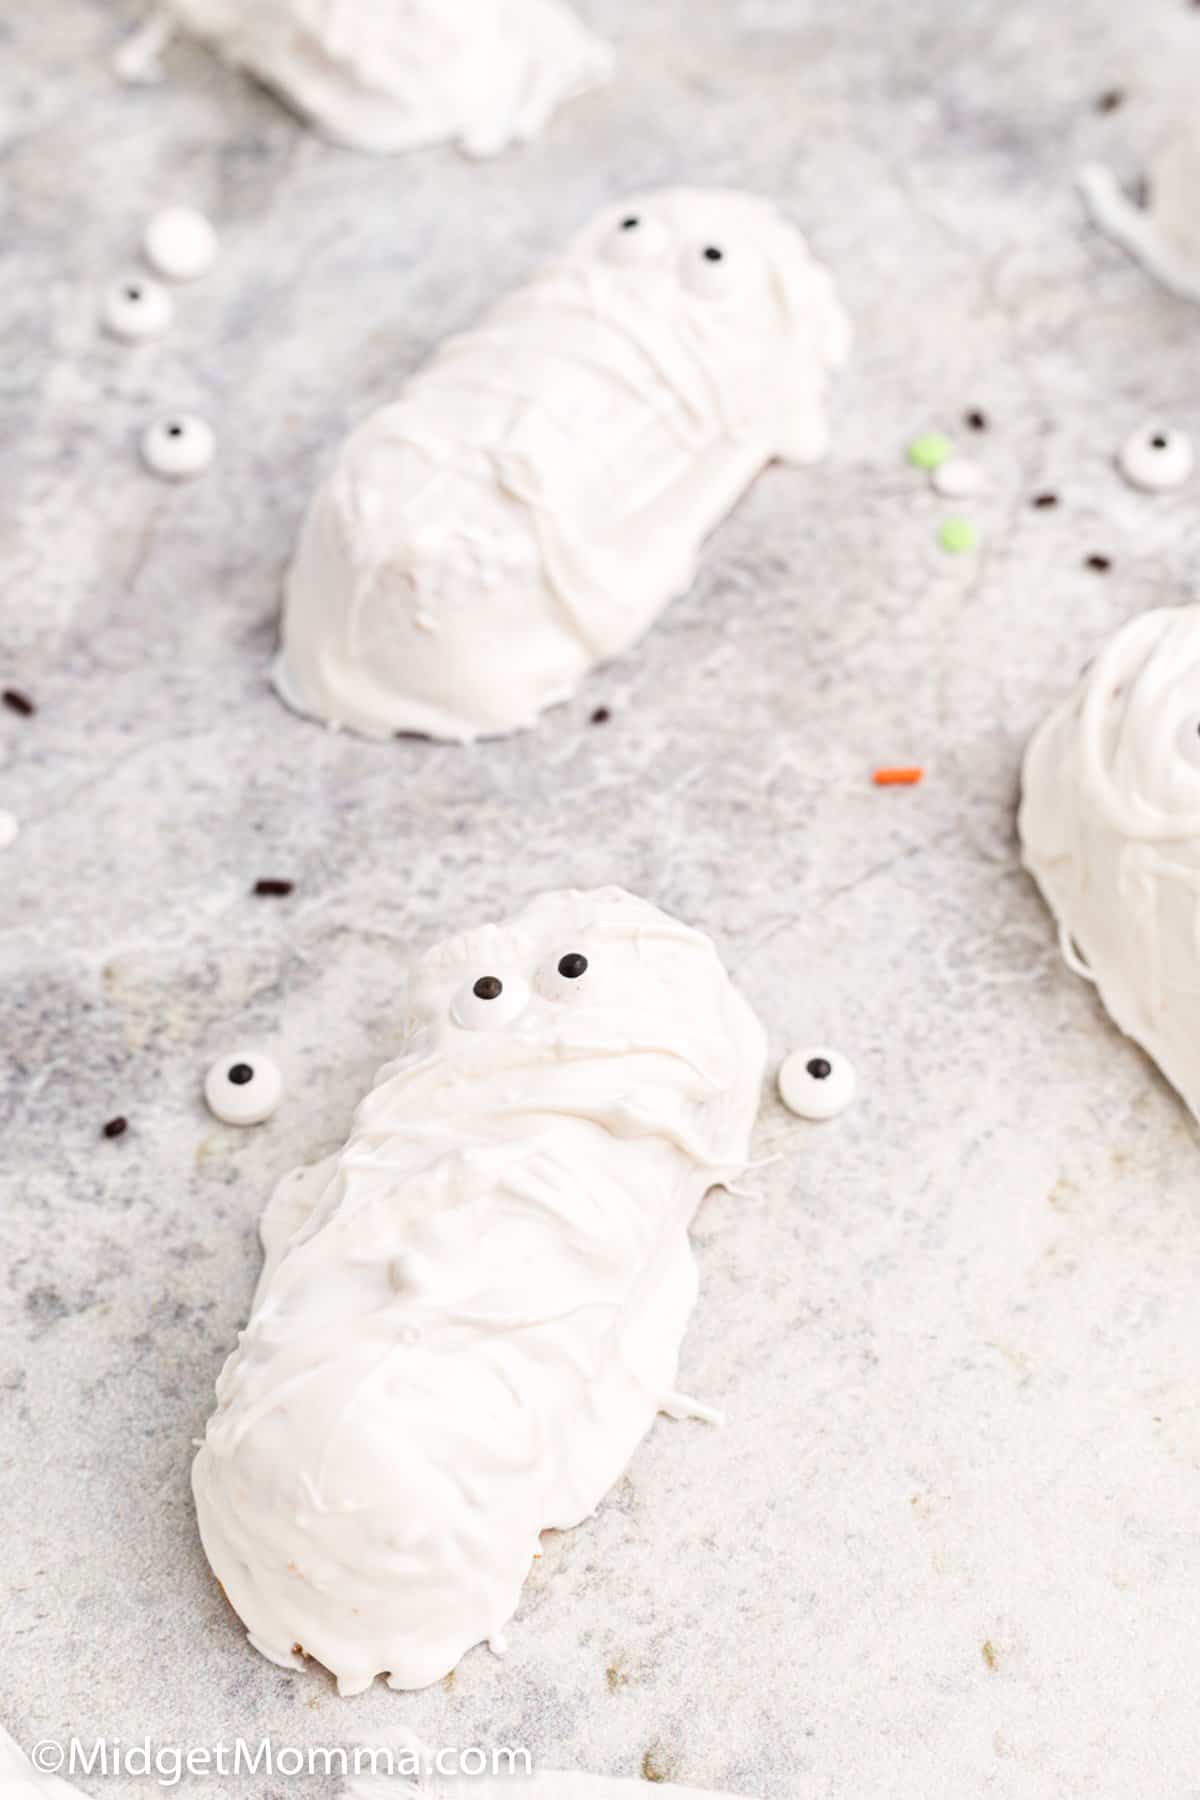
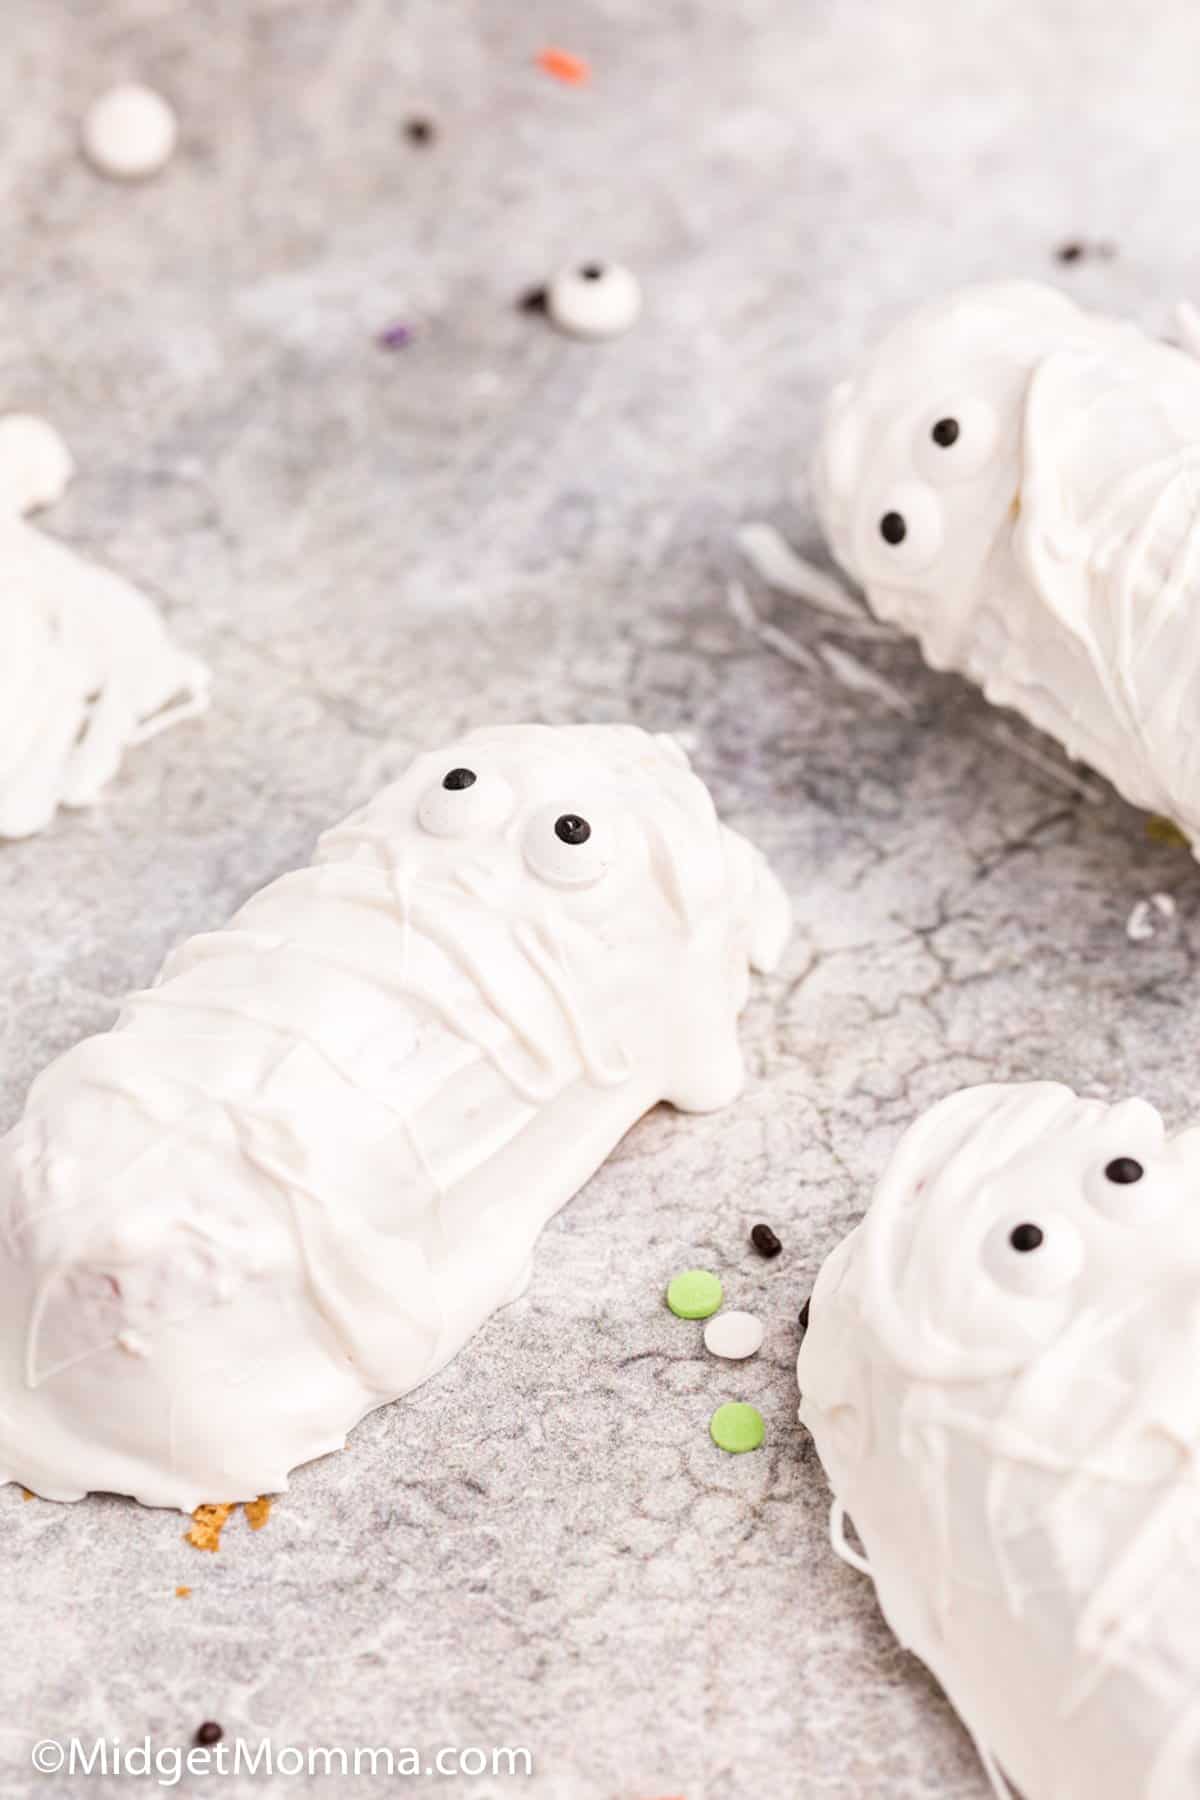
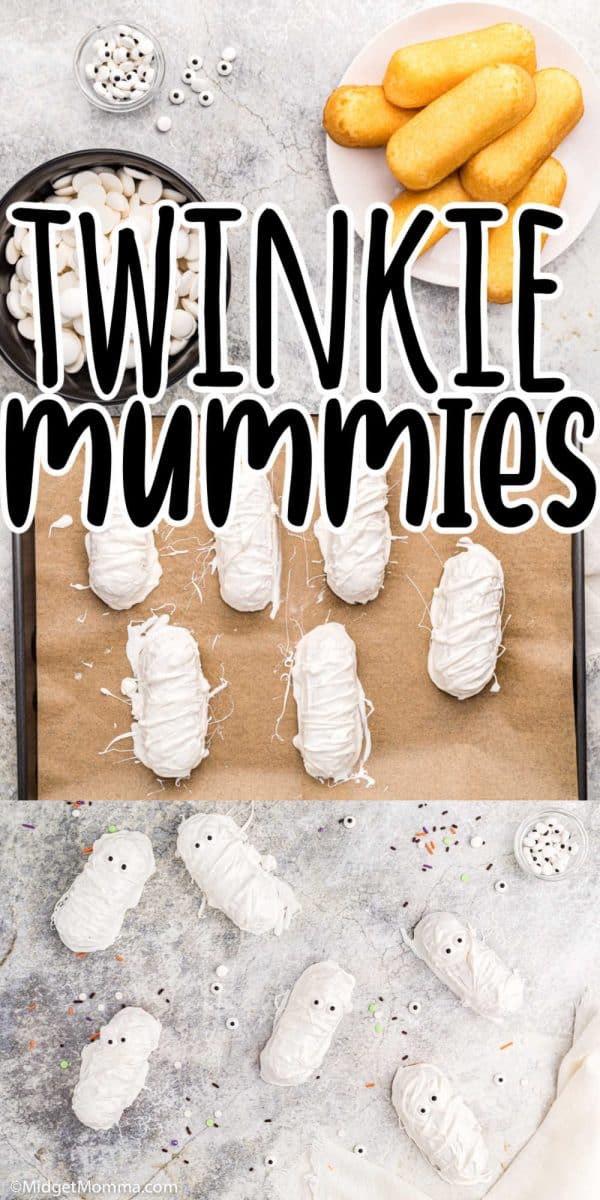
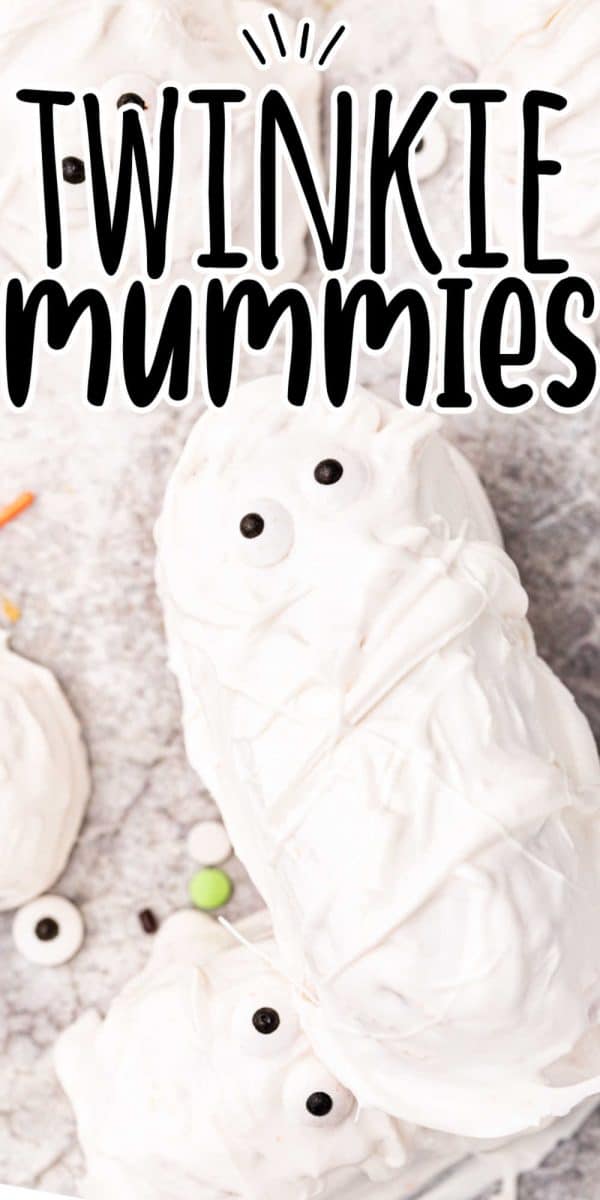
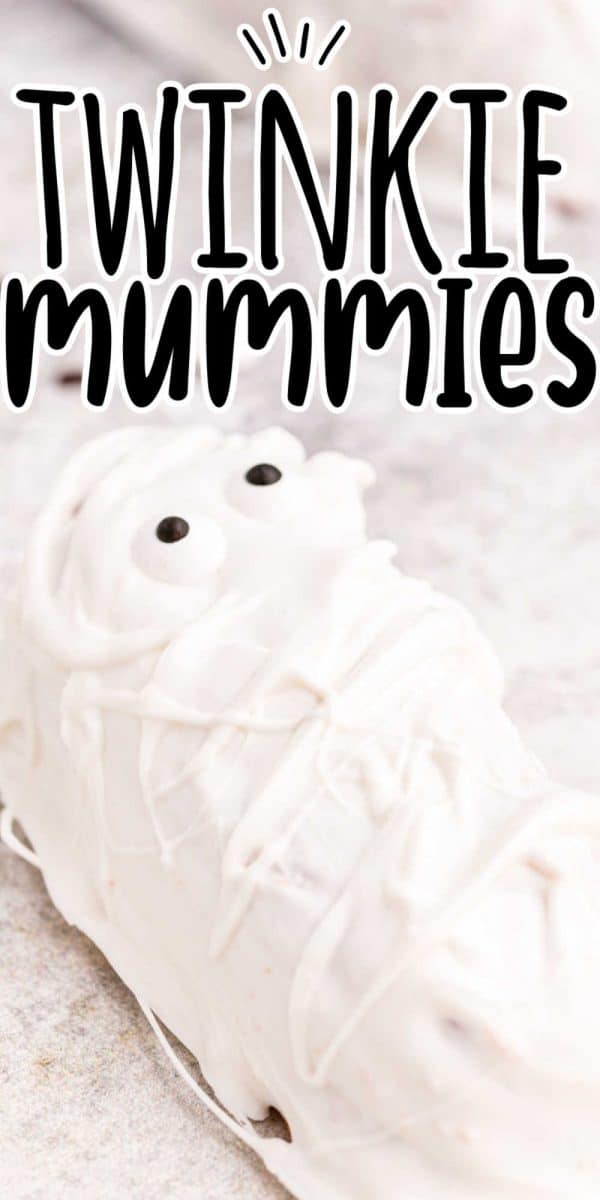
If you are looking for a fun and tasty kid friendly Halloween treat, these Halloween Twinkie Mummies are the perfect Halloween treat to make. These white chocolate covered twinkies look like cute little mummies that are spooky fun using candy eyes for the eyes and white chocolate melts.
These easy to make Halloween treats can be done in under 20 minutes! This is perfect for us busy moms who want to do something special for our kids on Halloween!
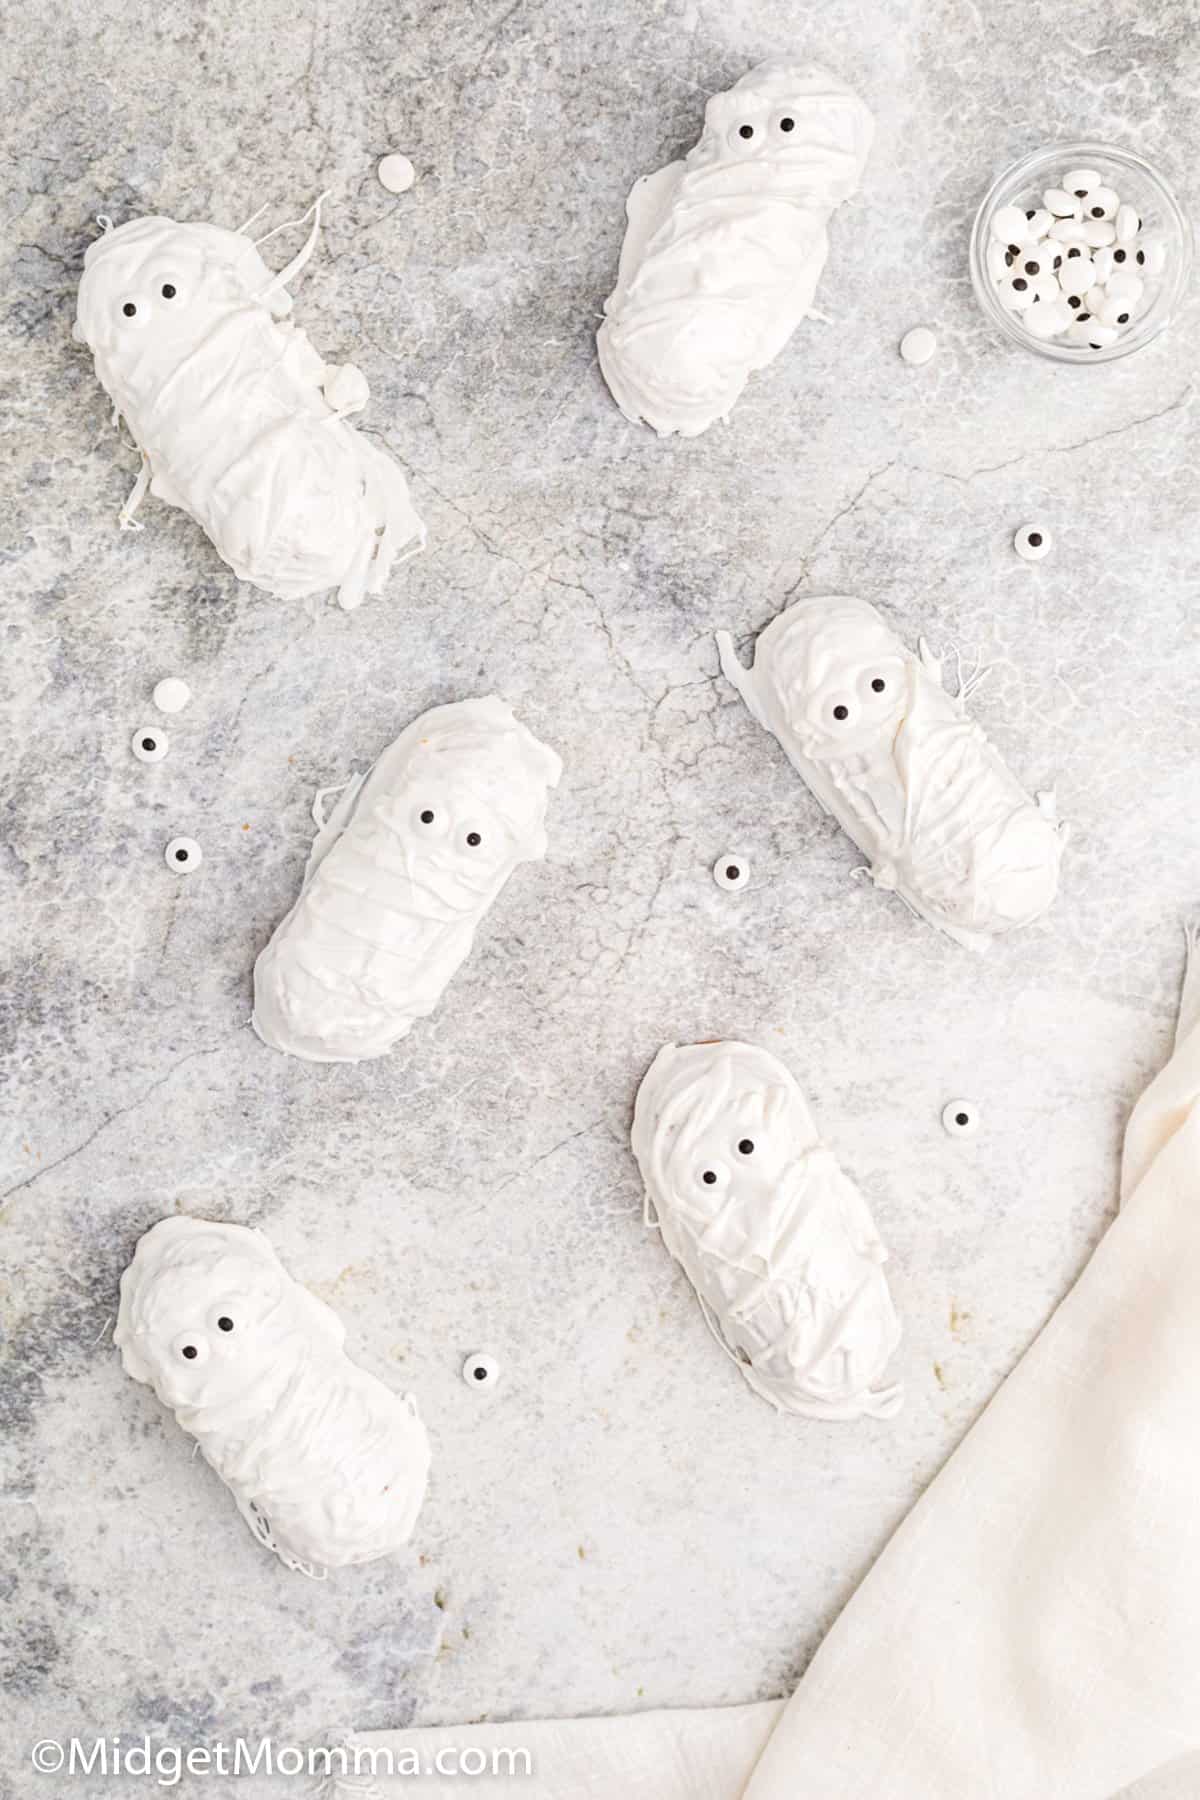
These Twinkie Mummies are really easy to make, If you have a Twinkie fan in your house hide them so you do not have to rebuy them before making them, and then be prepared to hear “can I eat them yet” the entire time you are making them (and for me while I was photographing them!) The thing about them that I like is that you do not have to be an artist to make them and have them look cute!
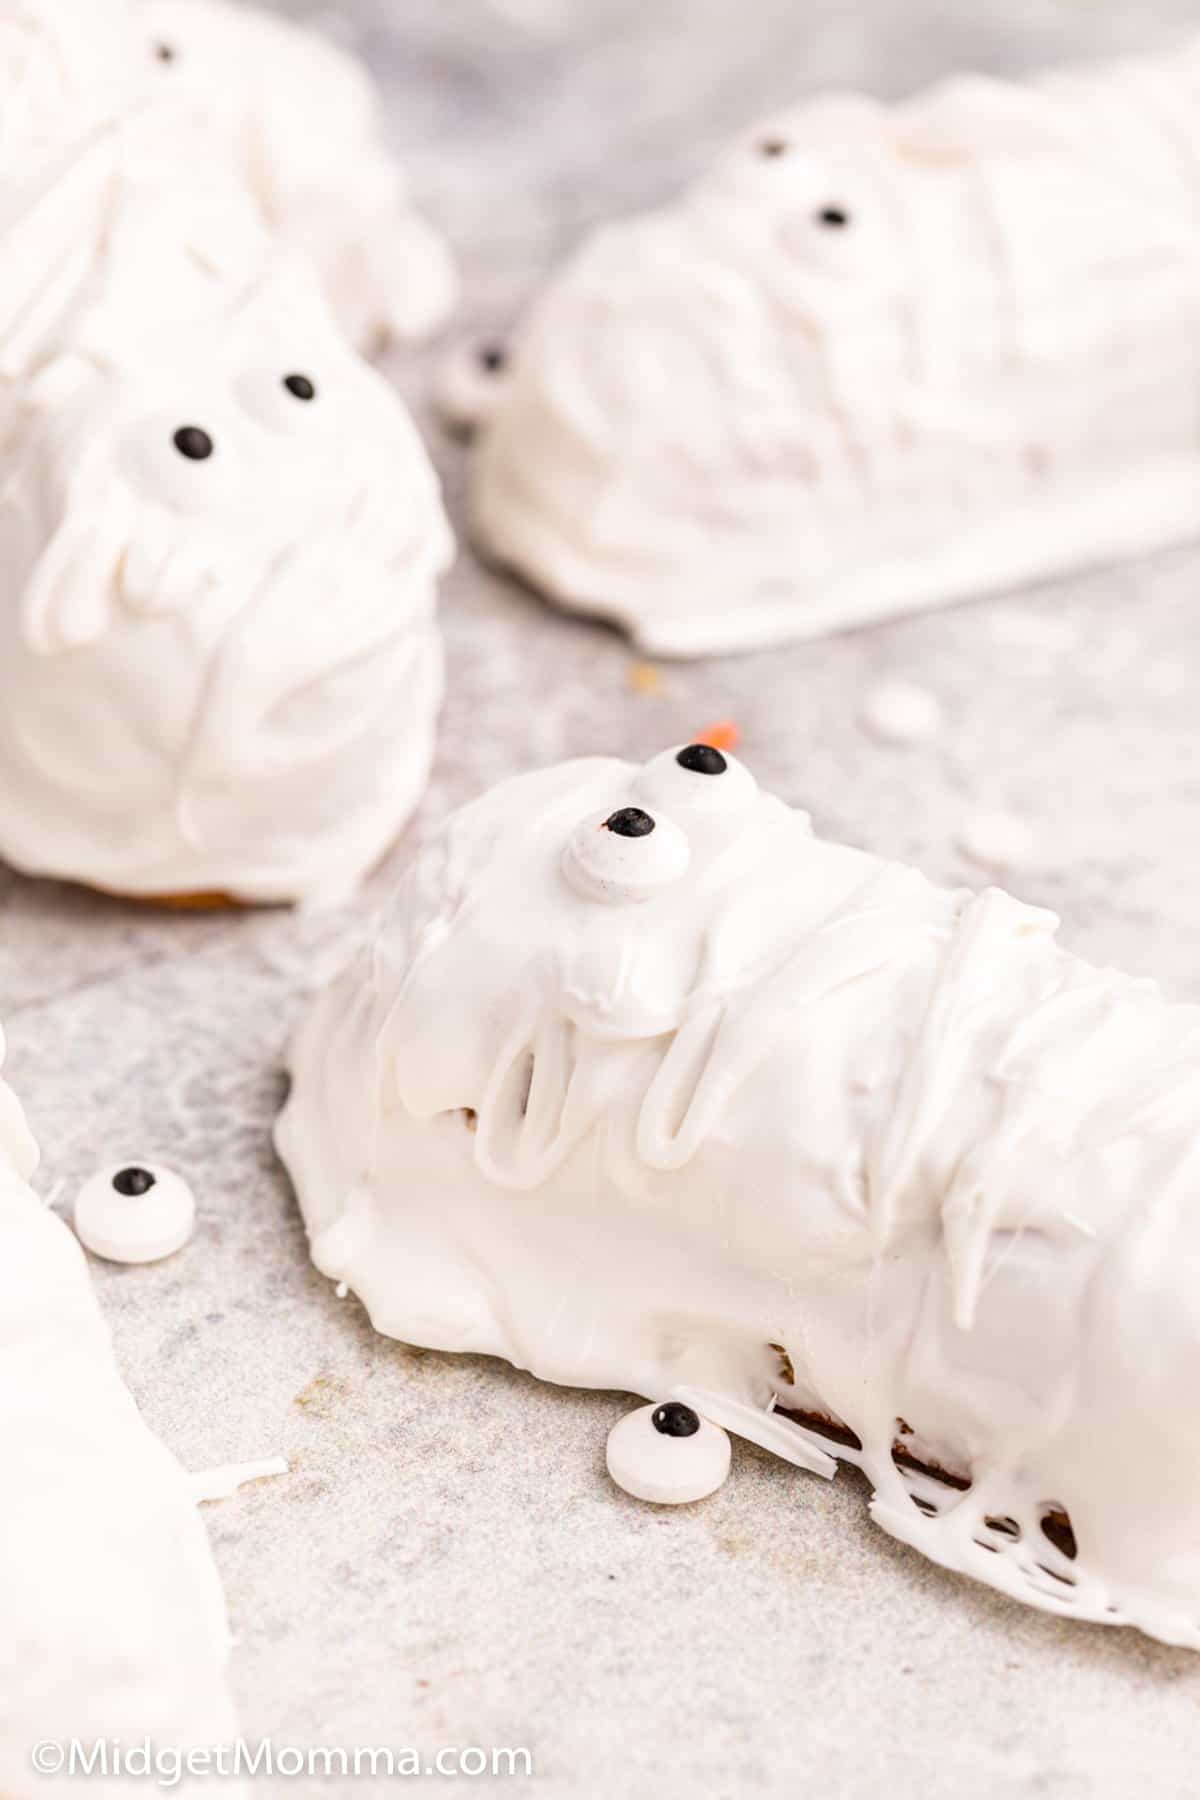
Twinkies are something that if I would let them, the kids would eat daily. I have brought them in the house only to have the whole box disappear before I could even think about them. That happened a few times while I was buying supplies to make these Twinkie Mummies.
I rebought the twinkies like 3 times and got smart the third time by hiding the box. However that also meant when I went to make these Twinkie Mummies I heard “What! You didn’t tell me you bought Twinkies!”. Yes Tom you are right I didn’t tell you because I wanted to make Twinkie Mummies and I was tired of going to the store and rebuying them.
Looking for more Halloween Recipes? Check these out!
- Zombie Brain Cookies
- Jack Skellington Cookies
- Mummy Nutter Butter Cookies
- Cup Of Dirt Cupcakes
- Ghost Cheese Sticks
- Vampire Cookies
Can I make these into Twinkie Pops?
Yes! If you are wanting to make them Halloween mummy pops you can easily using these sticks here. Place the twinkie on the lollipop stick before dipping them into the melted chocolate.
How to Store Chocolate Covered Twinkies
These Chocolate Covered Twinkies are best when eaten the same day they are prepared. They should be stored in the fridge in an airtight container. I do not recommend freezing them. They will keep in an airtight container in the fridge for up to 3 days.
Tips for making Chocolate Covered Twinkies
Use a double boiler. It is much easier to melt chocolate in a double boiler then in the microwave. It gives much smoother chocolate. You can use either method but I highly suggest using the double boiler method.
Allow enough set time. Once dipped, allow the chocolate to harden and cool at room temperature before you move to the fridge.
Prep everything before getting started. Have a tray lined with wax paper ready to go along with your chocolate in a bowl that can easily be dipped into before starting will make your life much easier. It is also much easier to remove the twinkies from their packages ahead of time.
Variations of this recipe
Change up the chocolate. While they won’t be mummy looking if you use dark chocolate or milk chocolate you can use either one instead of white chocolate candy melts to make chocolate covered twinkie mummies.
Change up the eyes. I use candy eyes, but you can also use chocolate chips or frosting to make the eyes.
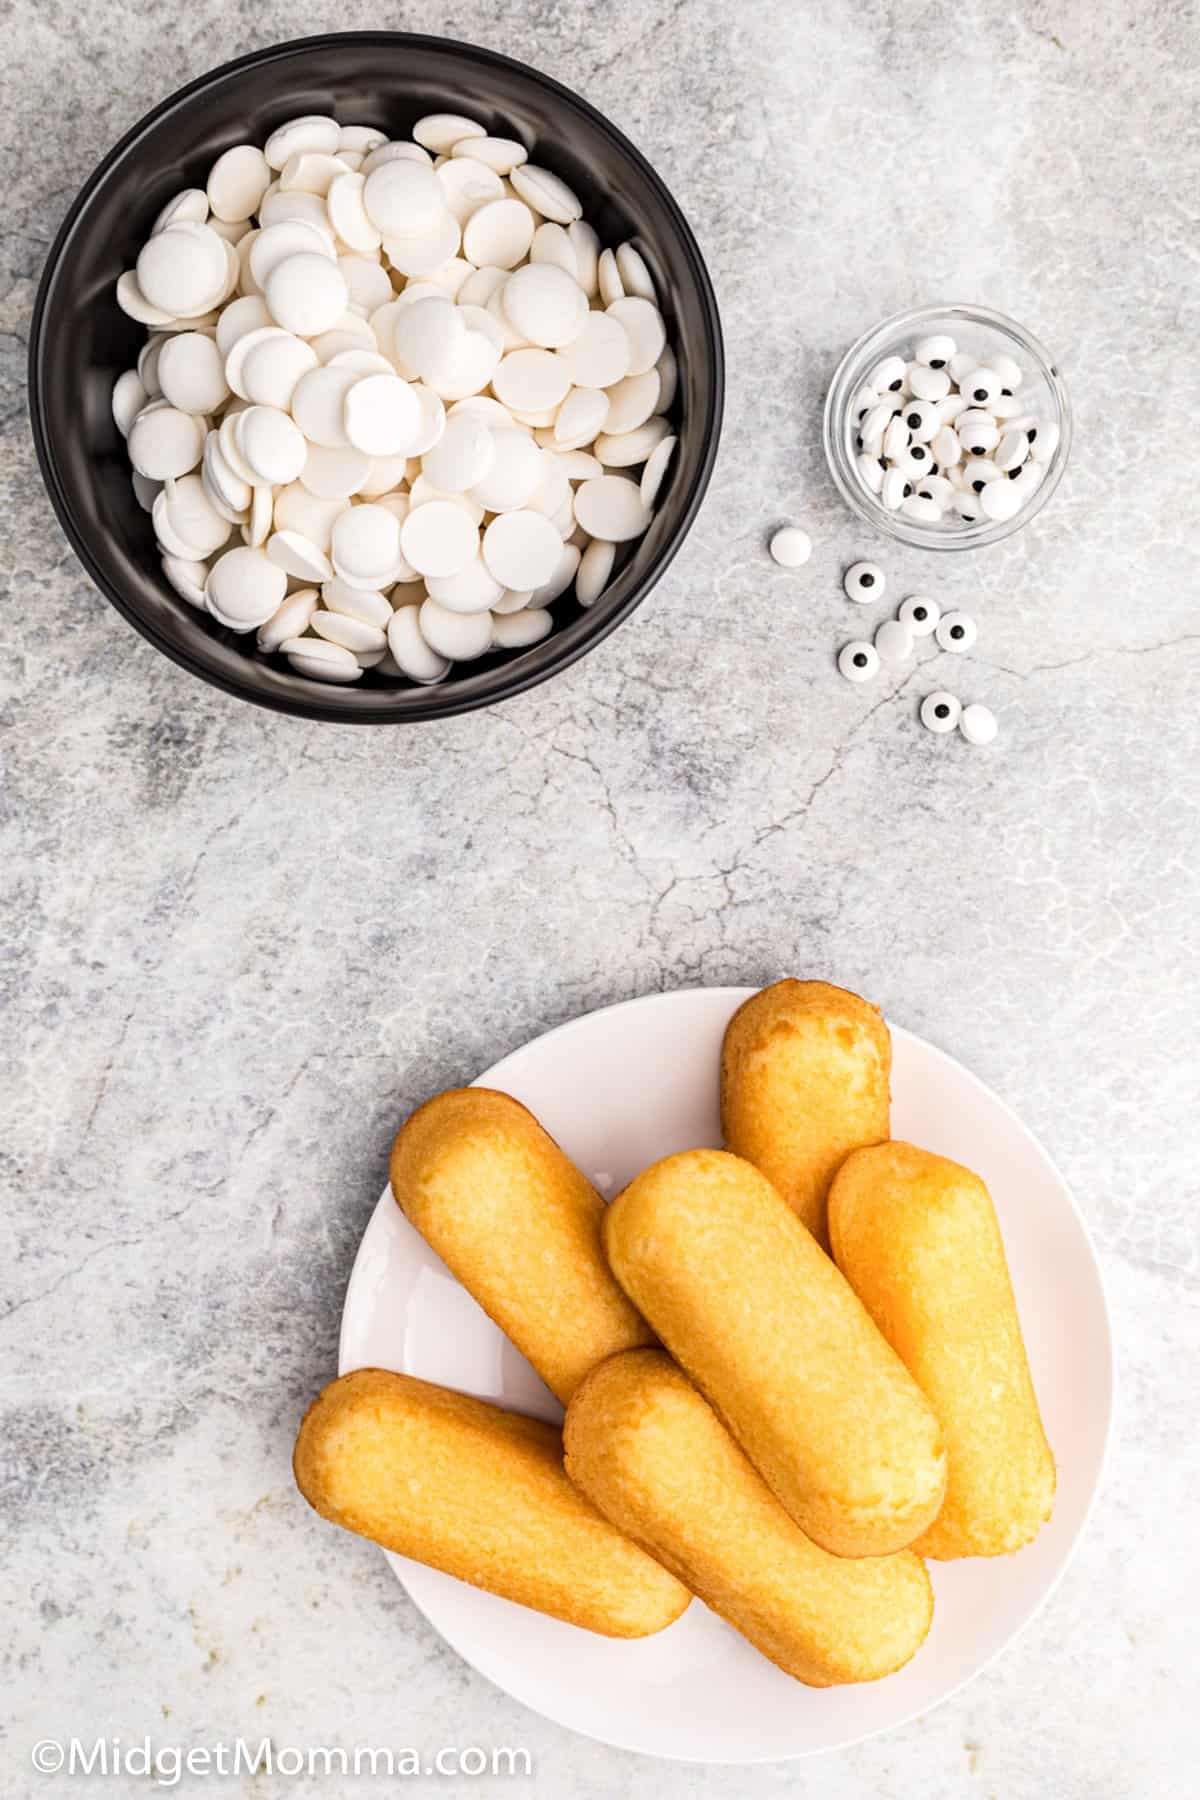
Ingredients for Twinkie Mummies
- White chocolate Melting Chips
- Twinkies – unwrapped
- Sugar Candy Eyes – I like the big ones but you can use the small ones if you want to.
- Lolipop sticks (optional)
How to Make Twinkie Mummies
First you need to melt your chocolate. You can do it in the microwave however I much prefer melting chocolate in a double boiler. I find it ends up being easier to use. If you have never melted chocolate in a double boiler make sure you read How to Melt Chocolate in a Double Boiler.
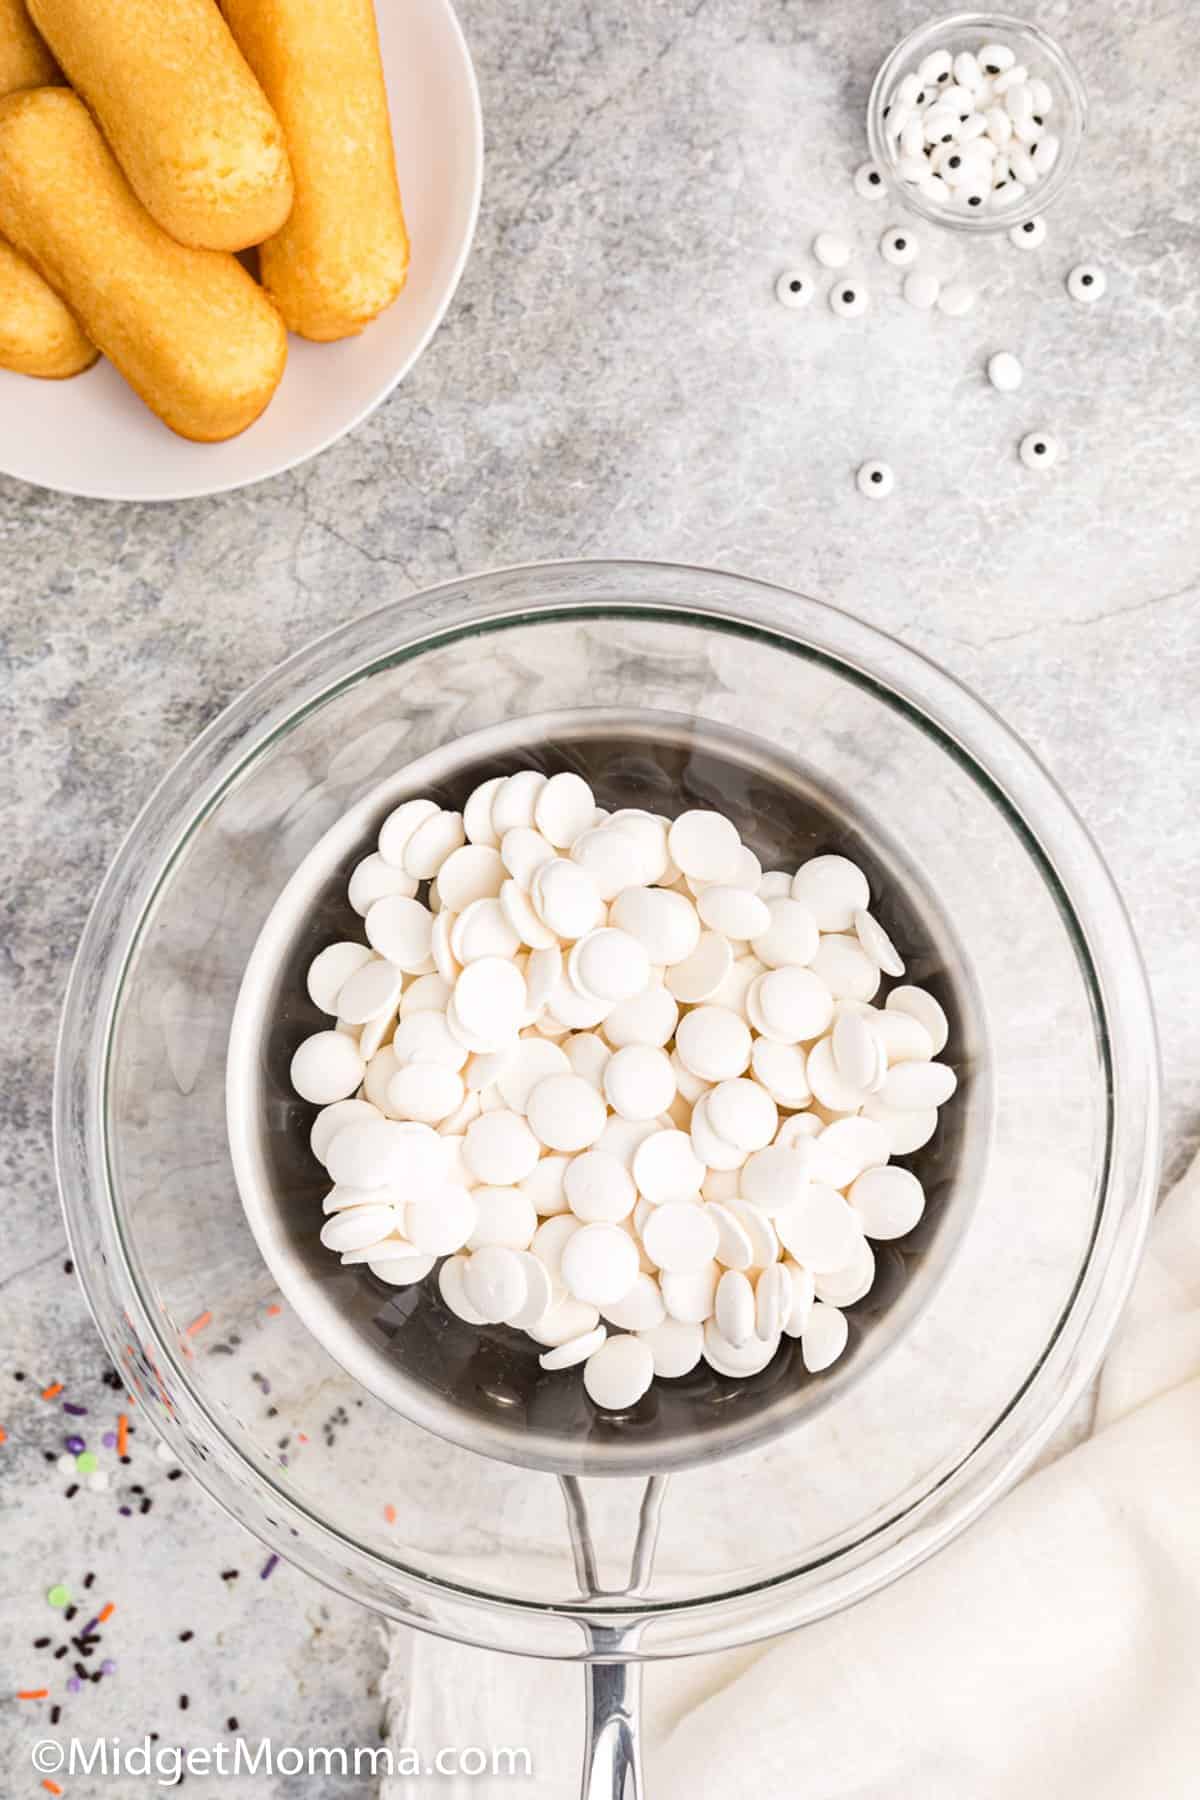
Then while you are melting your chocolate get a baking sheet and line it with wax paper.
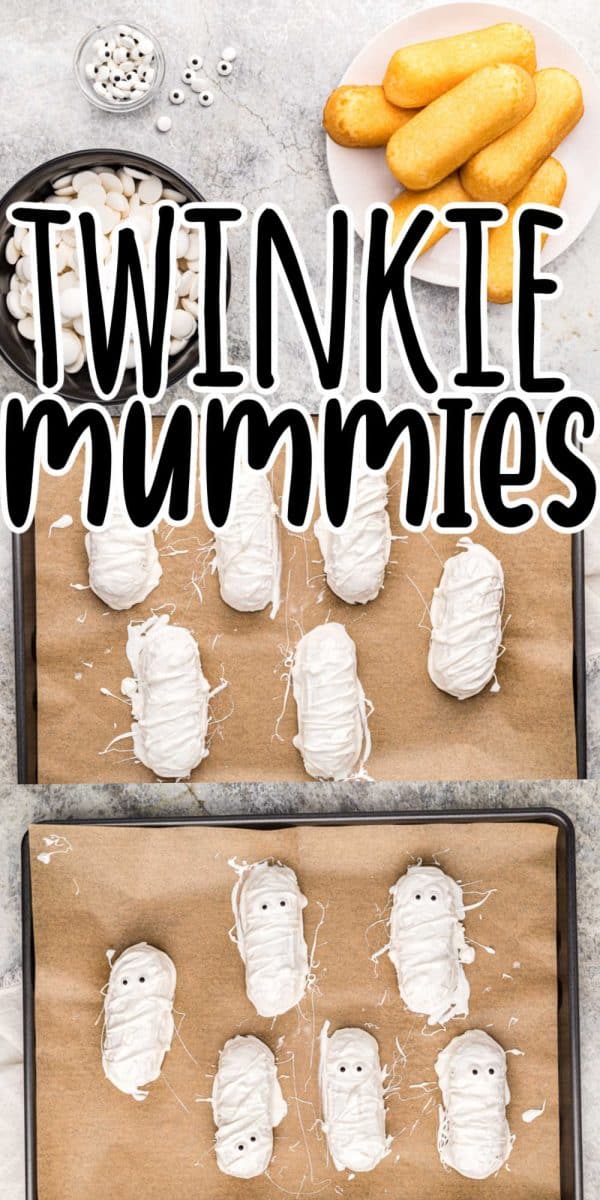
When the chocolate is melted, dip each twinkie into the chocolate. Make sure it is completely covered and then lay it flat side down on your baking sheet with the wax paper.
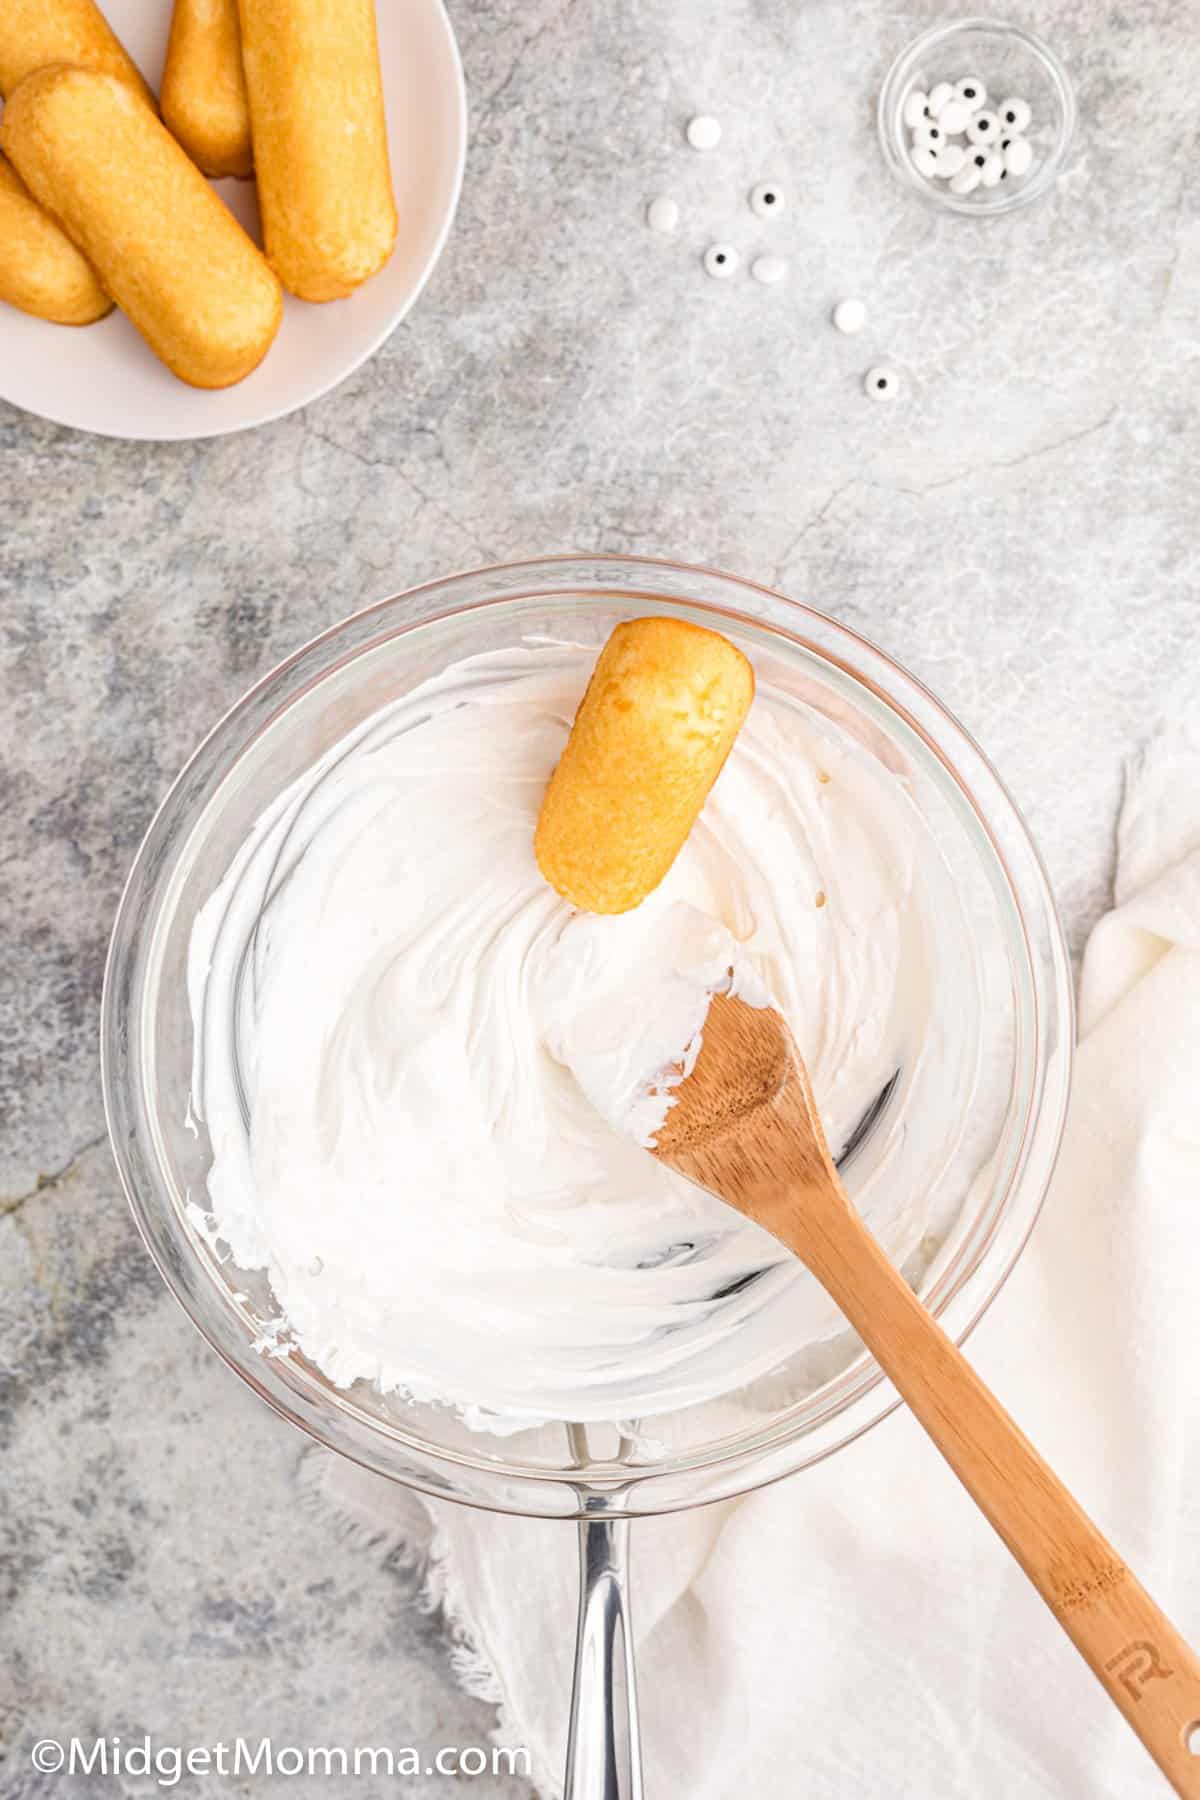
Before the chocolate hardens take a fork and make marks in it like a mummy would have and then add the two eyes.
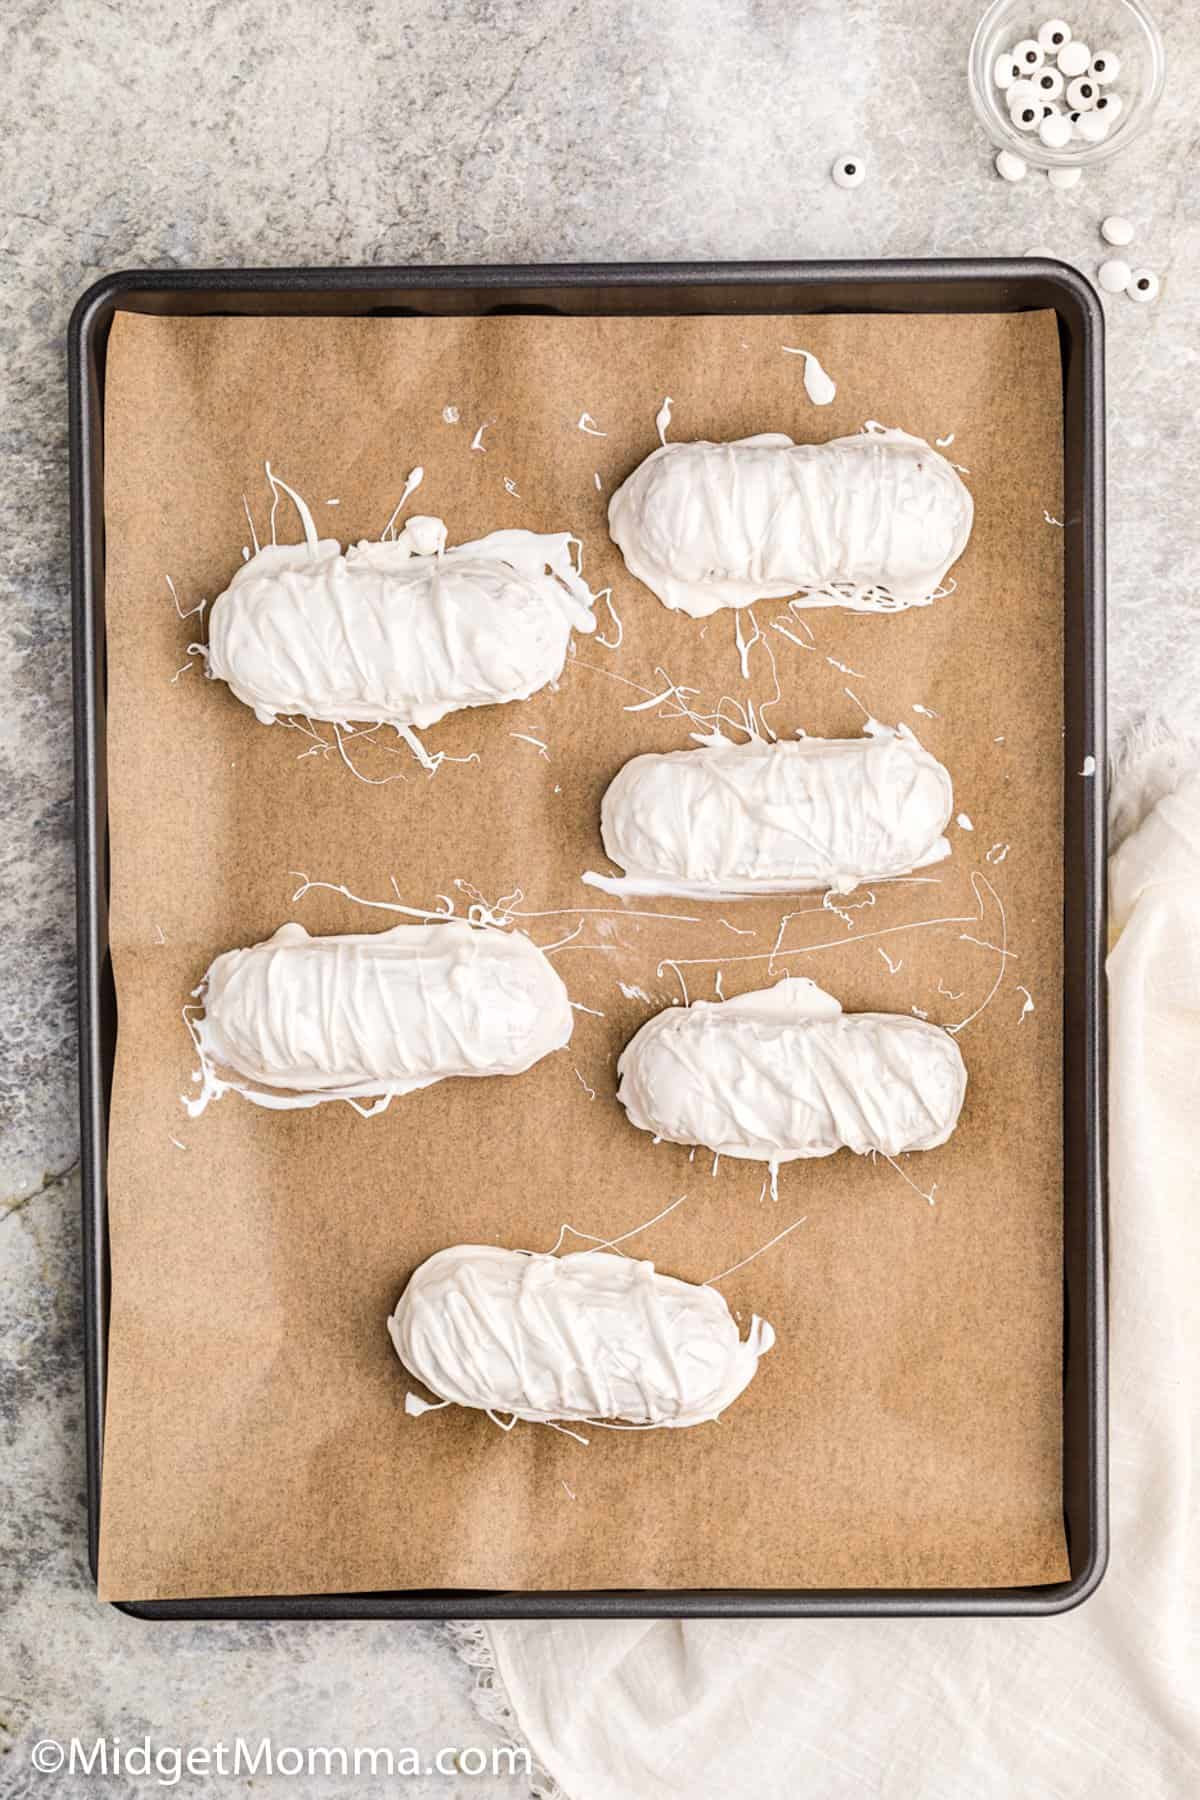
Let them sit for about 5-6 minutes before you touch them so the chocolate completely hardens on them.
If you are not going to eat them right away wrap them in plastic wrap and store them in the fridge.
Easy Halloween Recipes
Halloween Twinkie Mummies
Ingredients
- 16 ounces White chocolate Melting Chips
- 6 Twinkies – unwrapped
- 12 Sugar Candy Eyes I like the big ones but you can use the small ones if you want to.
- Lolipop sticks optional
Instructions
- First you need to melt your chocolate. You can do it in the microwave however I much prefer melting chocolate in a double boiler. I find it ends up being easier to use. If you have never melted chocolate in a double boiler make sure you read How to Melt Chocolate in a Double Boiler.
- Then while you are melting your chocolate get a baking sheet and line it with wax paper.
- When the chocolate is melted, dip each twinkie into the chocolate. Make sure it is completely covered and then lay it flat side down on your baking sheet with the wax paper.
- Before the chocolate hardens take a fork and make marks in it like a mummy would have and then add the two eyes.
- Let them sit for about 5-6 minutes before you touch them so the chocolate completely hardens on them.
- If you are not going to eat them right away wrap them in plastic wrap and store them in the fridge.
Video
Be sure to check out the fun Halloween crafts and Halloween Recipes we have, they are perfect for a fun halloween party for kids! There are so many great ones that are perfect for the kids! Looking for more Fall recipes? Be sure to check out these 90 amazing Pumpkin Recipes that are perfect for fall!
Fun Halloween Crafts
- Pumpkin Slime
- Kids Feet Ghost Canvas Wall Art
- Easy DIY Halloween Wreath
- Potato Jack O Lantern Stamps
- Witch Brew Slime


Follow Us For More!
Be sure to share your review in the comments below and follow us on Pinterest, Facebook, Instagram or Tiktok for even more food + family fun!