Trying to find a way to store all those hair bows your little girls have? This easy Picture Frame Hair Bow Holder is perfect and totally customizable to match their room decor!
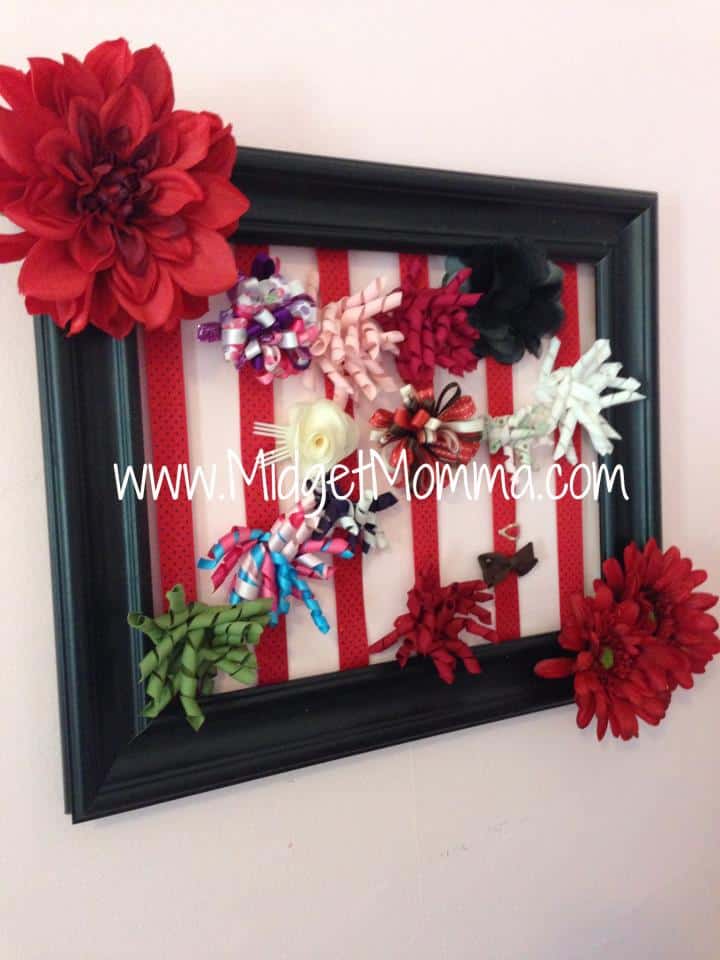
Picture Frame Hair Bow Holder
As a mom of girls I know how many bows can accumulate quickly. I know that figuring out a way to store them can be huge stressor when it comes to decorating their rooms.
For us, my solution to the hair bow mess was this easy Picture Frame Hair Bow Holder. I had a few old picture frames already on hand and I used those but you can grab cheap photo frames at craft stores, Amazon, thrift stores, and yardsales.
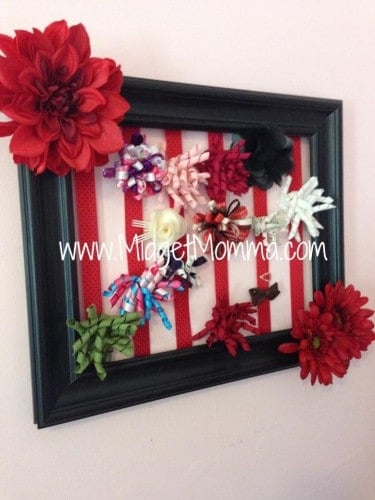
Hair bows easily clip to the ribbon to hold them and then you can see all the bows that your girls have. This also makes it much easier for them to pick out their bow for the day then having to dig thru a bin of hair bows that we all know ends up being a big mess.
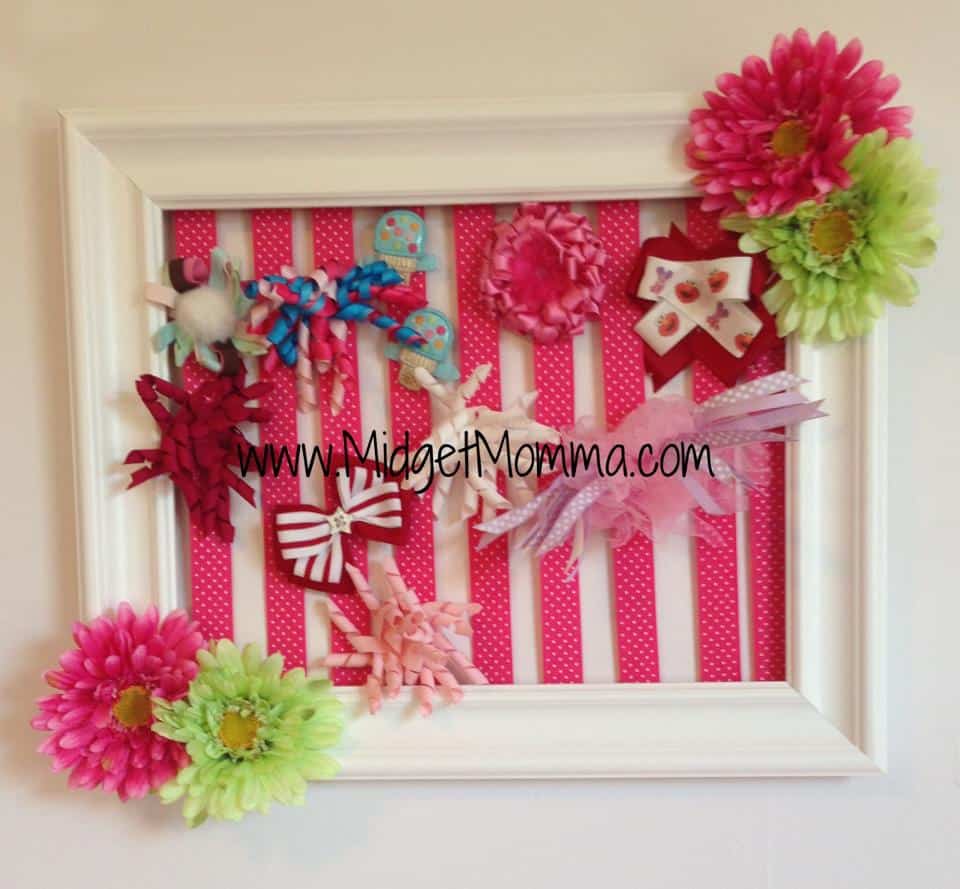
Tips for making Picture Frame Hair Bow Holder
Picture Frames. If you do not like the color of the picture frame you find then you can always paint it to match the color of the room you are going to put it in. You can use any size photo frame that you want to, if the kids have a lot of bows then you can use a large picture frame as big as you can fit on your wall.
Add any decorations you like. I used fake flowers but you can use anything from plastic beads, plastic jewels, fake flowers,
Use a thick ribbon. While you can use any color Ribbon you want to and any type of ribbon it is important to make sure it is thick width so that it can hold the bows that you are putting on it.
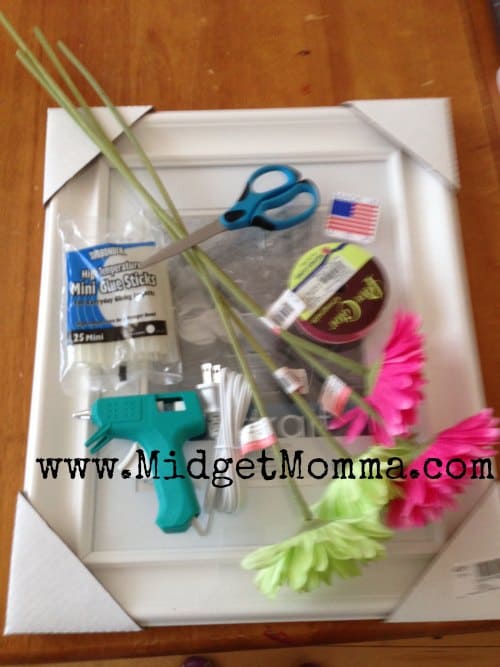
Picture Frame Hair Bow Holder Supplies
- Picture frame
- Ribbon
- hot glue gun and glue sticks
- fake flowers or other decorative items
- scissors
How to Make Picture Frame Hair Bow Holder
Remove the glass from the picture frame and fold down the metal clasps on the back so they are flat against the back of the picture frame.
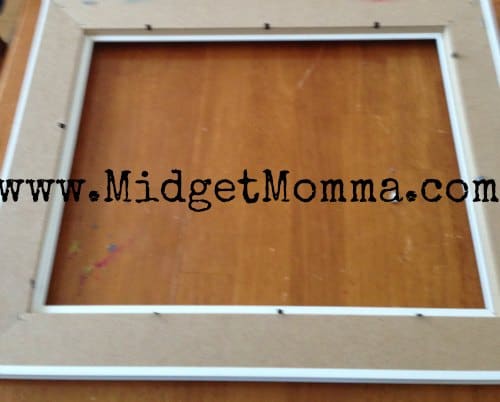
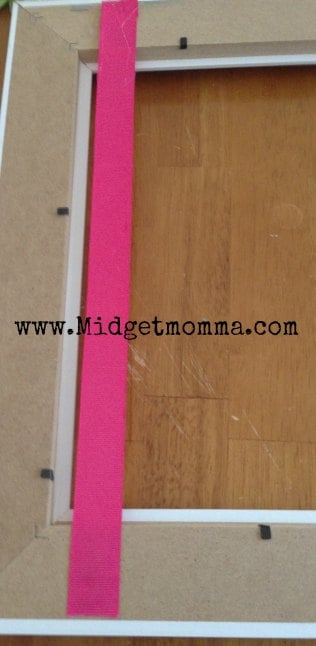
Take the ribbon roll and measure it for the length you need by using the picture frame. Do this for as many pieces of ribbon you need. I put mine about 1/2 inch apart on the frame and the size of your picture frame will determine how many pieces of ribbon you are going to need.
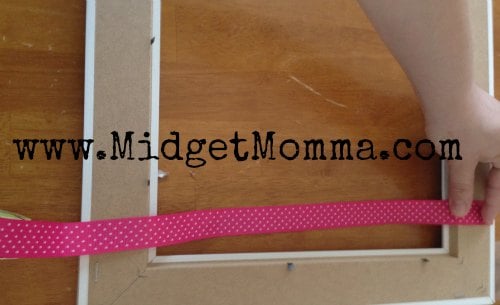
Use the hot glue gun to glue the pieces of ribbon on the back of the picture frame. Make sure the side you want to show is facing forward and not the side you see when you are gluing it.
Use the hot glue gun to put glue on the backside of the flowers or any other decorative items you want to place on the sides of the bow holder.
Let the glue cool and then hang on the wall and clip your bows on the ribbon.
Easy DIY Projects
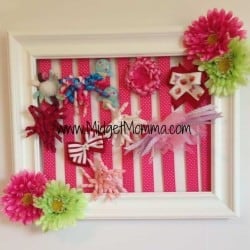
Picture Frame Hair Bow Holder
Supplies Needed
- Picture frame
- Ribbon
- hot glue gun and glue sticks
- fake flowers or other decorations
- scissors
Instructions
- Remove the glass from the picture frame and fold down the metal clasps on the back so they are flat against the back of the picture frame.
- Take the ribbon roll and measure it for the length you need by using the picture frame. Do this for as many piece of ribbon you need. I put mine about 1/2 inch apart on the frame and the size of your picture frame will determine how many pieces of ribbon you are going to need.
- Use the hot glue gun to glue the pieces of ribbon on the back of the picture frame. Make sure the side you want to show is facing forward and not the side you see when you are gluing it.
- Use the hot glue gun to put glue on the backside of the flowers or any other decorative items you want to place on the sides of the bow holder.
- Let the glue cool and then hang on the wall and clip your bows on the ribbon.


Comments & Reviews
Amanda Stovall says
These are ADORABLE! You did a great job! I’m not so crafty, but my little girl really does need another hair bow hanger, soooo I just may give it a shot! I’ll let ya know how they turn out! 😉
MidgetMomma says
It is easy, even with out being crafty this is one that you cant mess up easily 🙂 Im not crafty but I try and this one was easy lol