If you are making homemade sugar cookies and you are going to decorate them with homemade royal icing then you are going to love everything you need to know about How to Decorate Cookies with Royal Icing. Once you know the basics, you will be able to decorate all of your homemade sugar cookies so they look like they came from a bakery!

How to Decorate Cookies with Royal Icing
I love having fancy decorated cookies for parties and get togethers, however I do not like having to spend $25-$40 for 12 cookies. Making homemade royal icing is easy and so is making homemade sugar cookies. The next step is learning how to use royal icing when you are wanting to make fancy cookies. I am happy to tell you that it is fairly simple to do, you just need a little bit of patience.
If you are looking for cookie design ideas be sure to check ours out!
- Christmas Tree Sugar Cookies
- Pumpkin Sugar Cookies
- Elf on the Shelf Sugar Cookies
- Carrot Shaped Sugar Cookies
- Jack Skellington Cookies
- Minion Cookies
Best Cookie Dough for making decorated sugar cookies
I always start with my recipe for no spread sugar cookies. I know that this dough will hold what ever shape I cut it out to be instead of just melting into a big blob.
What do the seconds mean when talking about Royal Icing?
When people start talking about the thickness and decorating with royal icing measuring is done in seconds. The seconds simply stand for the amount of time it takes the icing when dripped back in to the batch of icing in the bowl, to reabsorb and return to a smooth finish.
So if you need 20 second icing you will pick up your spoon and drizzle the icing back on top and see how many seconds it takes to disappear back into the bowl of icing. You will want to slowly stir in enough water to get to the right thickness.
Aside from the initial water added to the recipe, there is no specific amount of water to add when thinning the cookie frosting. I suggest adding half a teaspoon at a time to get to the thickness you want. There is no way to know exactly how much to add so we just have to use accounting method to make the thickness we need and want. For example, it takes 20 seconds for the royal icing to flatten completely out again is considered 20 second icing.
If it seem to thick just add a few drops of liquid at a time too thin it down. If it is too thin then add a small amounts of confectioners’ sugar and stir until you get it thick enough.
Tips for Decorating With Royal Icing
Having the right tools will make your cookies from looking like pinterest fails to bakery style cookies. If you don’t have a small enough tip on the end of your squeeze bottle you will not be able to get a small line. You can also use piping bags and smaller tips if needed.
I like to use piping bag more than the squeeze bottles because I find them hard to fill up. One tip I will share about filling them up is squeeze the air out of it than place the opening of the bottle into the royal icing letting it suck up the icing. I keep doing this until the bottle is full.
Be sure the cookies are completely cooled. Warm cookies will make it difficult to decorate and will melt the icing giving you a big mess.
I always do each decorating step with all the cookies so by the time I finish the last cookie the first cookie I did is ready for the next step. The only exception to this is if you are wanting all the icing the same texture, then you will add the designs into the wet flooded icing. For example, if you are wanting dots on a Christmas tree, then you will flood the green, then before it hardens add the drops to make the ornaments.
Sometimes I want to get very small details on my cookies and that’s when I use edible markers, they work great for drawing on top of set royal icing. They have a very fine time that lets me make those small details. I let the cookies dry for 24 hours before I draw on them.
Supplies needed
- Homemade Royal Icing
- Baked Sugar Cookies
- Scriber Needle
- Silpat
- Parchment paper
- Piping tips
- Pastry bags
- Squeeze bottles
Frosting Supplies
Homemade frosting is so easy! You only need a few ingredients, a hand or stand mixer, and then piping bags & tips to make fun designs!
How to Make Cookies Decorated with Royal Icing
First make a batch of the homemade no spread sugar cookies and allow them to cool completely. You can use any shaped cookie cutter that you want to with that recipe and the cookies will be soft and chewy and not spread at all when baking.
Next make royal icing in the colors that you want to use. This royal icing for cookie decorating recipe will make a 1 cup batch of icing, that is enough for about 12 cookies, just double, triple ect the recipe to make as much frosting as you are going to need. I tend to make a batch for each color I am going to need just to make my life easier.
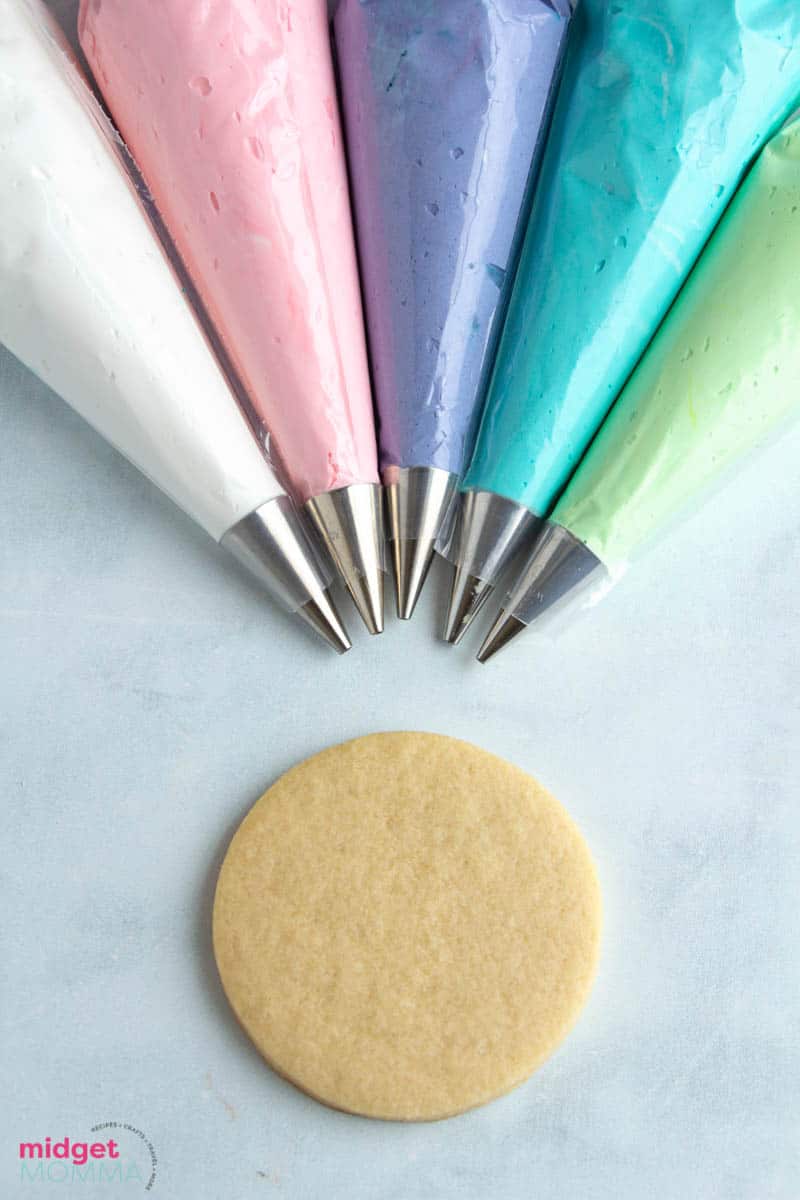
Once you have all the supplies needed it is time to get started decorating the cookies.
You will need to start out making a outline with icing that is about a 20 second consistency. Let it dry for at least about 10 minutes.
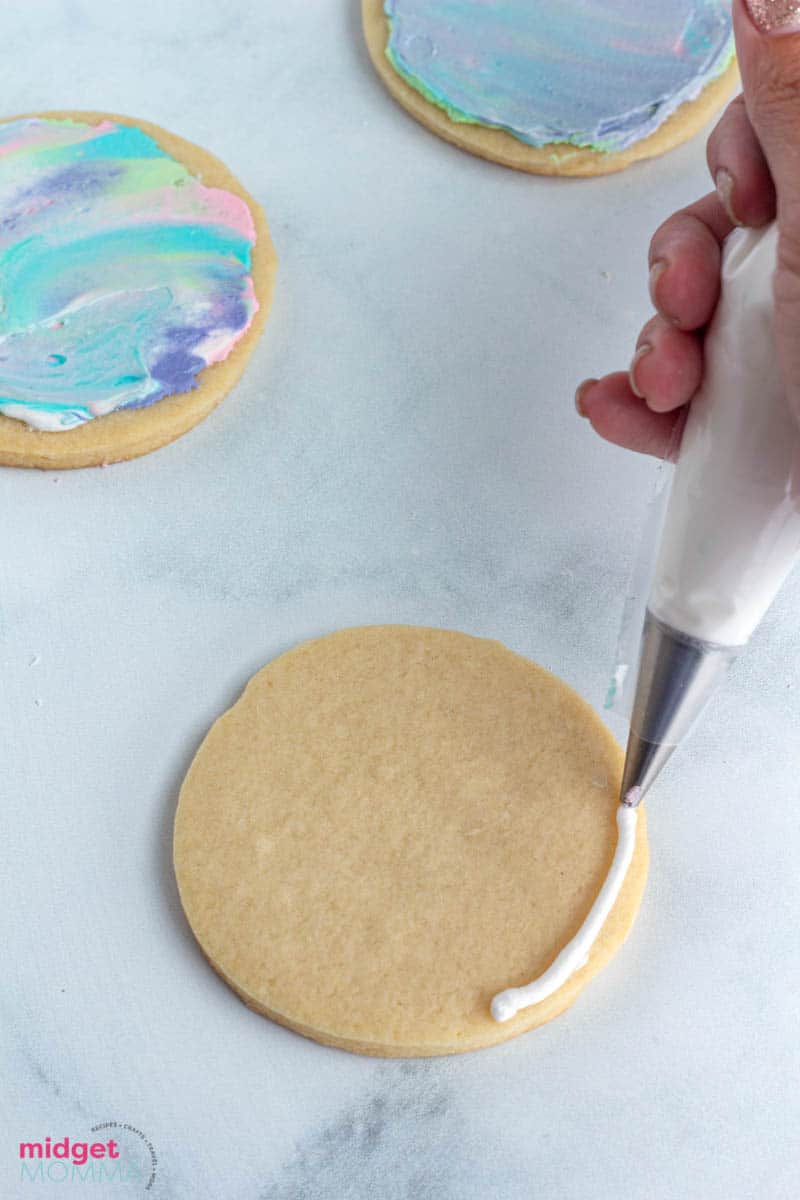
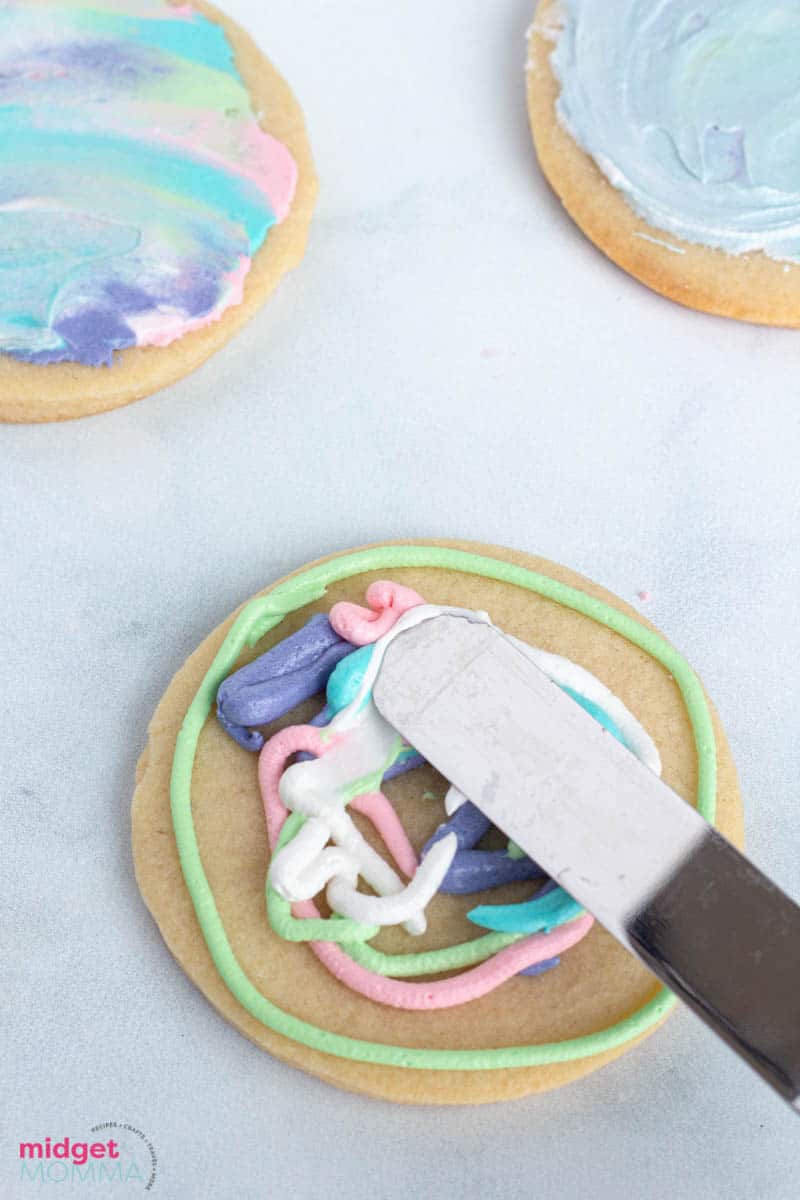
Once that is dry you can keep the thickness and spread the frosting.
If you are wanting to use the flooding method, after piping the frosting, thin the remaining frosting to 6 second frosting and pipe it into the outline.
After you fill in the cookie you will want to pop any bubbles with your pick.
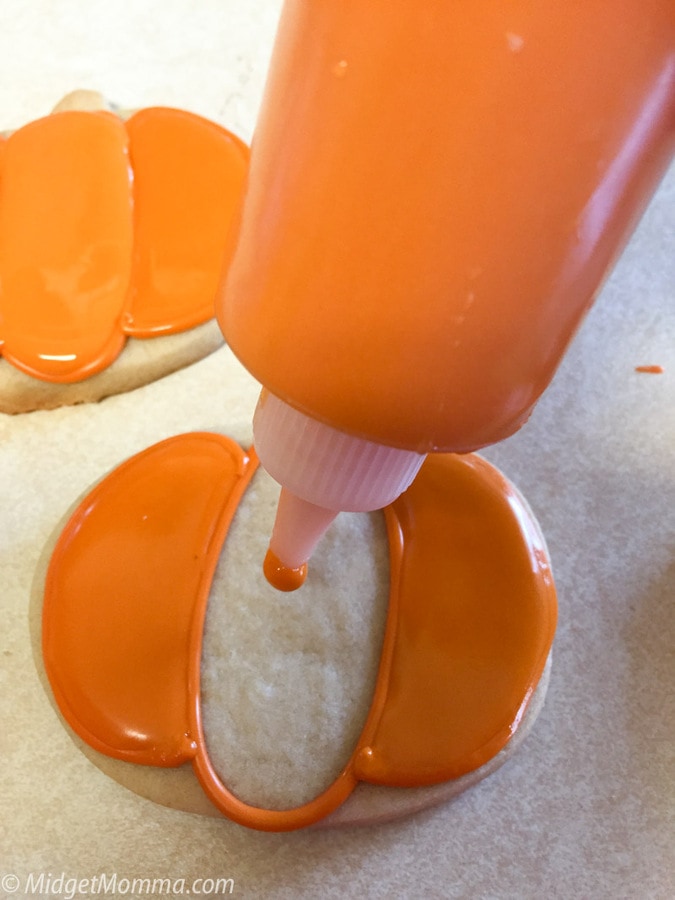
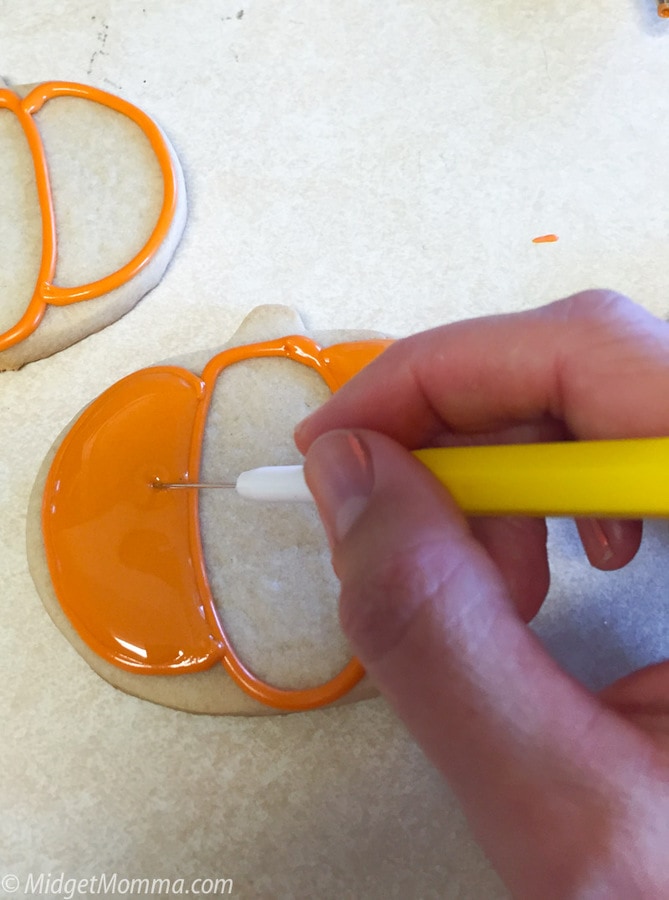
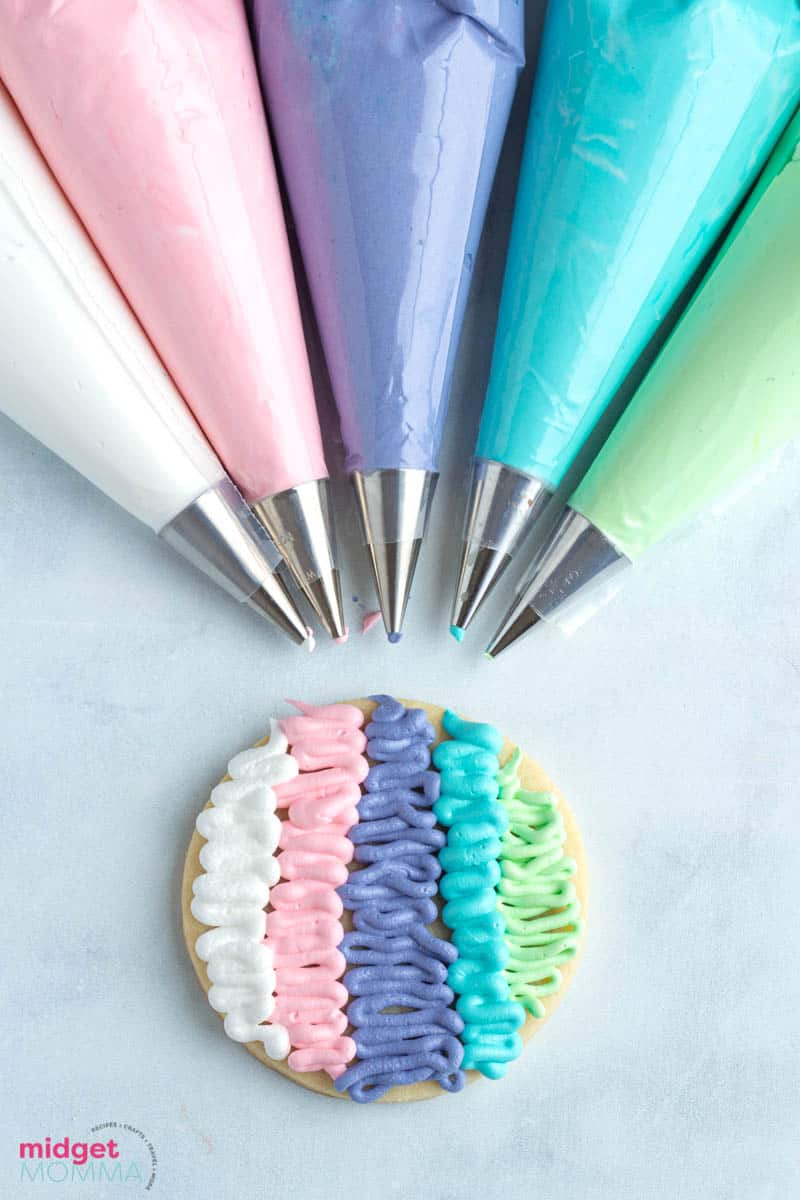
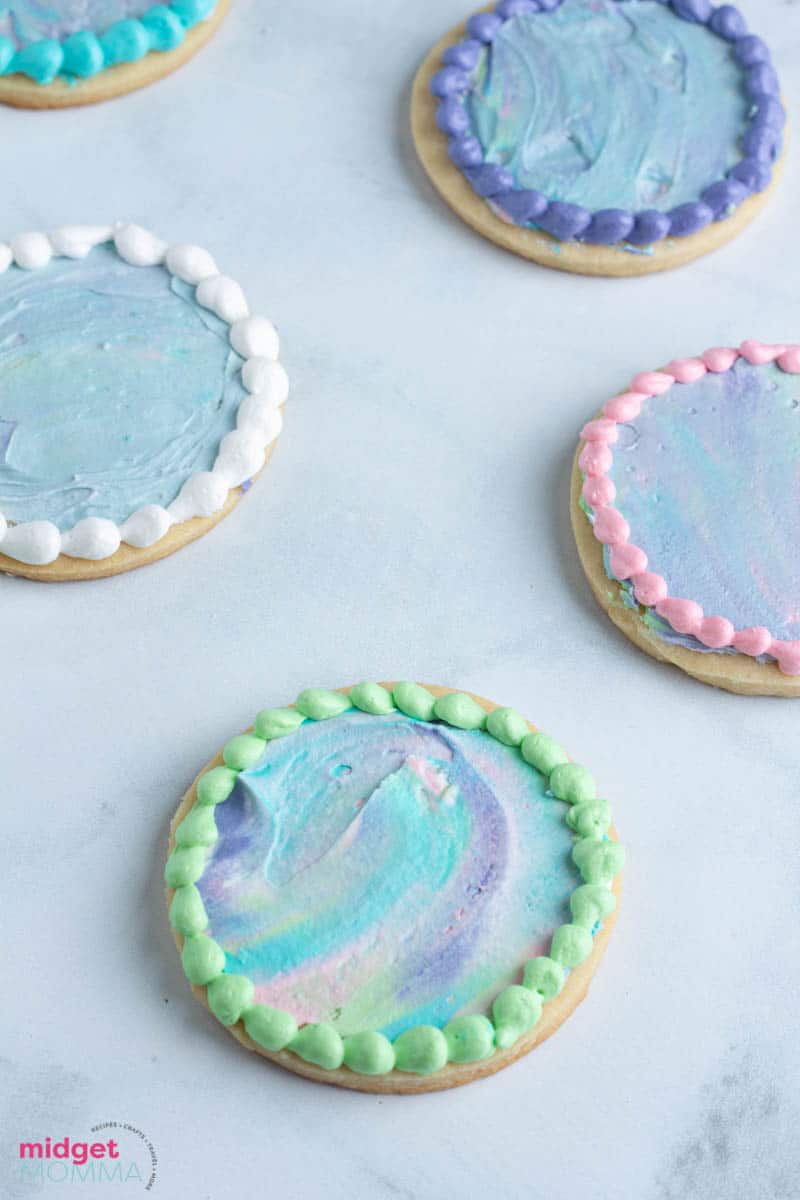
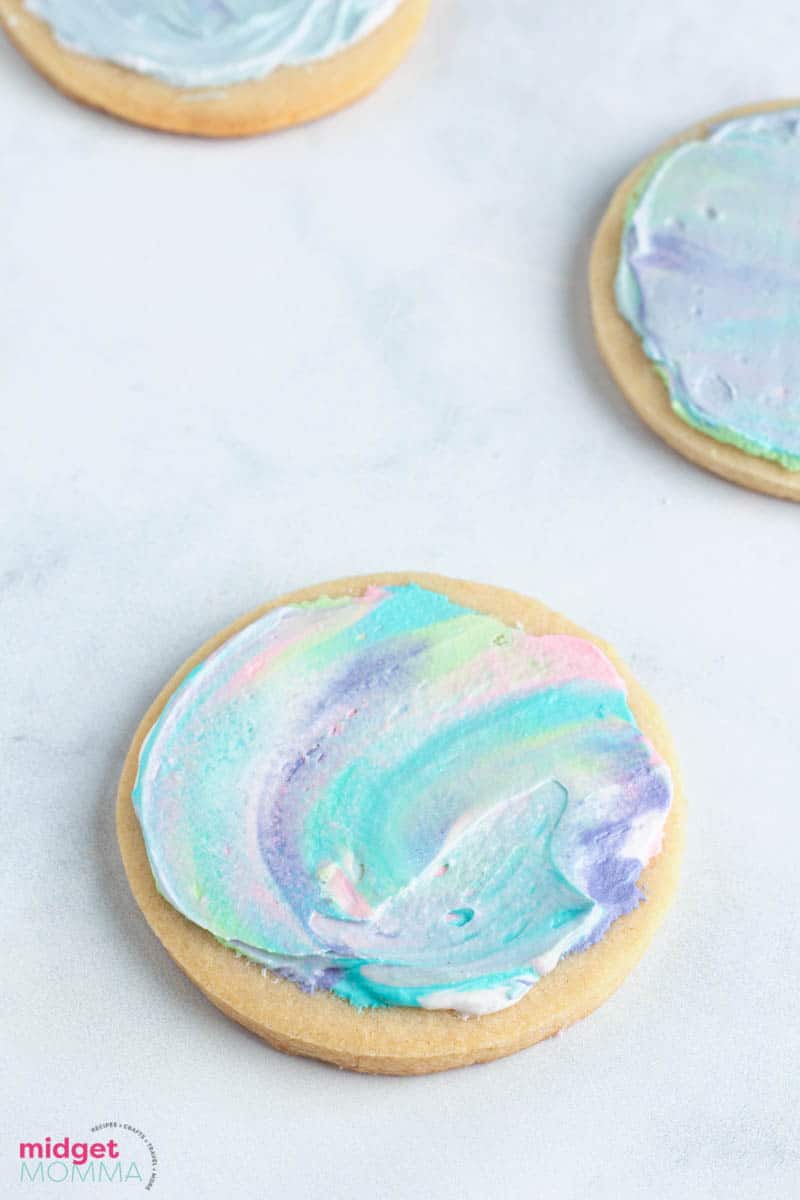
After flooding or spreading frosting on the cookies you can add any details you want to. When I am making simple cookies like these circle ones, I like to make the tye-die look by spreading the frosting and then also put an additional pipped boarder on the edge of them.
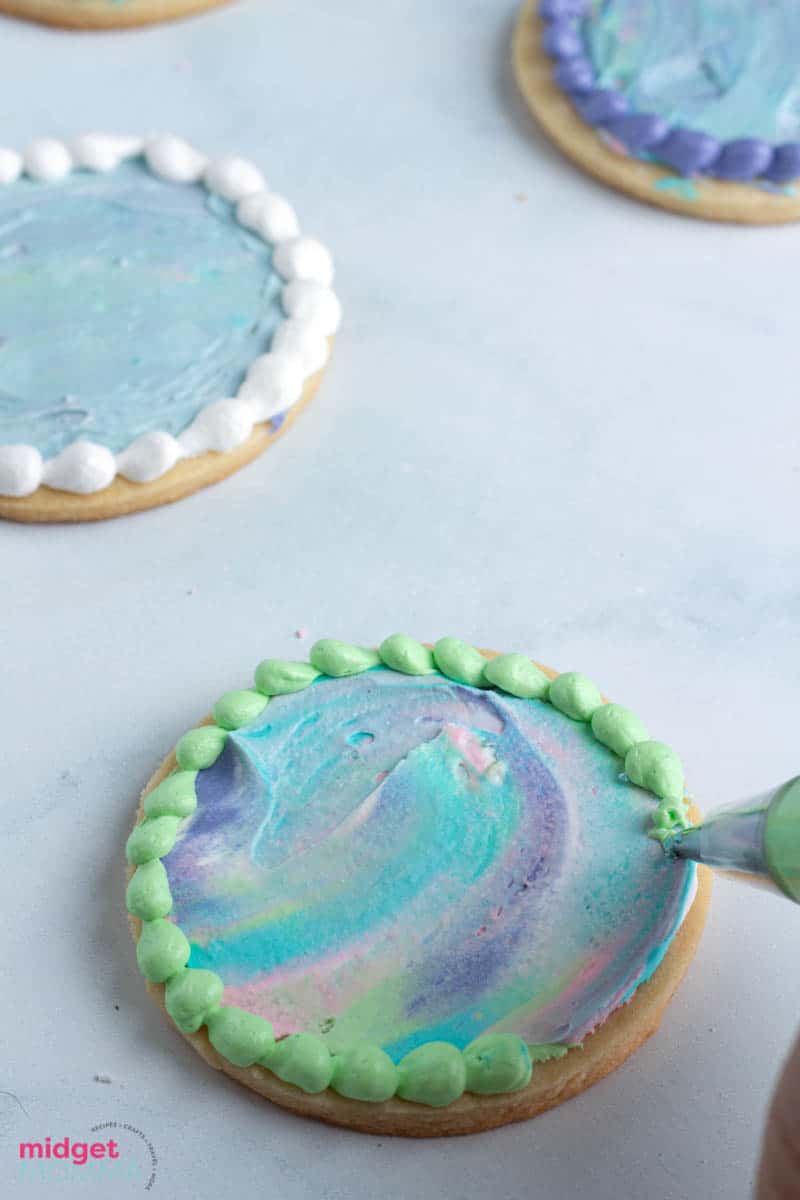
After you have decorated the cookies, let them dry completely before packing up and storing in an airtight container.



Follow Us For More!
Be sure to share your review in the comments below and follow us on Pinterest, Facebook, Instagram or Tiktok for even more food + family fun!