Halloween is such a fun holiday, from tasty and fun Halloween treats to spooky decor and of course carving pumpkins for Halloween. Carving pumpkins is one of our Halloween traditions and we like to make it fun and get creative and with these tips and tricks you can have the best time carving a pumpkin for Halloween and a pumpkin that is perfect for showing off.
How to Carve a Pumpkin For Halloween
You are determined to carve a pumpkin this Halloween to decorate your home’s exterior but don’t know where to start? You may have seen contests where pumpkins turn into art with their intricate designs but don’t lose your confidence. Carving a pumpkin is quite simple, and you only need practice if you want to try more difficult designs.
Inside-lit carved pumpkins – known as “jack-o-lanterns” – have become one of the Anglo-Saxon world’s most beloved symbols of the Halloween season. Pumpkin carving is a fun activity for the whole family, from the youngest to the oldest. Below we give you some pumpkin carving tips to make your jack-o-lantern the most spectacular of the season.
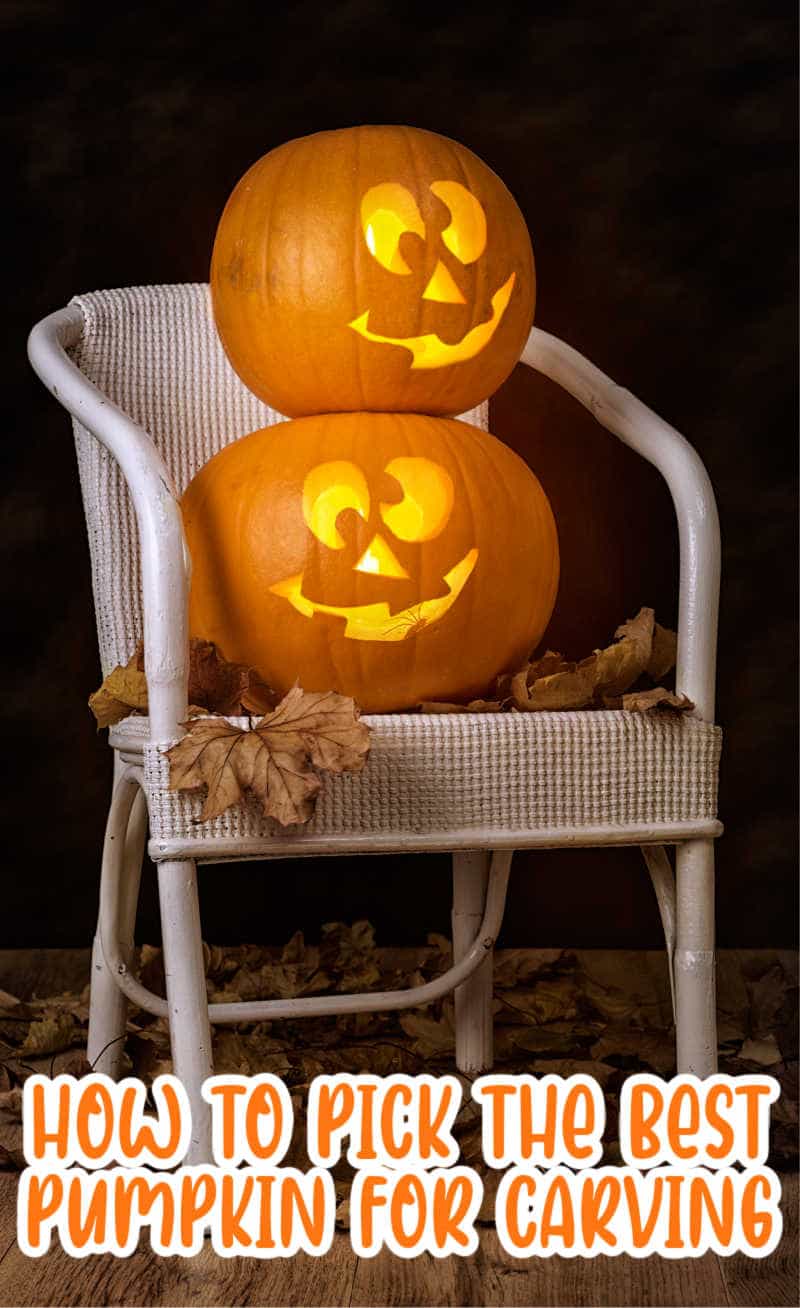
How to pick the Best Pumpkin for Carving
When you are picking your pumpkin either at a pumpkin patch or even the grocery store there are a few things you always want to make sure you do when you are picking out your pumpkin.
Pumpkin Size. Try to get a medium-sized pumpkin at least, but feel free to go bigger. You want at least 12 inches tall if you plan to put a candle in it. Make sure the pumpkin has smooth skin and a good stem.
Pick it up and tap it. When you pick up the pumpkin and tap on it listen for a hollow sound, that is the sound you want when you are looking for the best carving pumpkin.
Avoid Soft pumpkins. You also want to avoid any pumpkin that has soft spots, this will lead to earlier rotting. Flip the pumpkin upside down and gently push on the bottom, if it is soft or you can push on it skip that one and keep looking. A soft bottom will lead to early rotting when you are leaving it out after carving.
Sit the pumpkin down. When you are picking pumpkins in a pumpkin patch many times they are on their sides. Place it bottom side down on a flat area to be sure that it will sit up right and not roll when you have it carved and sitting on your porch.
Get Your Pumpkin Carving Supplies Ready
Before getting started carving you want to have all the supplies you are going to need ready and set up.
- Newspaper. Covering the workspace with newspaper will save you a ton of time on clean up, so I highly suggest using newspaper to cover the table or floor that you will be carving on.
- Washable pencil or marker.
- Sharp knife or a pumpkin carving kit. I prefer to use a pumpkin carving kit, I find that with the kids the tools are much better then using a large sharp knife.
- Pumpkin carving stencil. You don’t have to use a stencil if you don’t want to but there are lots of free pumpkin carving stencils you can print out and use for carving your pumpkin.
Prepping the Pumpkin for Carving
While you might want to jump into cutting the pumpkin design right away there are a few things that you need to do to get the pumpkin ready to be carved with a design. *Note: DO NOT Throw out the lid, you will need this when you are done carving your pumpkin.
Cut the Top opening (lid) of the pumpkin
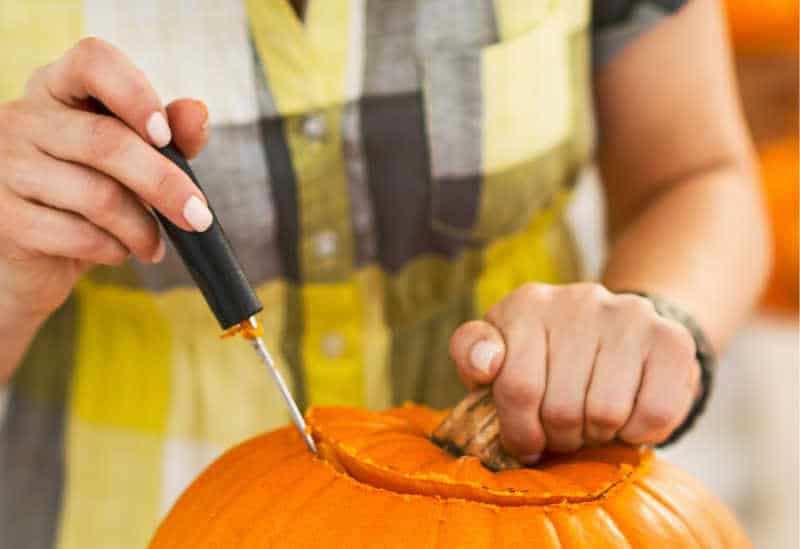
To the cap, draw a circle (or a pentagon or hexagon, more difficult to draw but easier to cut) at least 1-2 inches away from the stem. You want the lid to be big enough that you can get your hands in to get the pumpkin guts out. (FOR ADULTS ONLY!) With a strong knife, cut at an angle (with the knife’s tip pointing toward the center of the pumpkin) to prevent the lid from falling into the pumpkin. Do not remove the knife from the pumpkin until you have cut the entire circle, thus avoiding uneven edges.
Remove the pulp and seeds
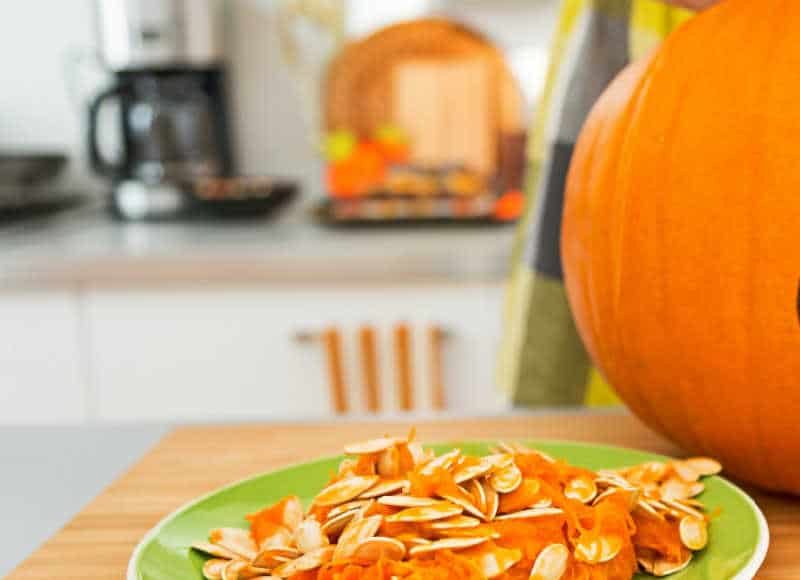
Before starting to carve your design, you must remove the pulp and seeds from the inside of the pumpkin. Take the lid off, and remove the stuck seeds. Once the pumpkin is open, use a spoon to scoop out the pulp and seeds inside. If you wish, you can scrape the part where you will carve the design so that it is thinner and easier to sculpt. We like to make homemade pumpkin seeds as to not waste them because they are so delicious, be sure to check out our crunchy pumpkin seeds recipe and for a fun twist our sweet and salty pumpkin seeds. You can also use all of that pumpkin meat to make some super fun pumpkin guts slime!
Make a candle spot
Once the pumpkin guts are all out, dig a base in the “ground” of the pumpkin to support a candle, but be careful not to make it too thin, so it does not rot.
How to Carve a Pumpkin Step By Step
Now that the pumpkin is all cleaned out it is time to get to carving. When we are carving our pumpkins I like to get all the pumpkin seeds out and cleaned up to make our homemade pumpkin seeds and have the pumpkin seeds cooking in the oven while we are finishing up our pumpkins. By the time we are done carving the designs in our pumpkins the pumpkin seeds are ready for us to enjoy as a tasty snack!
Pick the Pumpkin carving design
Now the pumpkin is ready to carve. In this step, you must choose the design for your pumpkin. If you prefer to create your own silhouette, draw it on paper. You do not require to create a face. You can make intangible designs, animals, animation characters, or whatsoever comes to your mind. If you prefer not to use your own design, you can print pumpkin carving templates.
Transferring design to a pumpkin
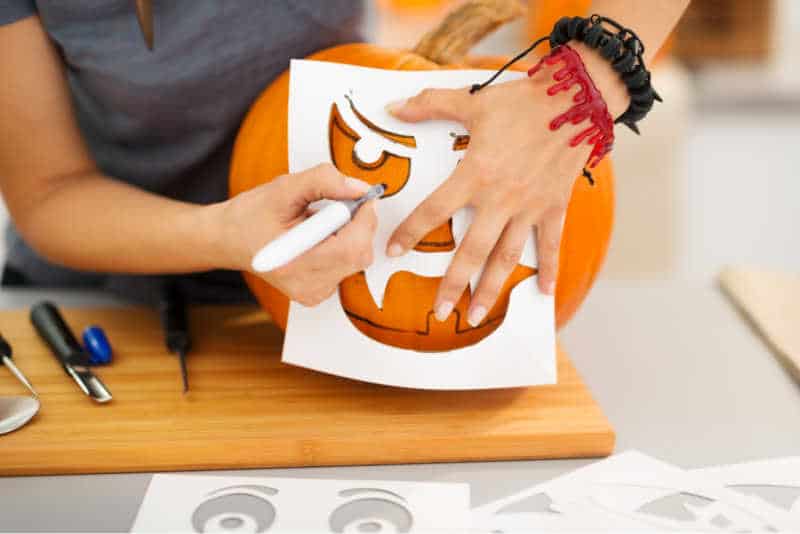
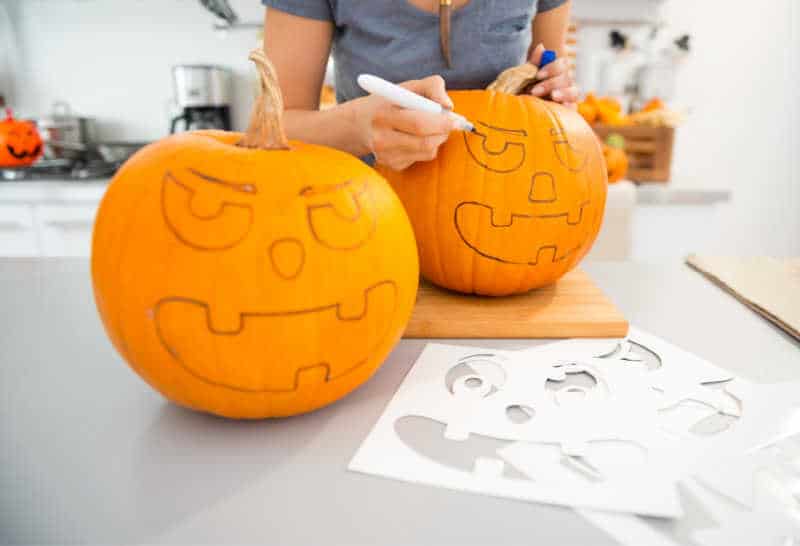
If you are carving a face with out a stencil then you will want to use the washable pencil or marker and free hand it and you can skip the step for putting the design shape on a pumpkin. If you are using a printed pumpkin stencil, print the stencil you want to use.
Next you will transfer it to the pumpkin. There are 2 ways to do this and it will depend on the type of stencil you are using.
If you are using a stencil that you can cut out and then trace on to the pumpkin, cut out the design, then tape the paper to the pumpkin. Using a marker trace the pumpkin carving shape onto the pumpkin.
If you are doing a more detailed design where cutting out the shape is not possible you will want to use the hole poking method. Lay the paper on top of the pumpkin, holding it in place with tape. Use a sharp needle to outline the pumpkin’s design by making small holes, or you can use the little poking tool that comes in most pumpkin carving kits. Poke thru the paper around the edges of the design so you end up with little poke marks on the pumpkin that form the outline of the design you are making. Once you have done this remove the paper from the pumpkin.
Carving the pumpkin design
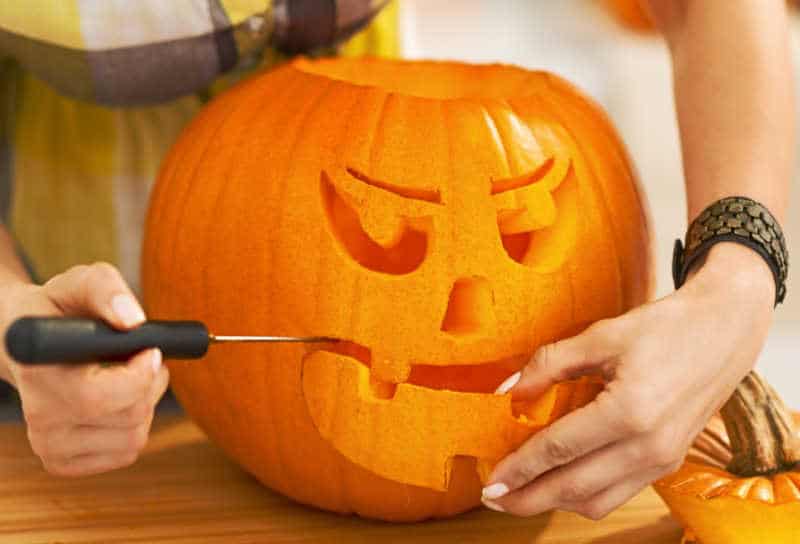
Starting in the center of the design (so as not to put pressure on already carved areas), carefully cut out the drawn shapes. This requires great care, for safety and also not to spoil the design. “Score” each line a few times with the tip of the knife before inserting it, and make several small cuts instead of one large one.
When you already have a cut piece, push it from the inside with one finger (little kids love this!). You will have to make some shapes, like toothy smiles, in various pieces. If you accidentally cut a piece that is not part of the design, you can “sew” it into place with toothpicks, or change the design to accommodate the accident – sometimes the best designs come out of the blue. I like using the pumpkin tool that comes in this pumpkin carving kit. It makes it easier for kids to be able to do this part with out having them use a large sharp knife.
Display Your Carved Pumpkin
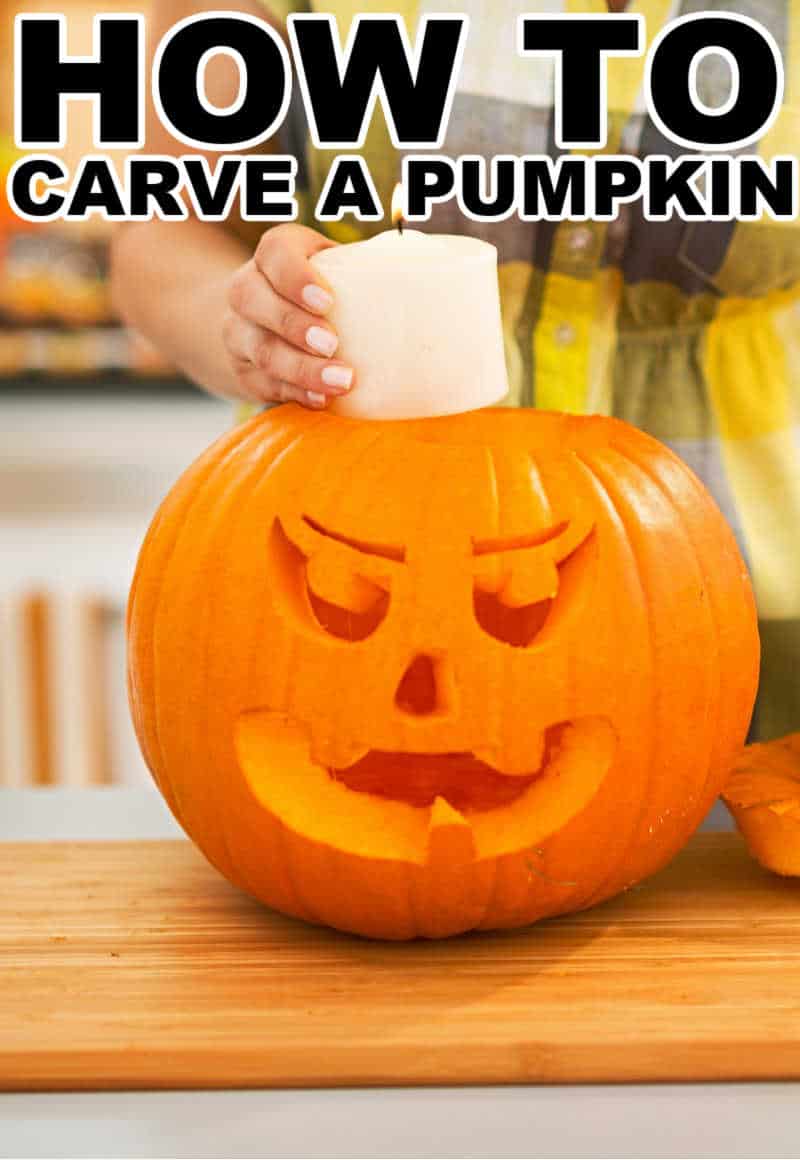
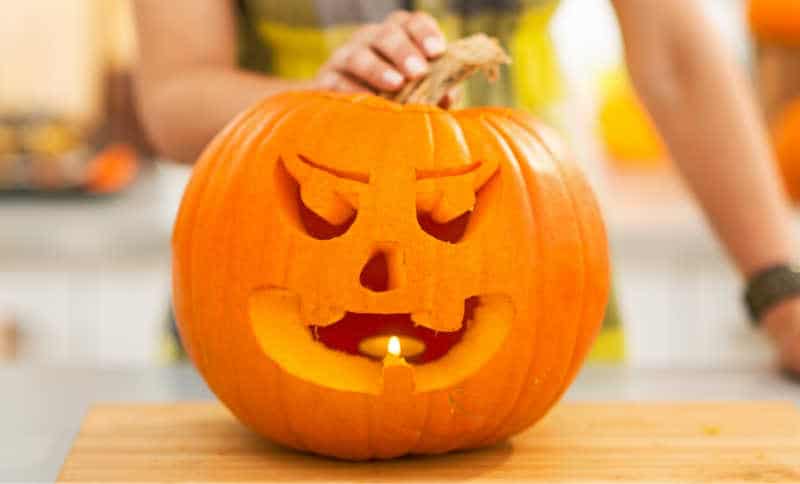
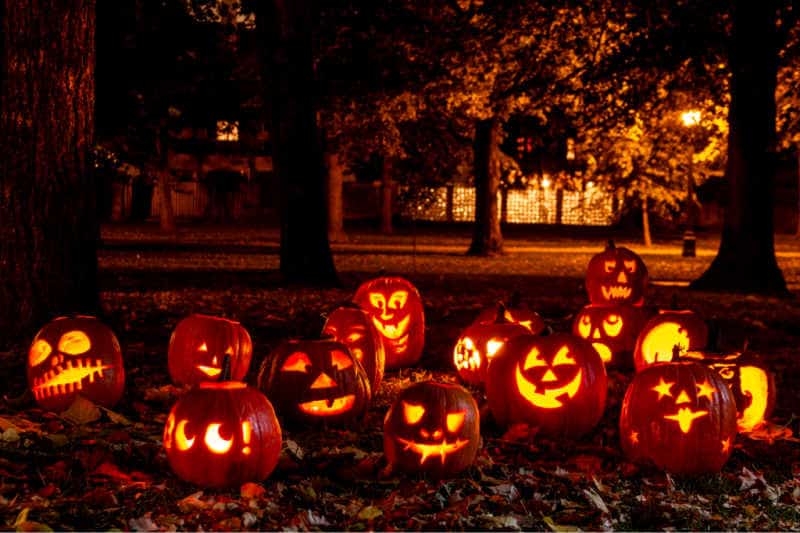
Now is the time to appreciate your work of art. Place a candle inside, light it, cover the pumpkin, and turn off the lights to see your work of art. Then Place your jack-o-lantern in a place of honor. Don’t forget to blow out the candle before going to bed at night after you have lit it.
If the candle doesn’t stay lit in side your pumpkin, it may not be getting enough air. Try enlarging some of the holes, or cut a “v” in the cap on the opposite side of the face so it won’t show.
How to extend the life of a jack-o-lantern
To extend the life of your jack-o-lantern, cover the cut surfaces (the eyes, the mouth, the lid, the inside of the walls, etc.) with Vaseline. This prevents it from becoming dehydrated and rotting. Also, please don’t leave it in the sun. At night, when it is not scaring the family or neighbors, store it in the fridge if you have room! If not, in a cool, dark place. If your pumpkin becomes dehydrated and wrinkled, you can rekindle it by soaking it in a bucket of water.
If you are looking for more Halloween fun, then be sure to check these out!
- Halloween Witch Kids Hand Print Art
- Popsicle Stick Halloween Puzzle
- DIY Halloween Word Plaque
- Kids Feet Ghost Canvas Wall Art
- Easy DIY Halloween Wreath
- Potato Jack O Lantern Stamp


Follow Us For More!
Be sure to share your review in the comments below and follow us on Pinterest, Facebook, Instagram or Tiktok for even more food + family fun!