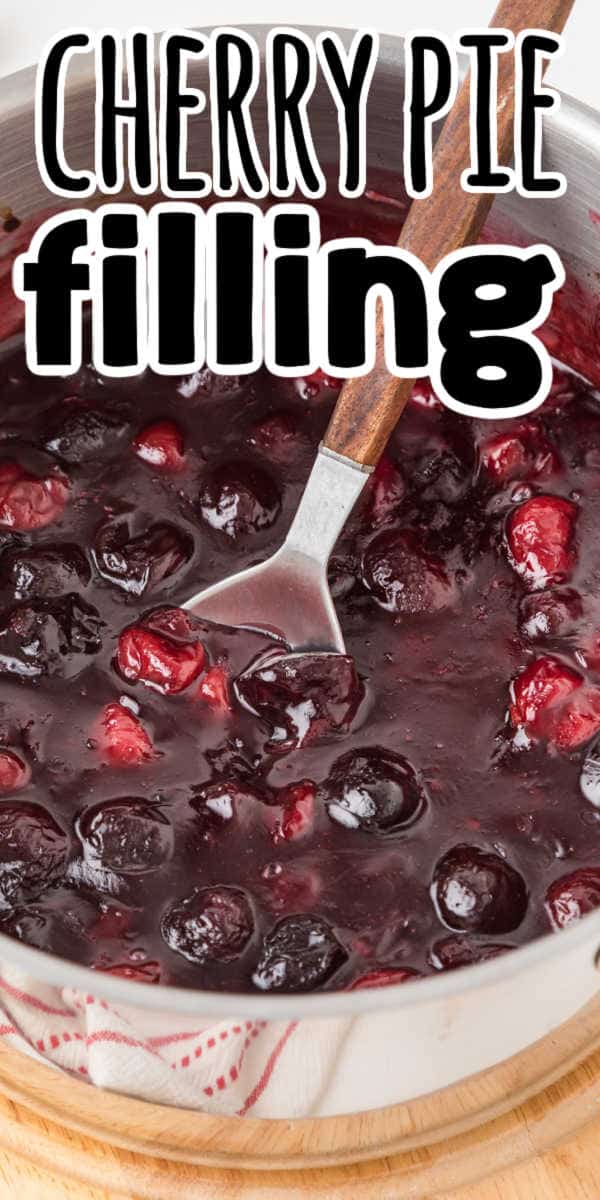
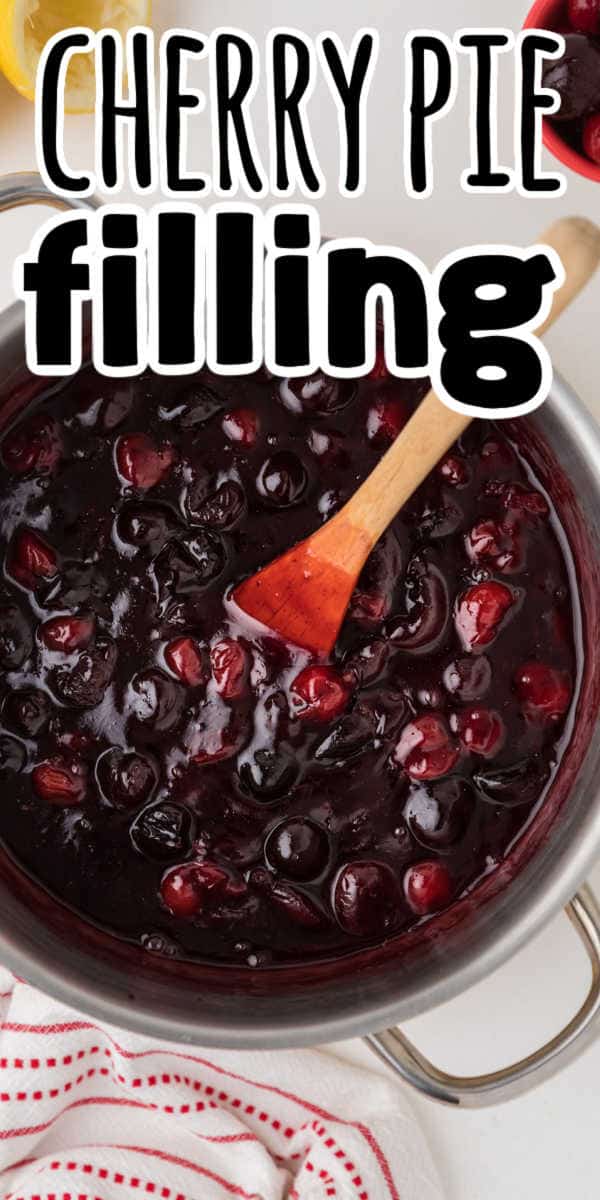
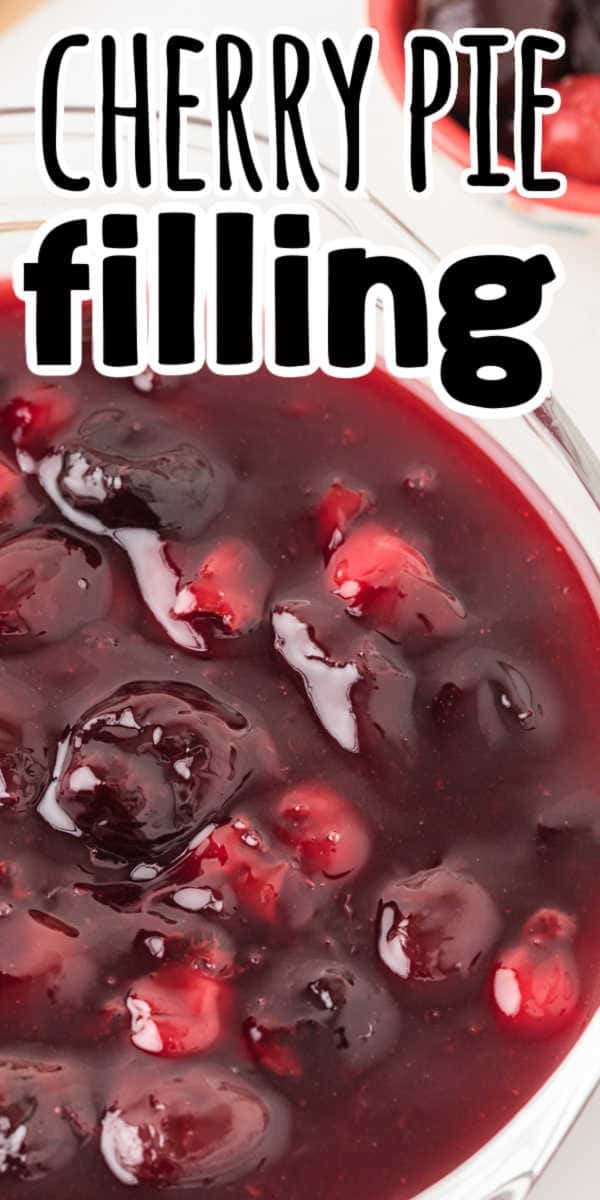
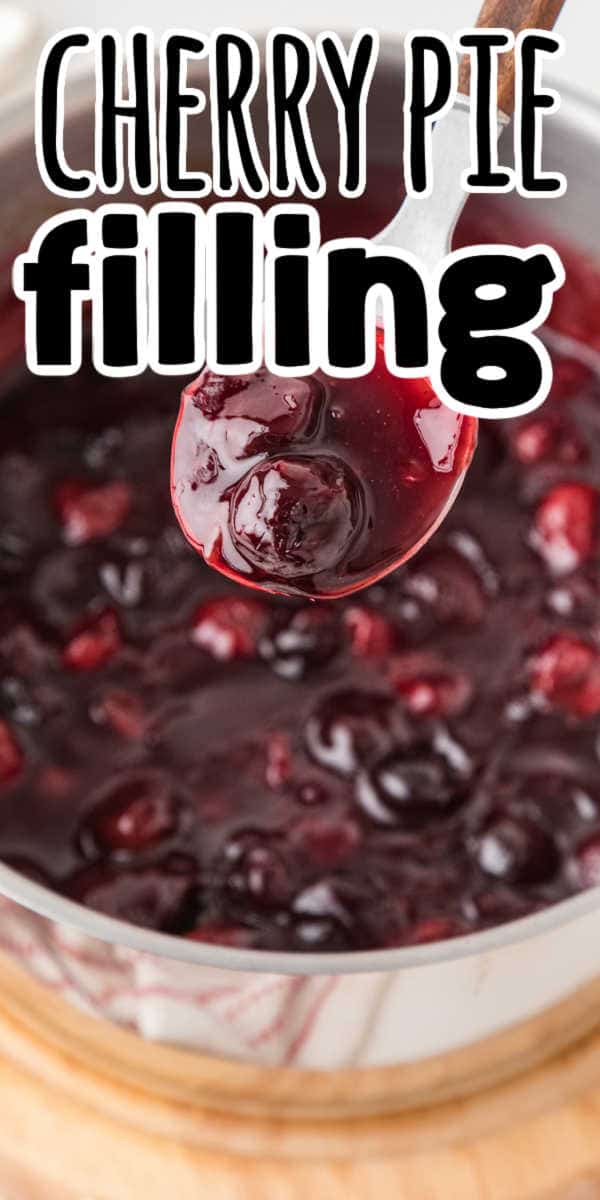
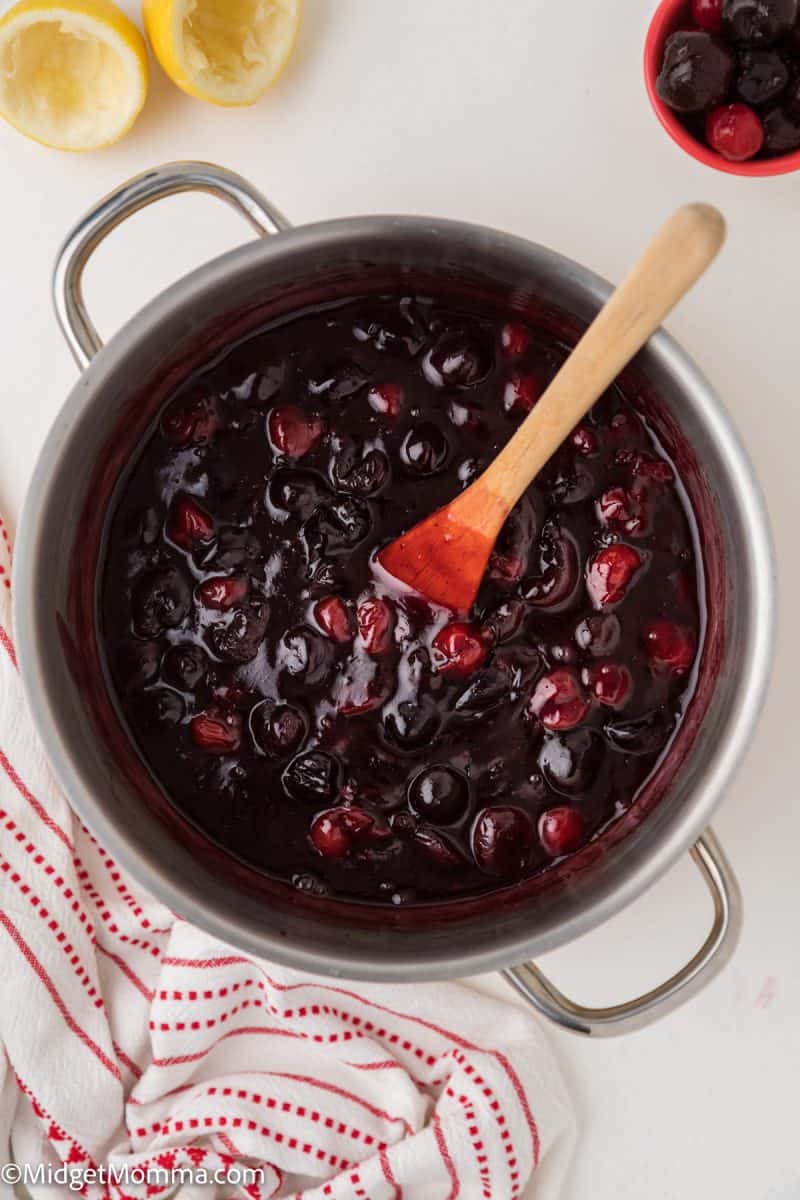
Looking for the best cherry pie filling recipe? You are in luck! This easy cherry pie filling takes just 5 minutes of prep and under 20 minutes of cooking. Use this homemade pie filling for making a pie, in pastries and on top of desserts!
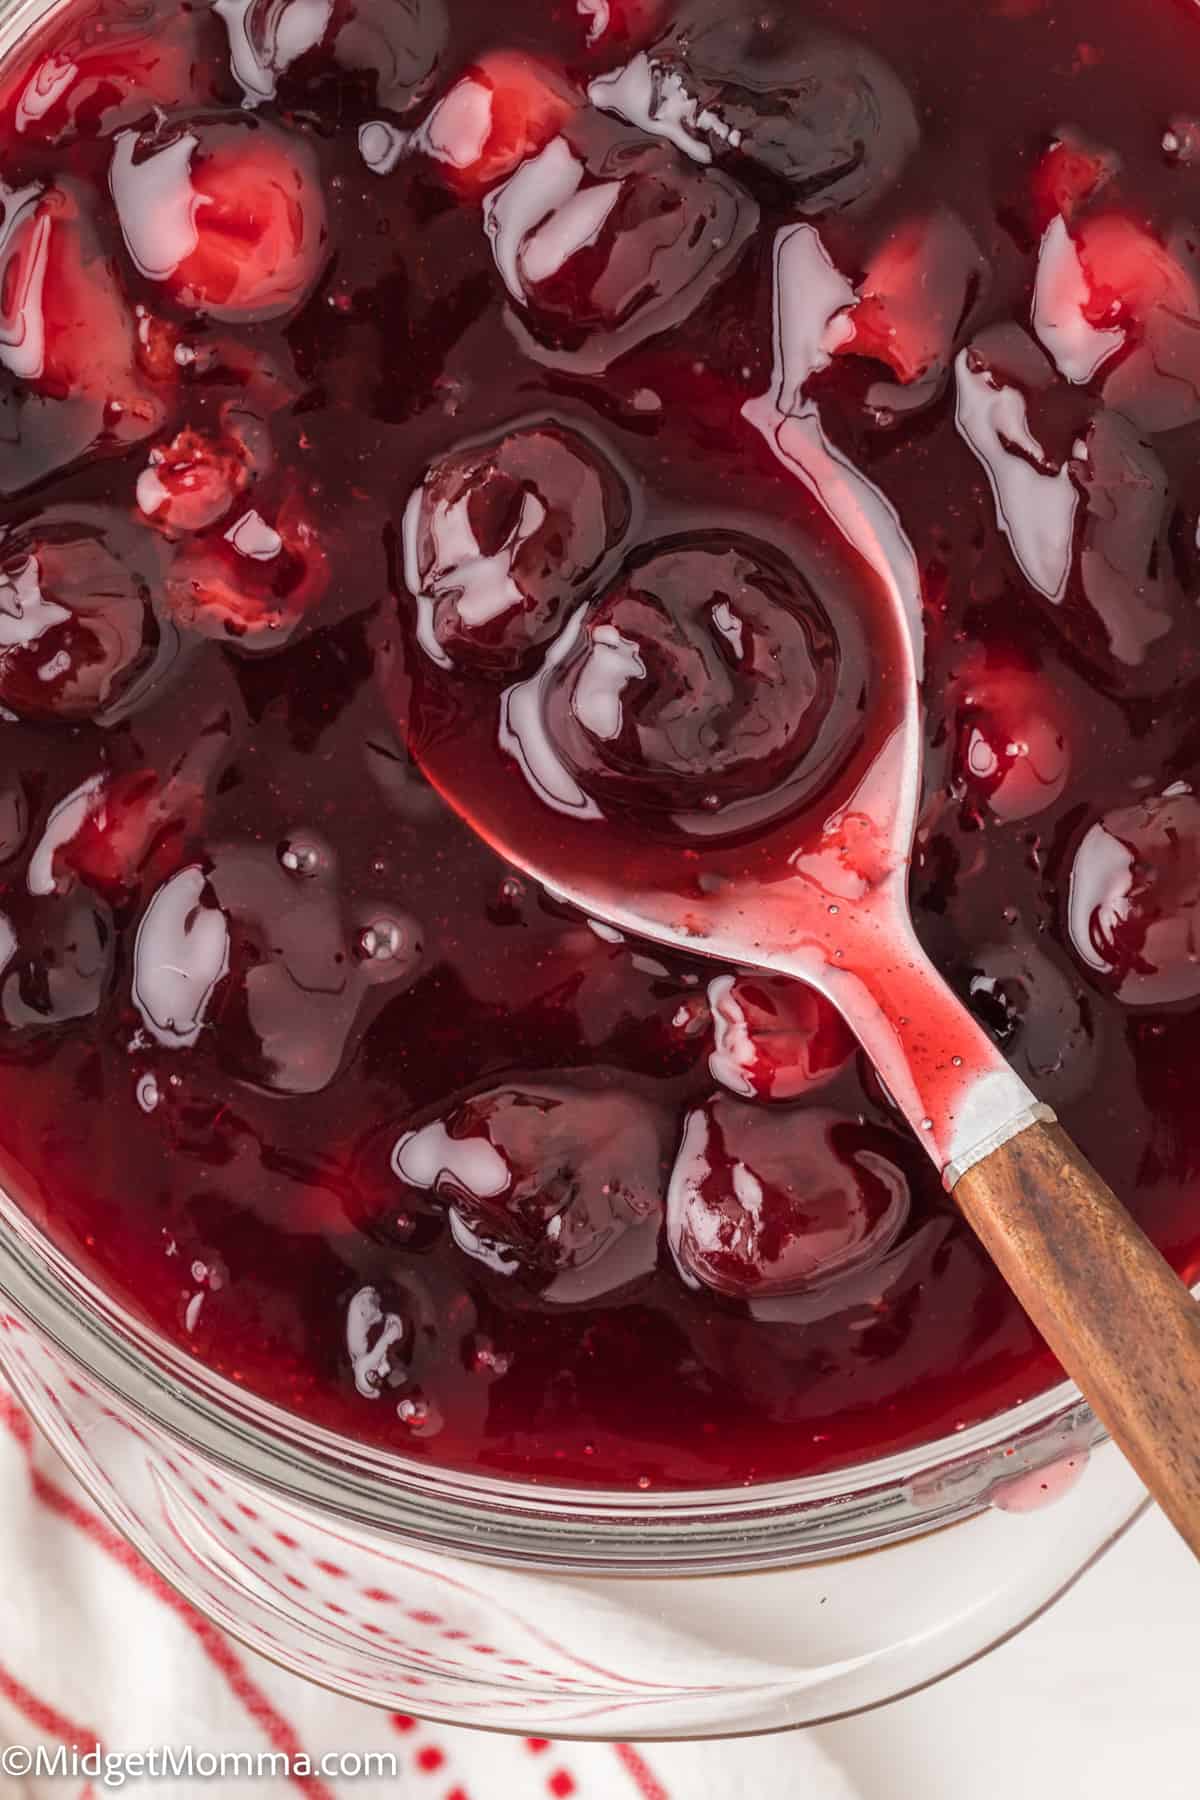
Cherry Pie Filling Recipe
I love making homemade pie and the best way to make them is with homemade pie filling. This homemade cherry pie filling recipe is not only easy to make but it tastes so much better than using canned cherry pie filling. It is the same filling that I use in my homemade cherry pie recipe, that is oh so delicious! Everyone who has tasted this filling has loved it! It is now our go to and we totally skip the canned stuff!
My Homemade Cherry Pie filling is so easy to make with from scratch ingredients you probably already have in your kitchen aside from the cherries (but you might because it can be made with fresh or frozen cherries!)
It is so easy to make and stores well, so you can totally make it in advance, keep it in the freezer and use it whenever you want to.
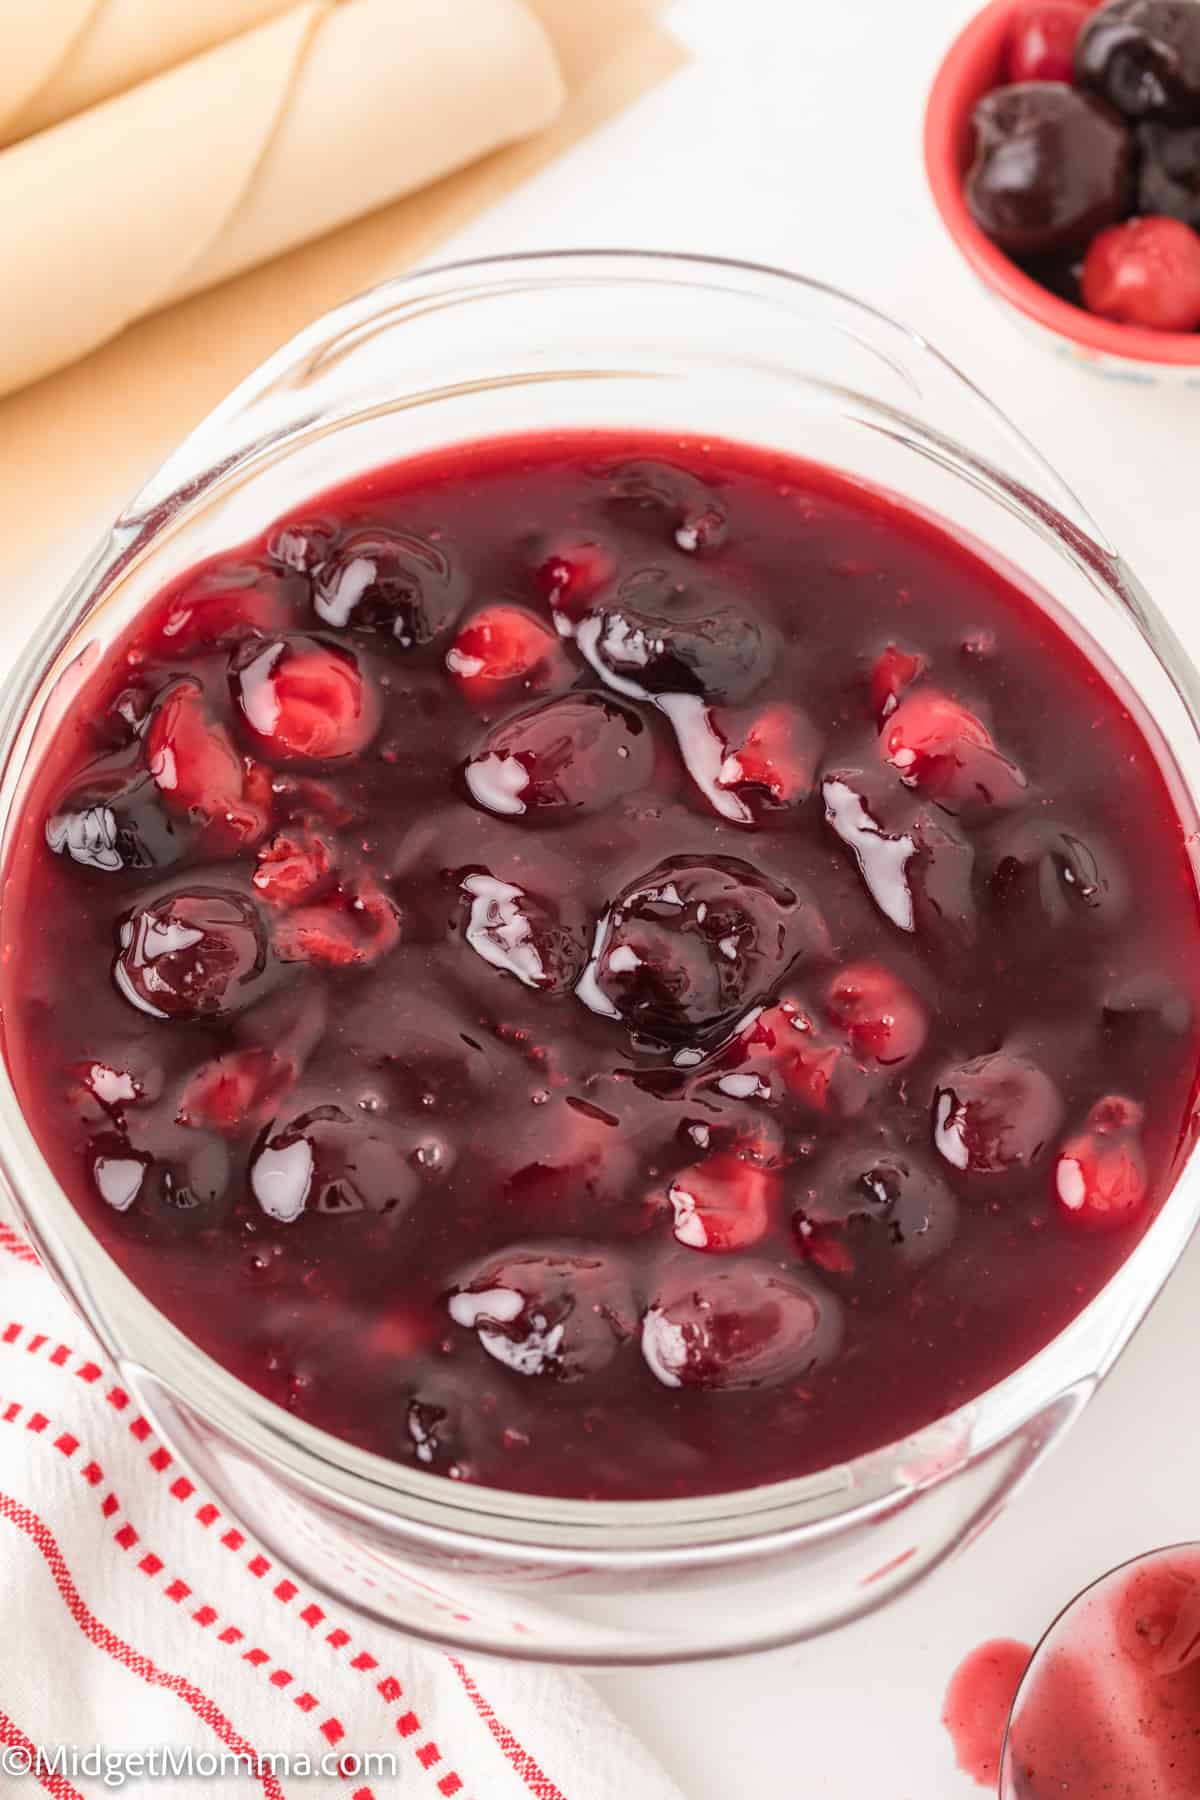
If you have never made homemade cherry pie filling I want you to know that it is super easy to do. I know many times we see things in the grocery store that are premade and think they must be hard to make ourselves. But the reality is they are super easy to make, and most of the time it doesn’t take much time at all to make ourselves. This is one of those things that while te convince is there to grab it at the store, you end up with much better flavor when you make it yourself at home.
This homemade pie filling recipe is made in less than 30 minutes, including the prep and cooking time. It is also much cheaper and tastes so much better than any of the canned pie fillings you can buy.
I love making my own food items at home, including my own pie fillings because I know what is in them and the flavor is always so much better. If you are looking for more awesome homemade recipes, check out some of my favorites.
- Homemade apple pie filling
- Slow cooker applesauce
- Homemade applesauce
- Homemade Ranch season
- Apple Butter
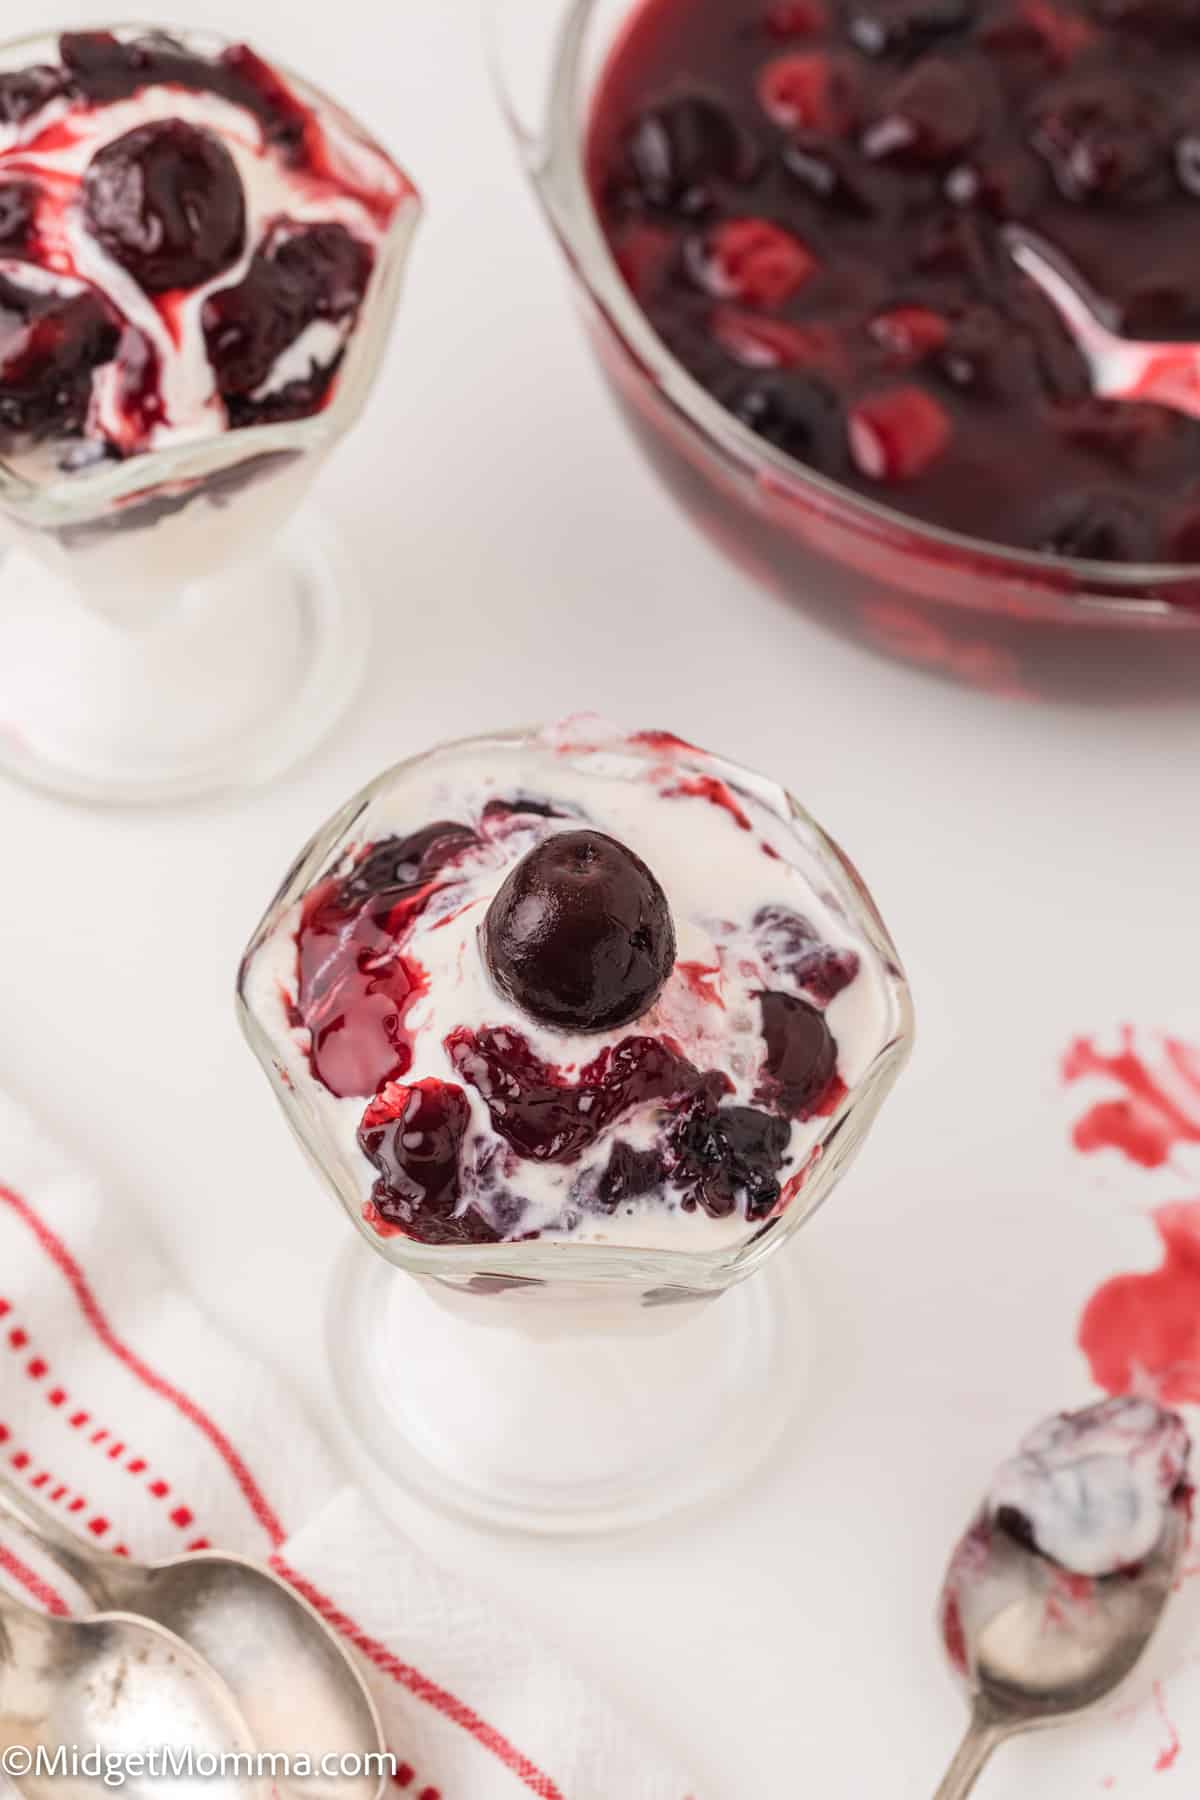
What can I make with cherry pie filling?
Obviously, you can make a cherry pie with homemade cherry pie filling, but there are also many other great uses for this recipe and this cherry pie filling will work for any recipe using cherry pie filling as an ingredient. This homemade cherry pie filling recipe can be used with any recipe using cherry pie filling.
You can use it to make a cherry danish, on top of waffles or pancakes, on a scone, Chocolate cherry cupcakes, chocolate covered cherry cupcakes, and on top of vanilla ice cream.
Homemade cherry pie filling is also delicious on top of yogurt. Try making some instant pot yogurt and then put a spoonful of this cherry pie filling on top… oh yum!
It goes perfect with no bake cheesecake too!
Or a warm homemade brownie, topped with some cherry filling and some whipped cream, and a drizzle of hot fudge, makes for an amazing dessert!
What is the best crust to use when making cherry pie?
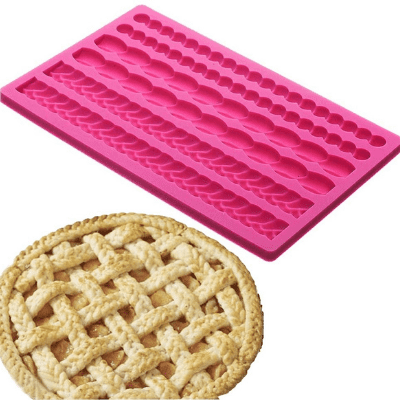
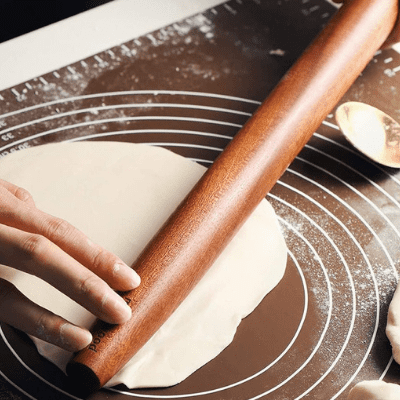
I will say I highly suggest making a homemade pie crust to go along with this easy homemade cherry pie filling when you are making a classic cherry pie. You can use a store bought crust, however a homemade pie crust makes it taste soo much better!
I find that making a homemade crust holds up better, if you are using store bought crust then I suggest using 2 pie crusts if they are really thin.
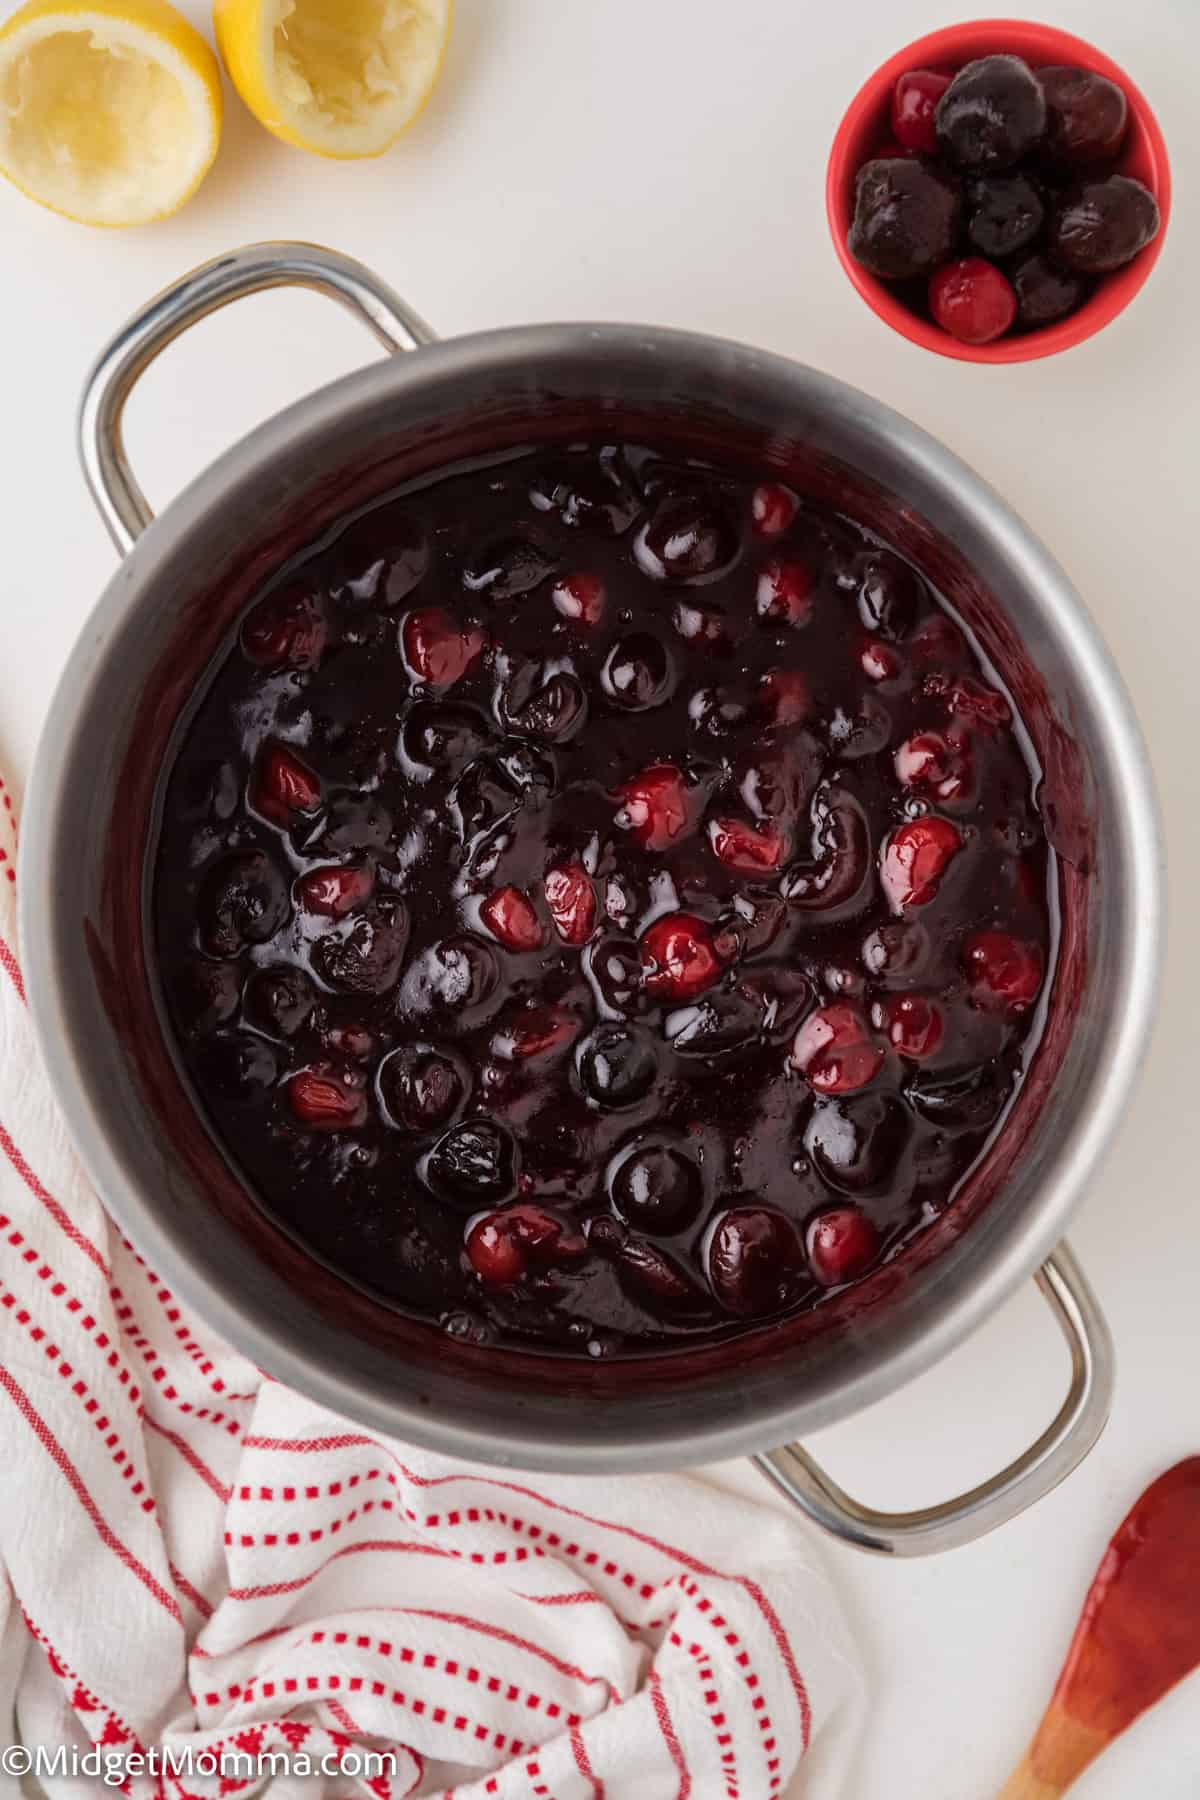
Do I need to make a cornstarch slurry?
Yes, you need some kind of thickener for your easy cherry pie filling. Cornstarch will give you a nice smooth thickener. By mixing it ahead of time, you can ensure that there are no lumps in the slurry and therefore in your filling. I find it best to make the slurry and set it aside and then give it a quick whisk to make sure all the lumps are blended in it before I pour it into the pot with the rest of the filling ingredients.
I don’t have cornstarch, can I use flour instead to thicken my filling?
Yes, you can use flour, however, you will need 2 times the amount of flour as corn starch. Know ahead of time that flour has a tendency to make the filling cloudy so it will not look as bright vibrant red, but it will still have an amazing sweet taste.
How to thicken Cherry Pie filling
If the filling is too thin, add a bit more cornstarch, 1/2 teaspoon at a time.
How do I thin my cherry pie filling?
If the filling is too thick, add more water a teaspoon at a time.
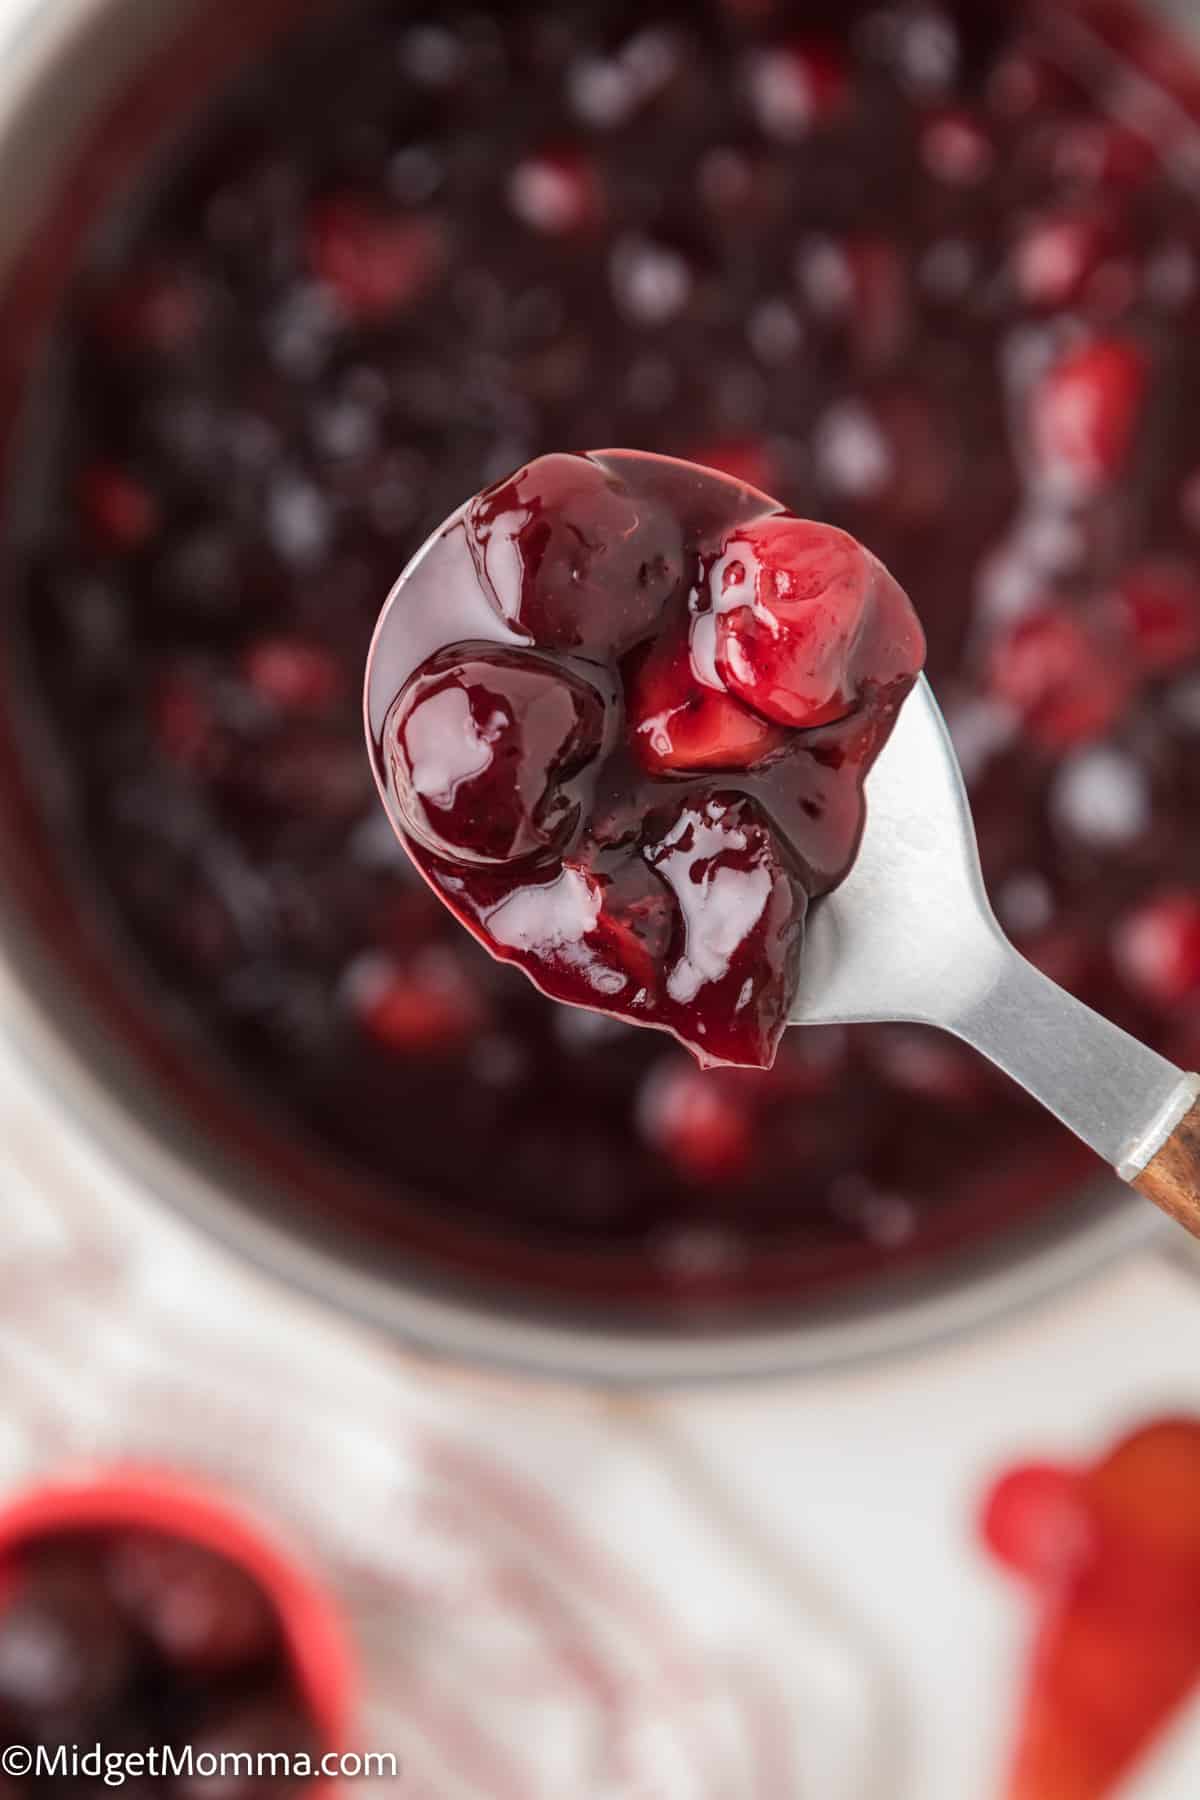
What are the best cherries to Use for Cherry Pie Filling?
The best cherries to get for a pie depends on the time of year that you are making this filling recipe. For this recipe, you can use frozen cherries or fresh cherries depending on what you have on hand.
If you are making a pie during cherry season, go with fresh cherries. You can even go to a pick your own place and spend the day picking cherries and then come home and make all of the tasty desserts.
During the rest of the year, frozen cherries will work also. Trying to find cherries in stock during the offseason can be a bit of a challenge, so to make things easy I just grab the bags of frozen cherries. Just thaw the cherries before making the stove top pie filling.
I prefer to get a mix of sweet cherries and tart cherries or sweet cherries and sour cherries like Wymans. You can use all sweet or all tart if you want to, but I find that a 50/50 split of the two types makes for the best flavor results.
How do you Get the Pit out of Cherries?
If you are using fresh cherries then you will need to remove the pits. You can use a cherry pit remover or a chopstick or straw. Remove the stem and then push the chopstick or straw thru the top of the cherry pushing the pit out thru the other side of the cherry.
I will say, using a cherry pitter is MUCH easier to use then a straw or a chopstick, so if you are wanting to make desserts with cherries I highly suggest investing in a cherry pitter for your kitchen.
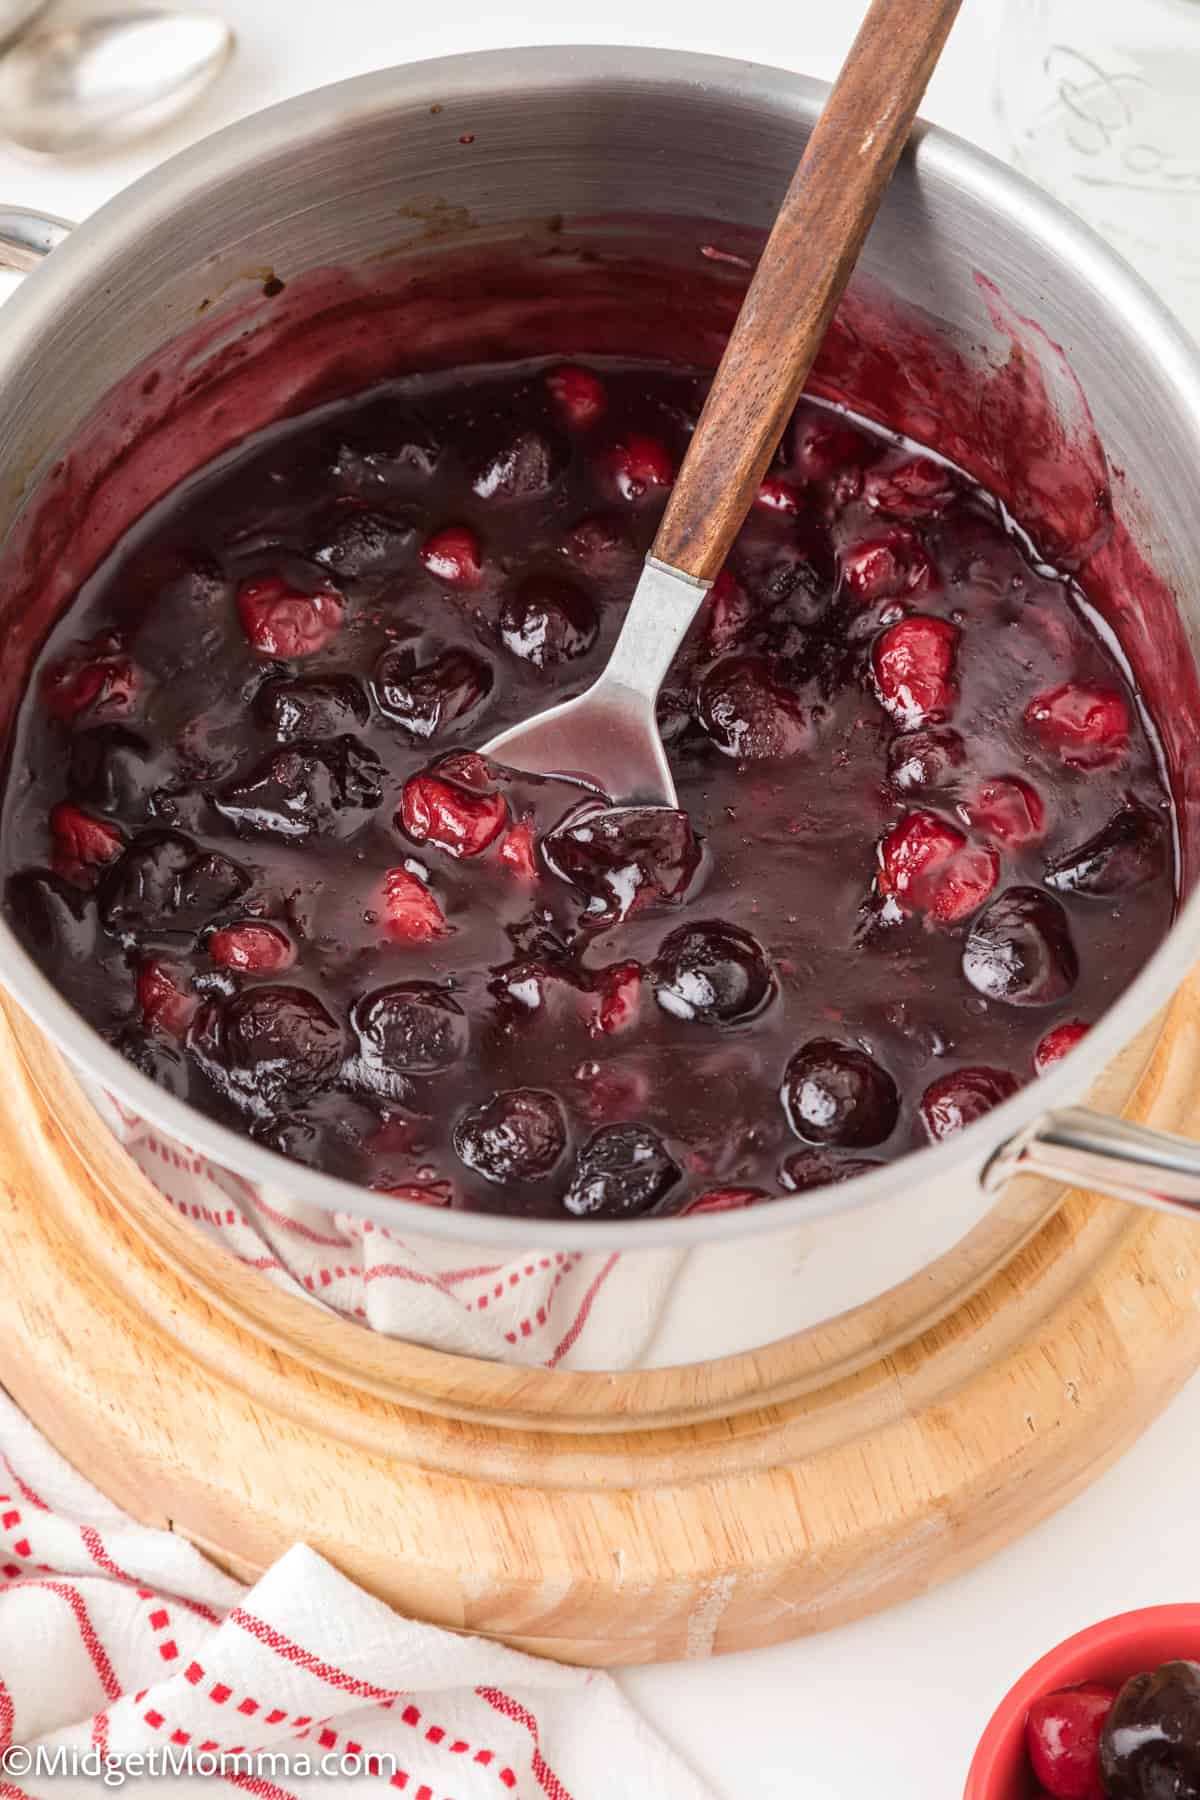
How to store cherry pie filling
Sweet cherry pie filling does need to be stored in the refrigerator in an airtight container. You can store it in a plastic container, or I like to store it in a mason jar.
Does cherry pie filling need to be refrigerated?
Yes. Cherry pie filling needs to be stored in the fridge if you are not freezing it. It is important that you allow it to cool completely before storing it in the fridge.
How long does cherry pie filling last?
It will keep in the fridge, store in a sealed jar or airtight container for up to 3 days in the fridge. If you are storing it in the freezer it will keep for up to 12 months in the freezer. Three months after freezing, it starts to lose flavor but is still safe to eat for 12 months, so I prefer to use it within the first 3 months. However you can still use it in your baked goods and for making pie up to 12 months of being stored in the freezer.
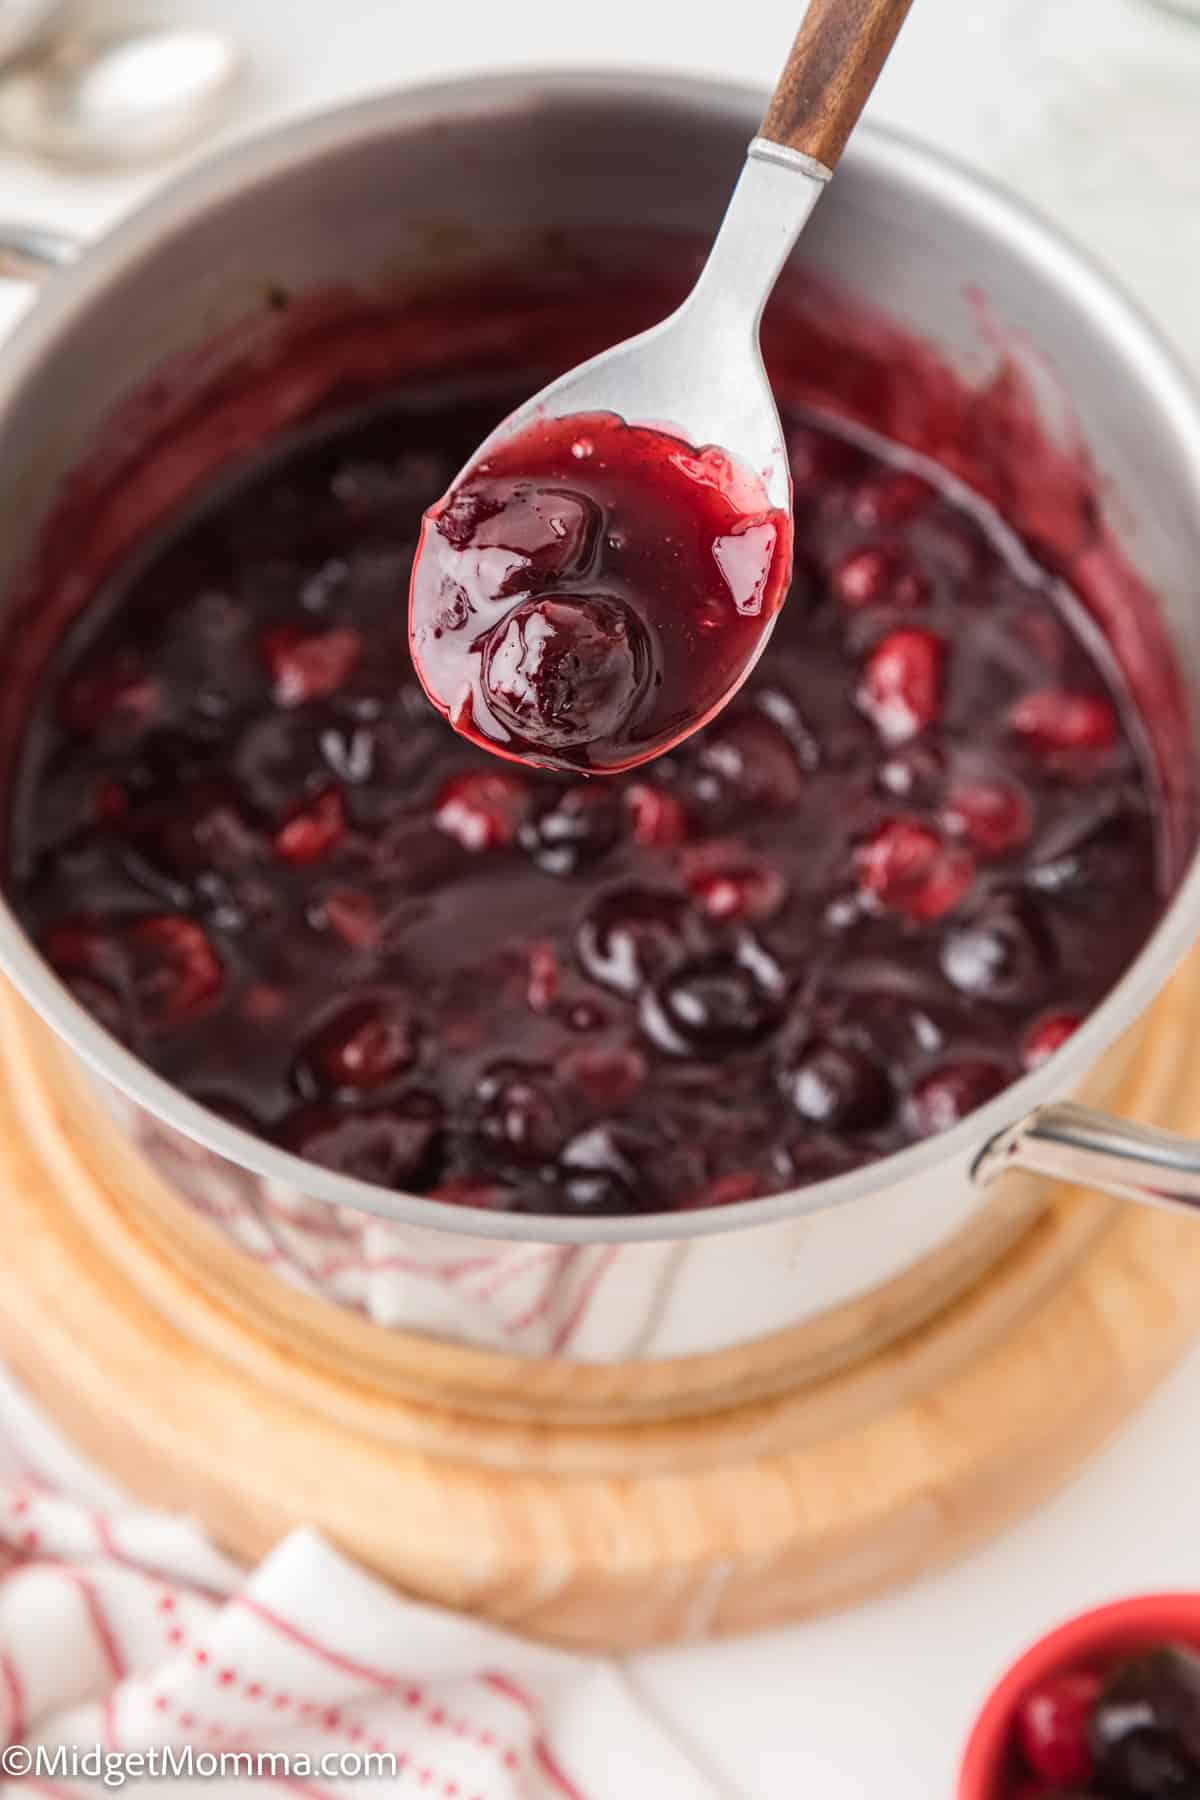
Can You Freeze Cherry Pie Filling?
Yes. You can freeze this pie filling and when you freeze the pie filling it needs to be in an airtight container, you can use a zipclose freezer bag or a plastic container with a lid.
How to Freeze cherry pie filling
Allow the homemade pie filling to cool completely. Once cooled pour into a freezer bag and then zip close removing the air from the bag. Lable the bag with the recipe name and the date you made it. Lay the bag flat in the freezer.
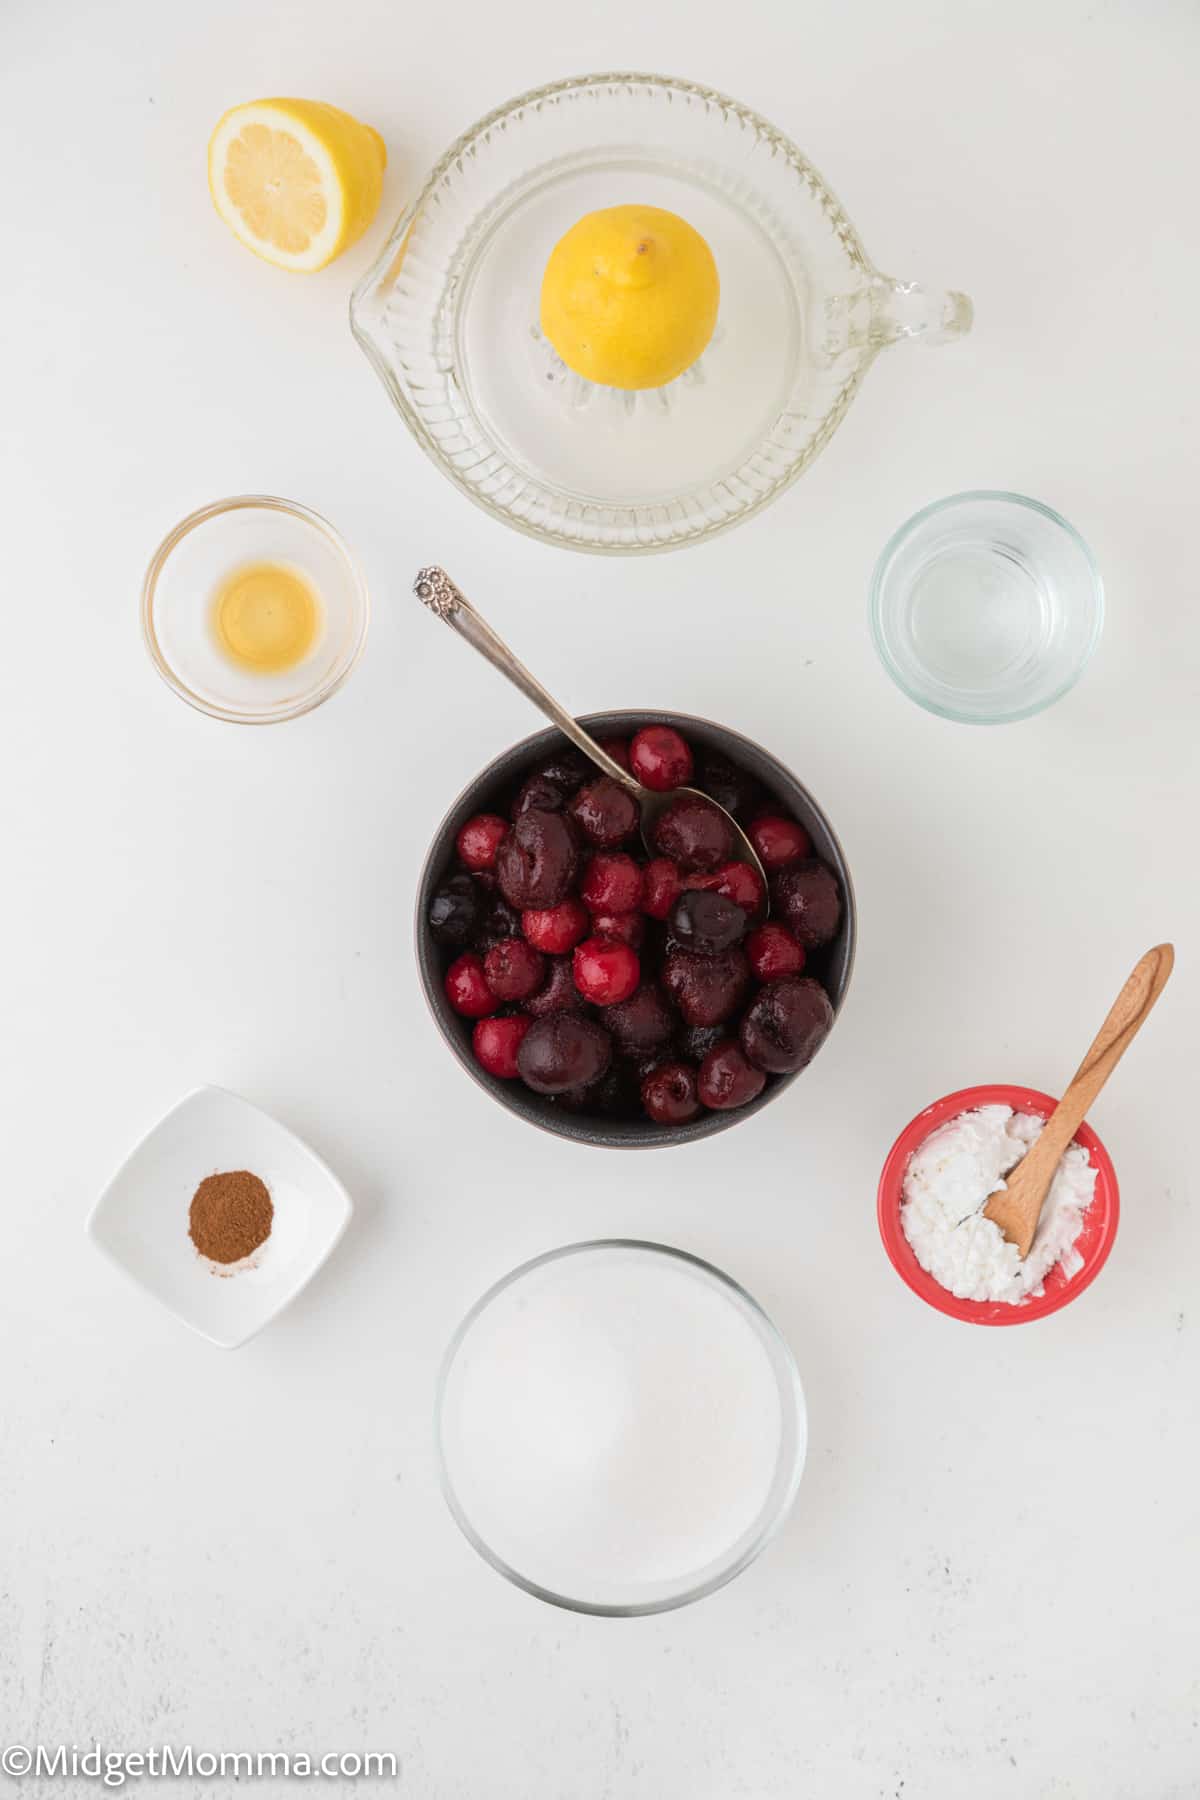
Homemade Cherry Pie Filling Ingredients
- 5 cups of frozen cherries thawed or fresh cherries (I prefer to use a mix of sweet and tart cherries)
- 3 tablespoons corn starch
- 1/2 cup water
- 3/4 cup sugar
- 1 lemon, freshly squeezed
- 1 teaspoon vanilla extract
- 1/4 teaspoon cinnamon
How to Make Homemade Cherry Pie Filling
If you are using fresh cherries, wash the cherries and remove the pits with a cherry pitter.
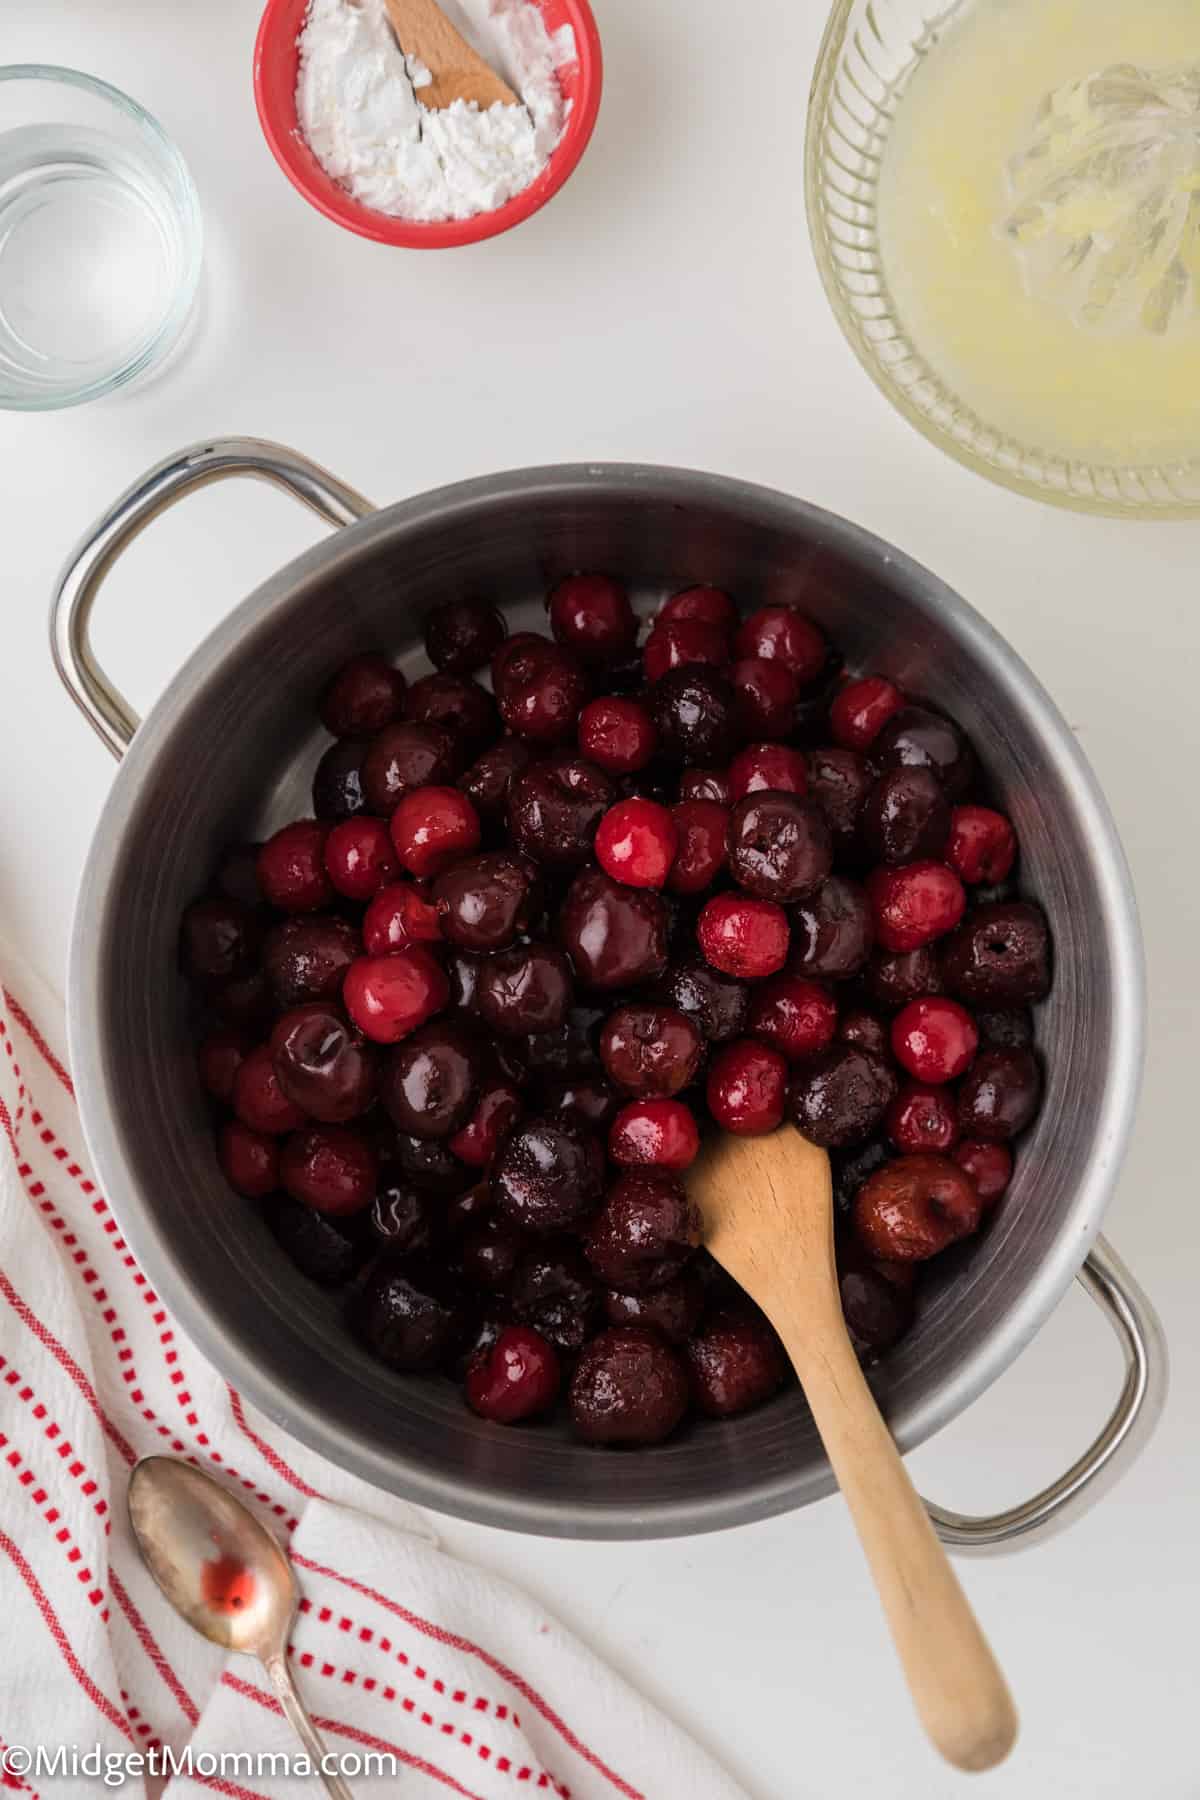
Add cherries and 1/4 cup water to a medium sized sauce pan on medium heat. Bring to a boil and let simmer for 5 -10 minutes, reduce heat if necessary.
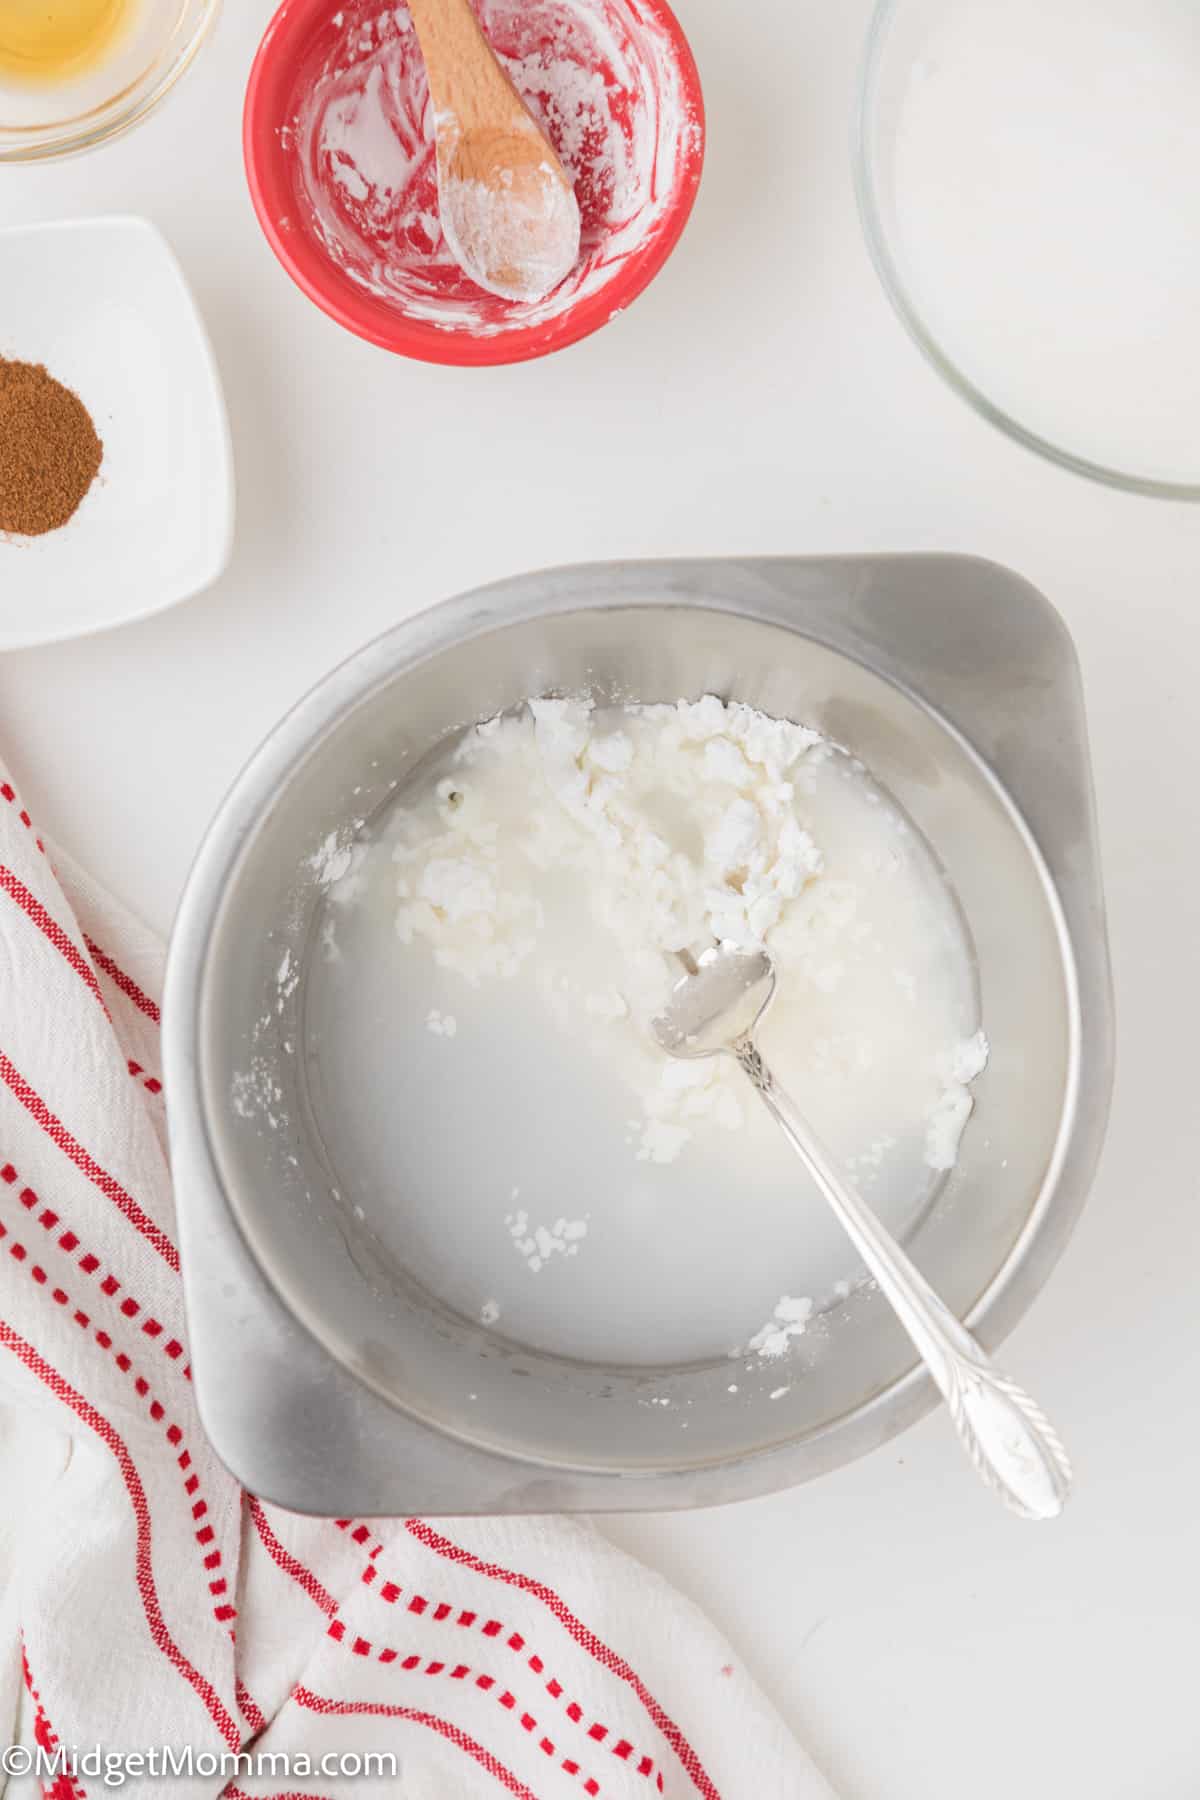
Make a cornstarch slurry by mixing the cornstarch and 1/4 cup cold water. Using a fork, mix well.
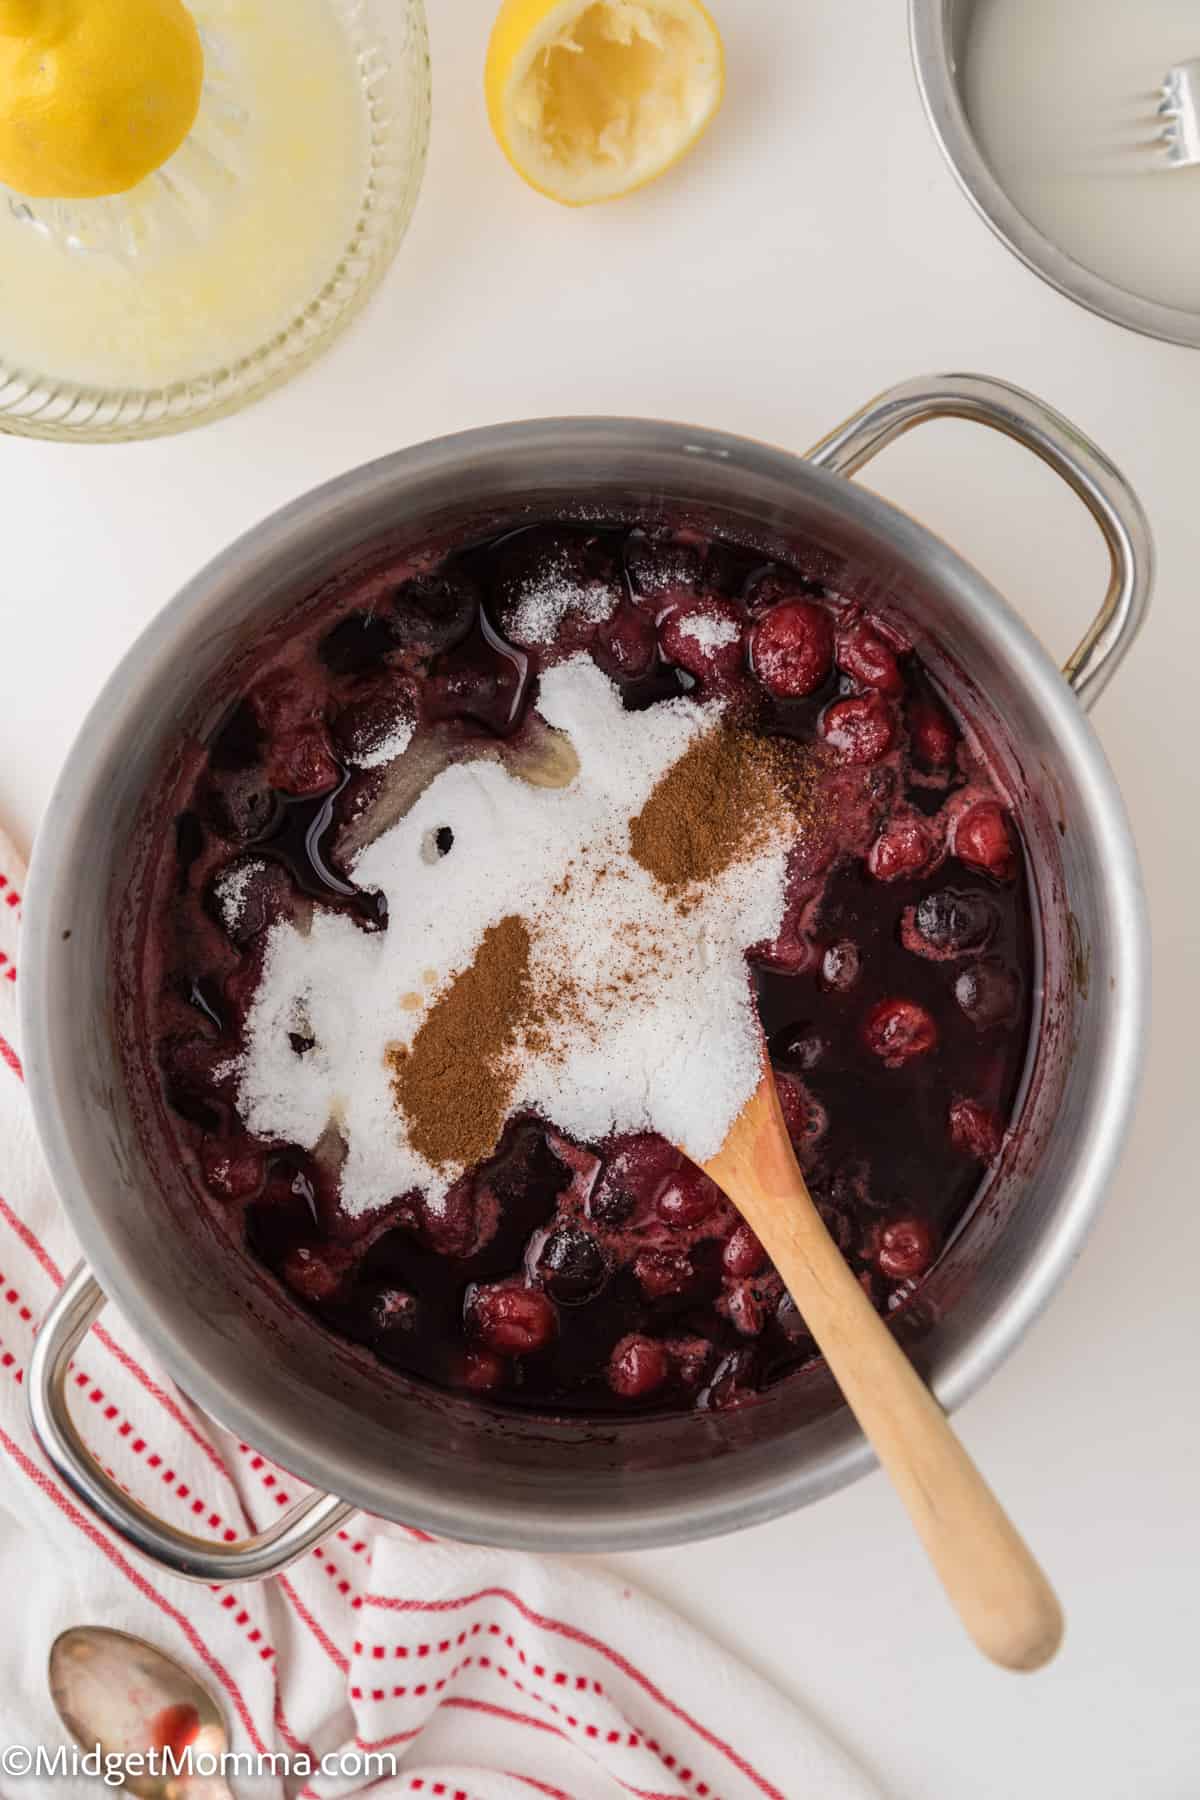
Add sugar and spices to cherry mixture, and stir mixture.
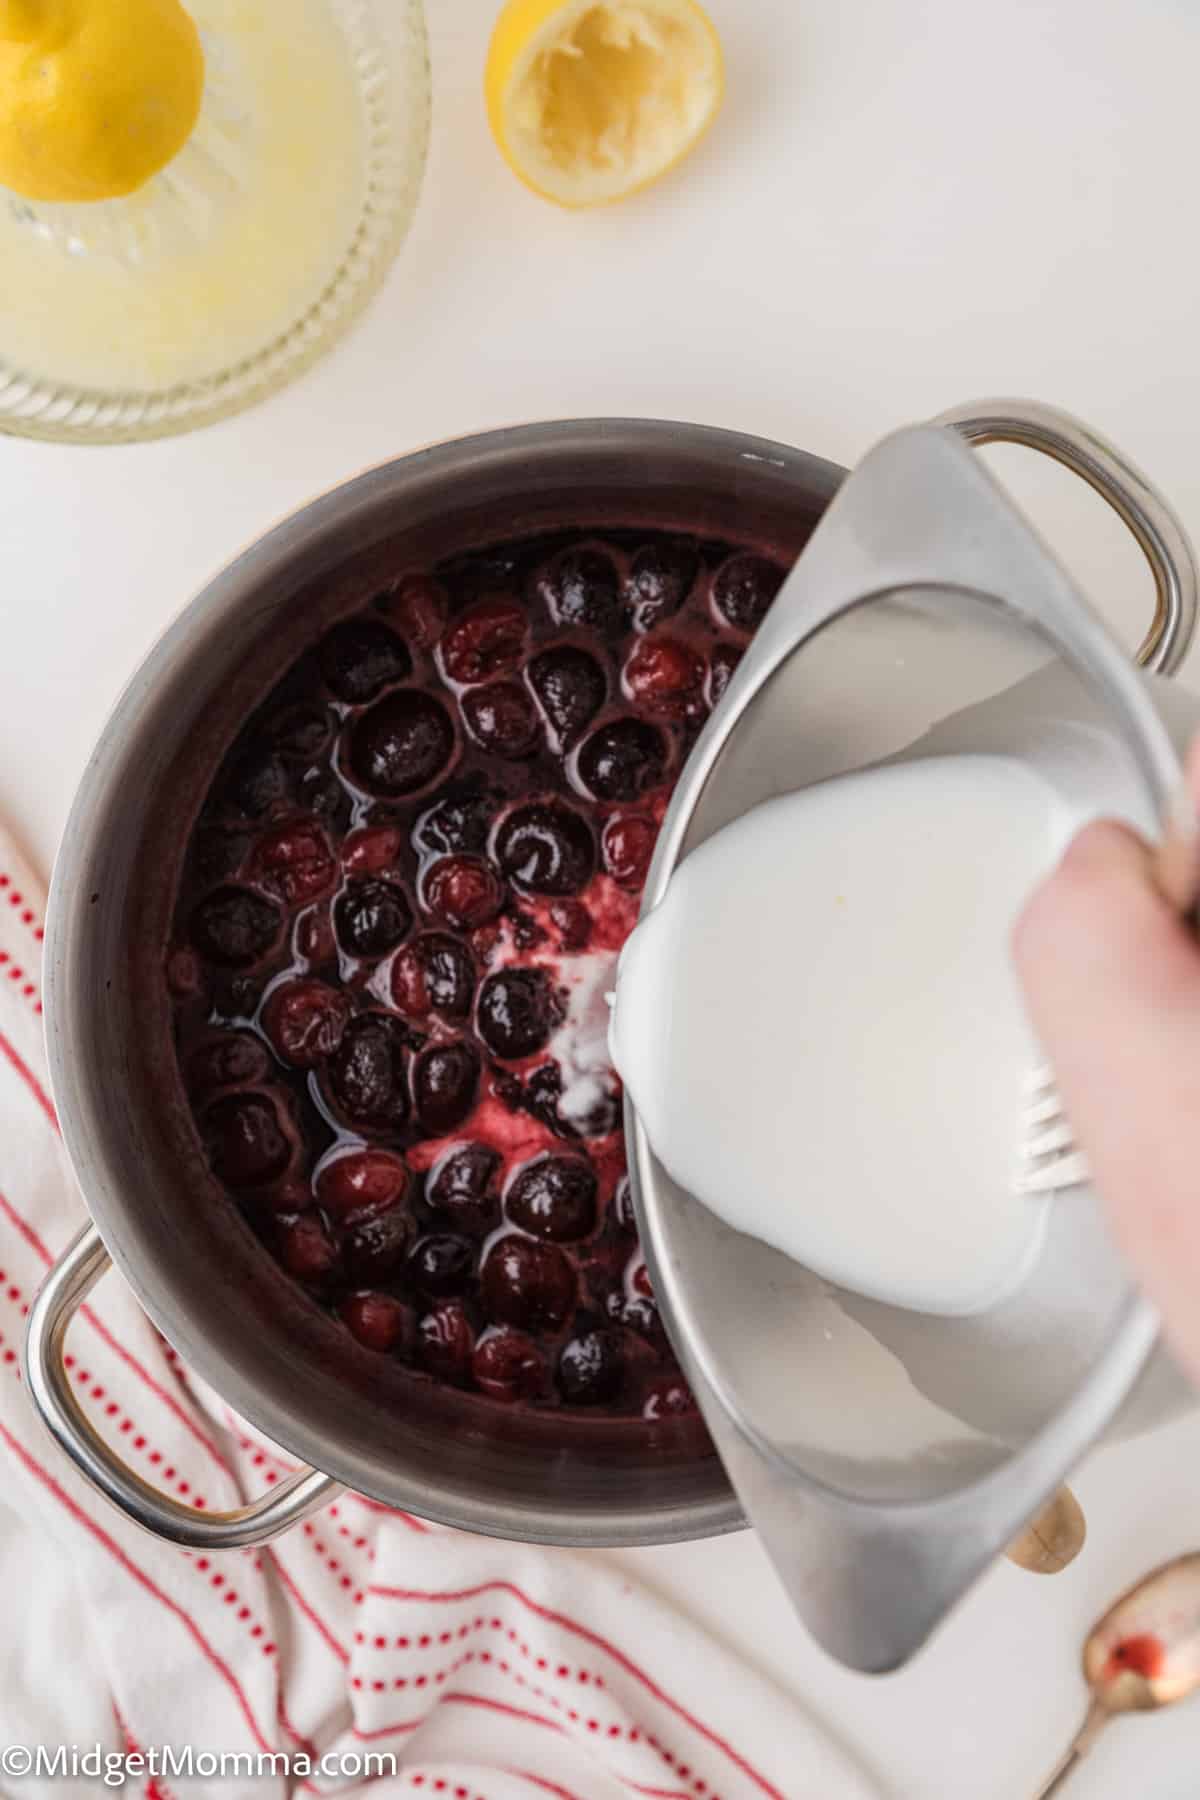
Next add cornstarch slurry mixing constantly.
Bring it back to a simmer; filling should thicken within a few minutes.
Add lemon juice and stir.
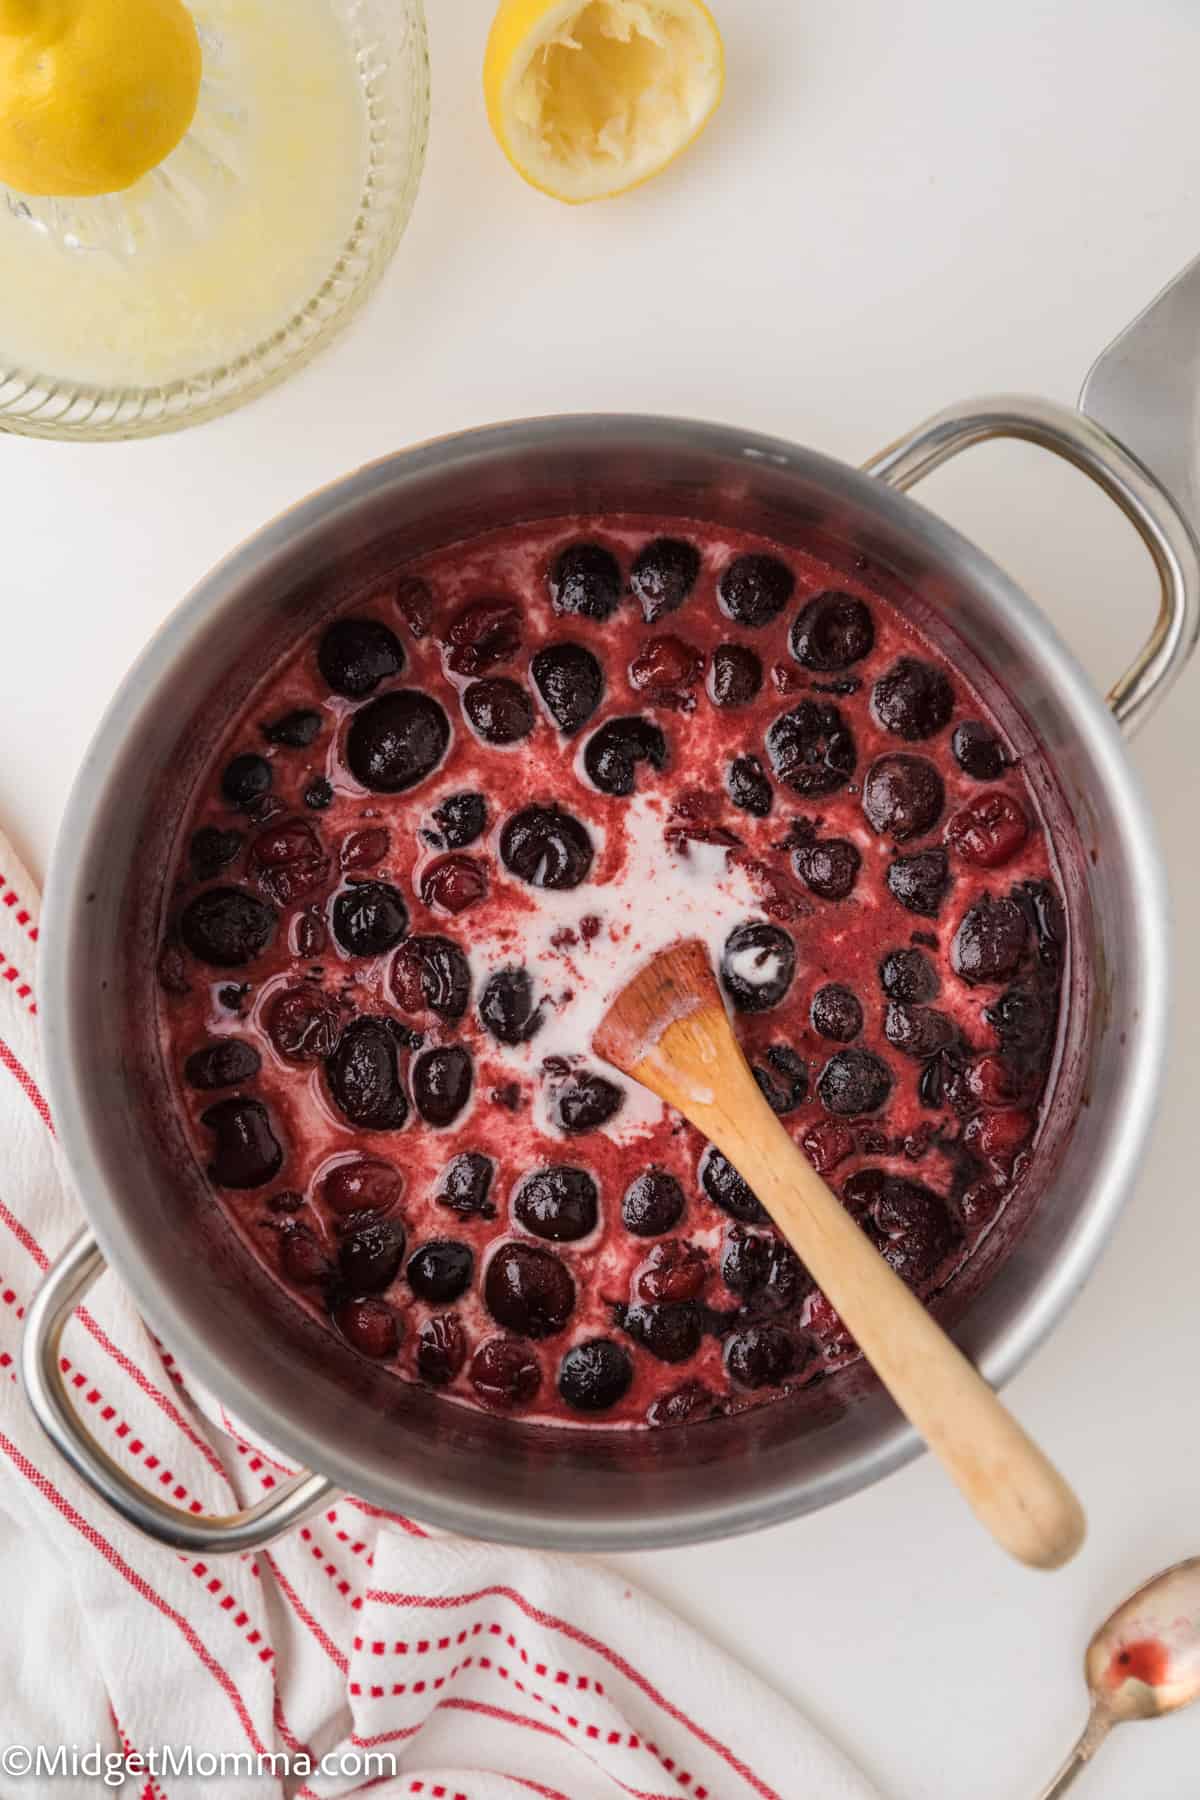
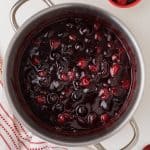
Continue to simmer till cherry filling has thickened. If the filling is too thick, add more water a teaspoon at a time. If the filling is too thin, add a bit more cornstarch, 1/2 teaspoon at a time.
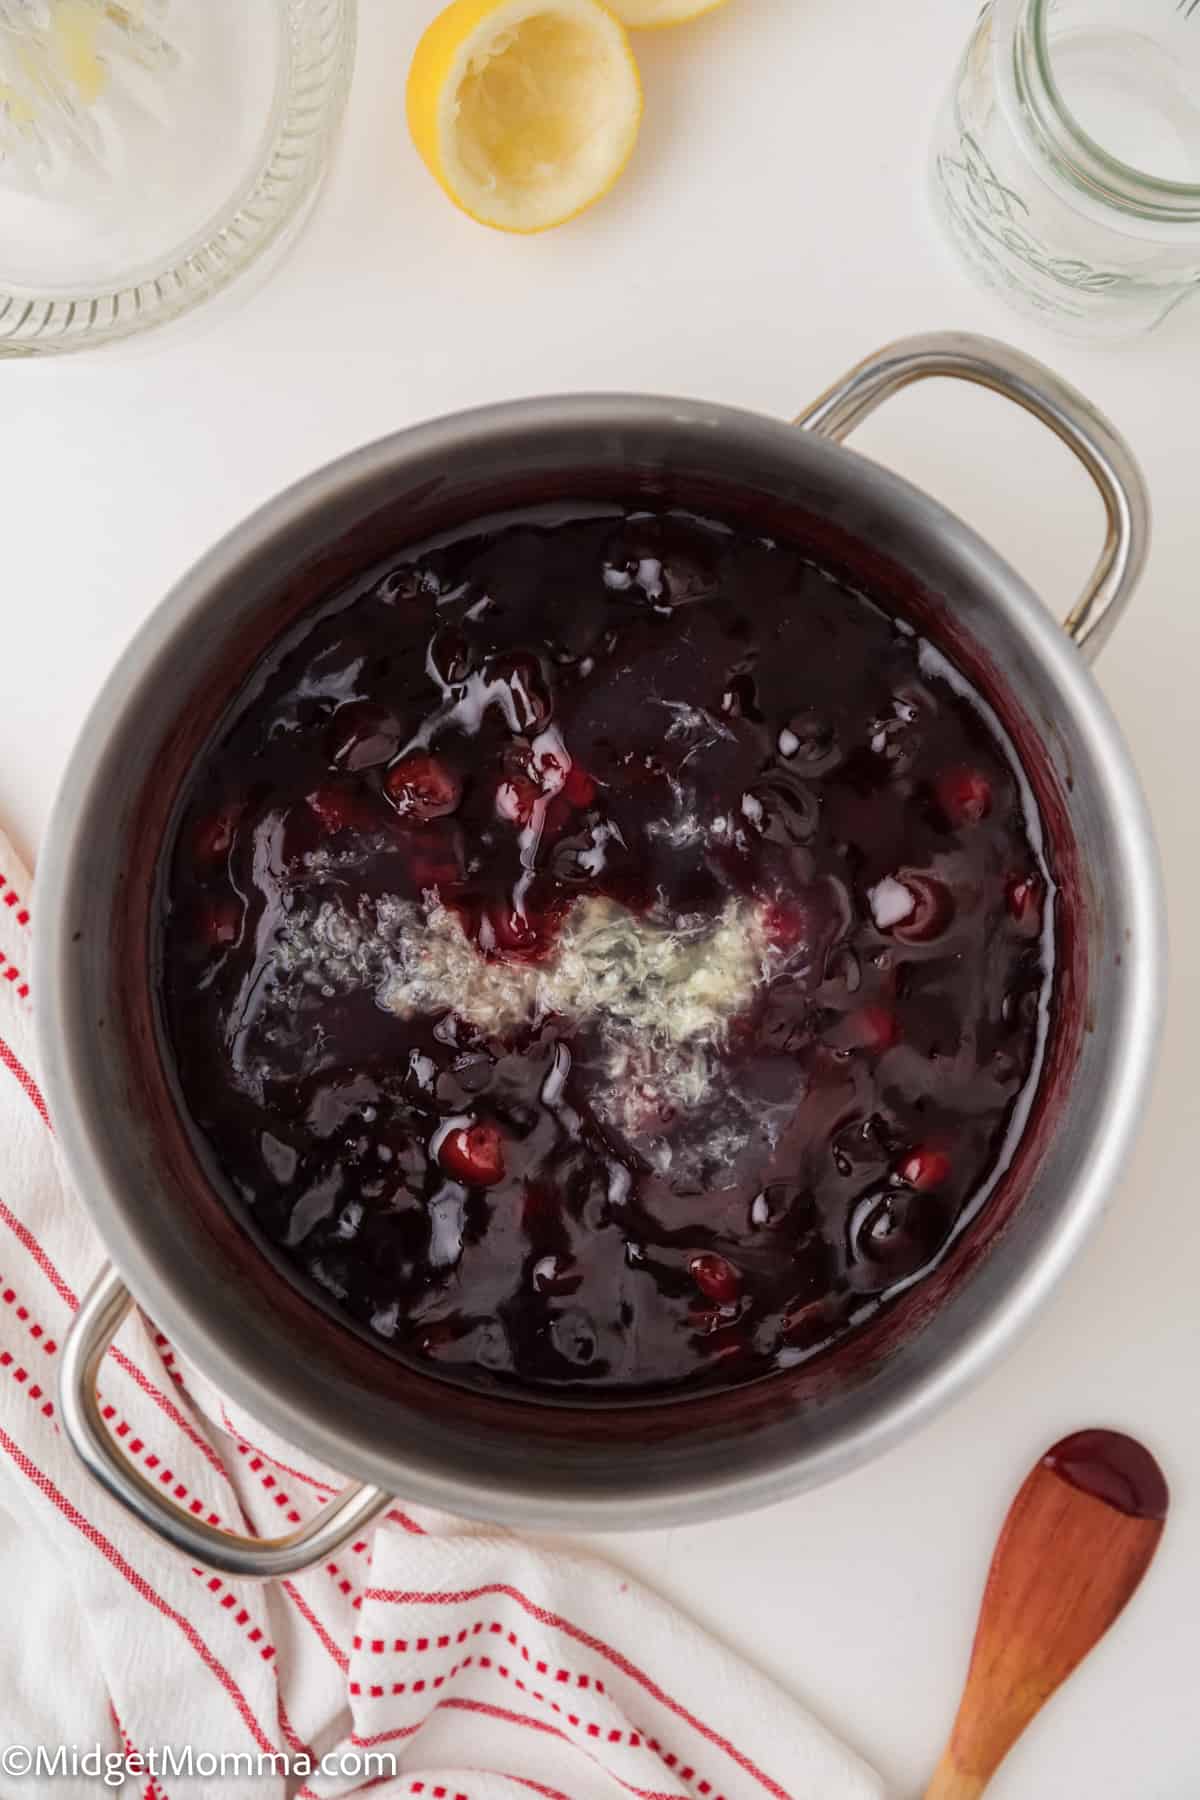
Remove the hot pie filling mixture from heat and let cool before stirring.
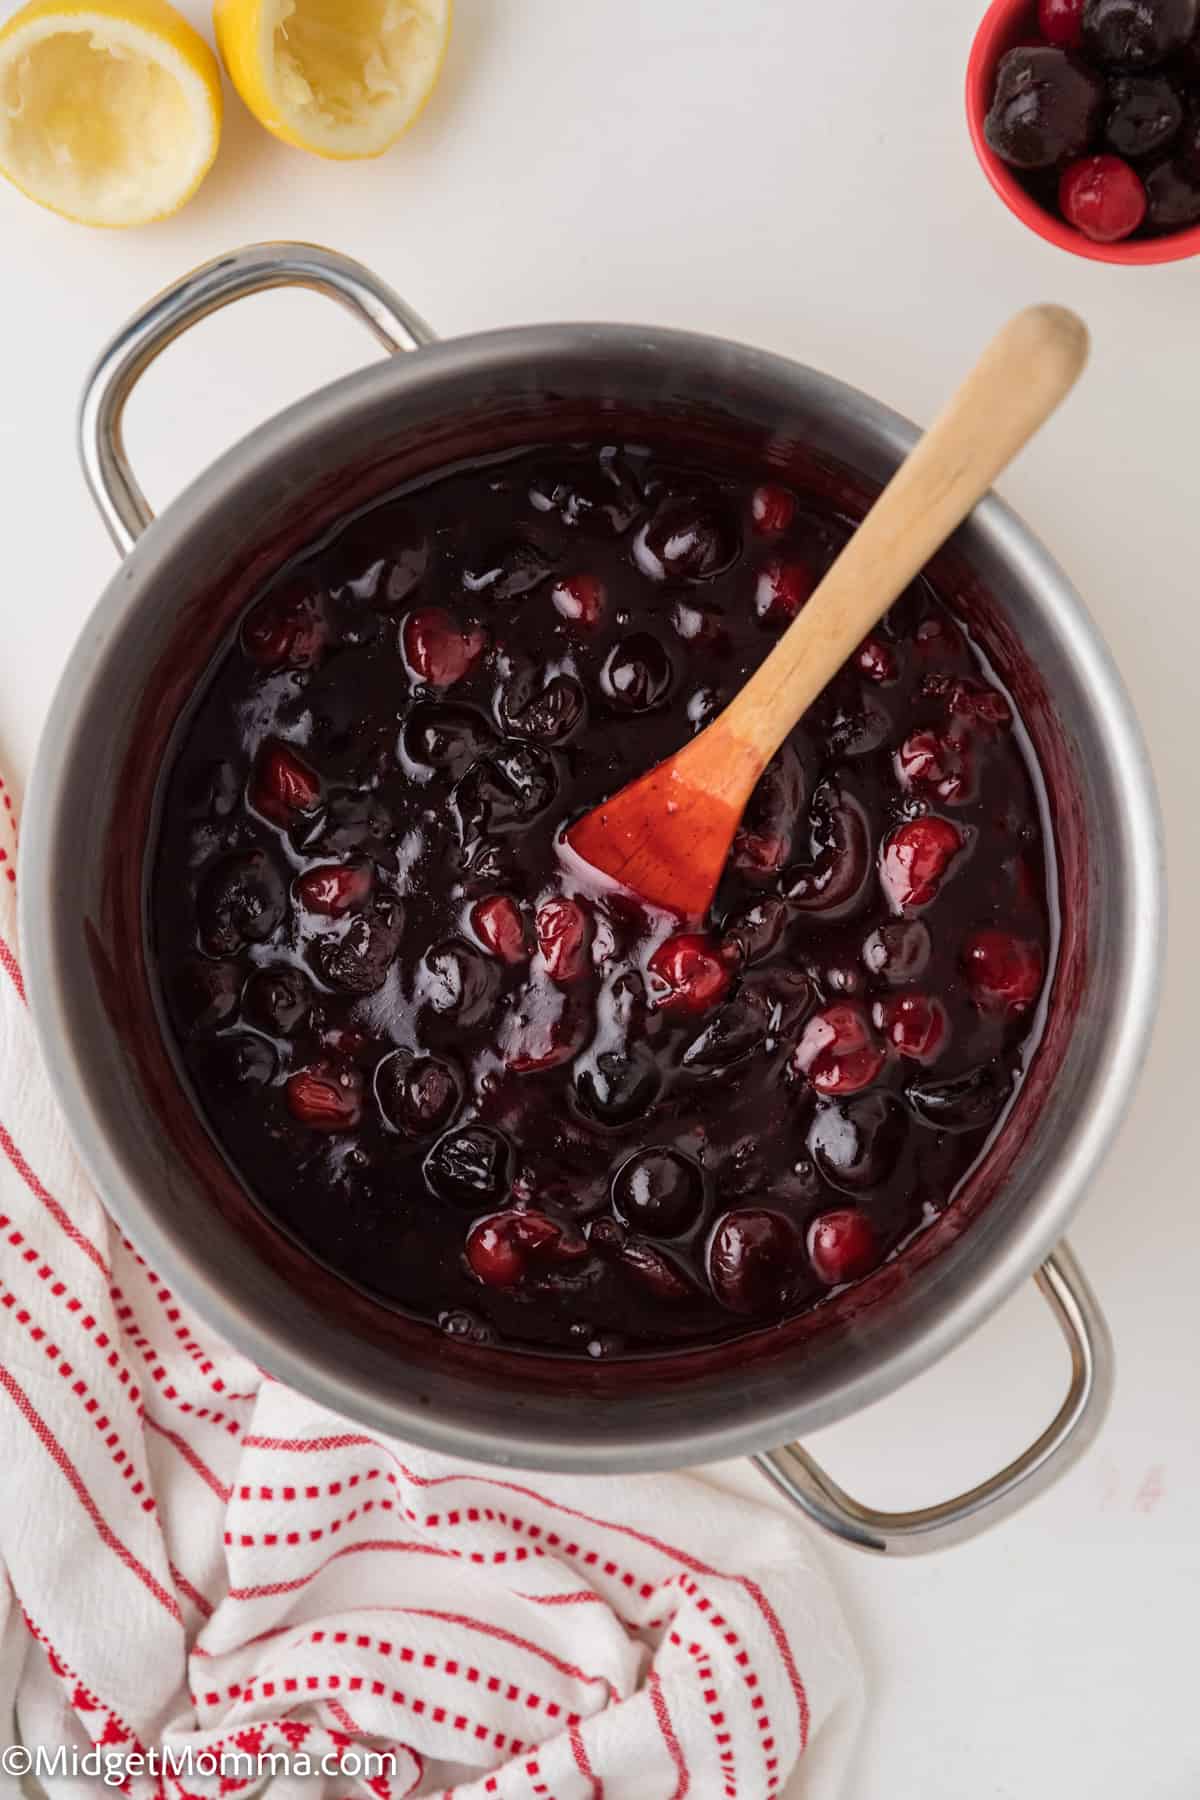
If you are making a homemade cherry pie filling, allow the cherry filling to cool completely before putting it into an unbaked pie crust.
Easy Dessert Pie Recipes
- Lemon Meringue Pie
- Low Carb Crustless pumpkin pie
- The best homemade pumpkin pie recipe
- Sweet potato pie with marshmallow meringue topping
- Boston Cream Pie
- Easy Cherry Pie
- Blueberry Pie
- maple pumpkin pie
Homemade Cherry Pie Filling
Ingredients
- 5 cups of frozen cherries thawed or fresh cherries I prefer to use a mix of sweet and tart cherries
- 3 tablespoons corn starch
- 1/2 cup water
- 3/4 cup sugar
- 1 lemon freshly squeezed
- 1 teaspoon vanilla extract
- 1/4 teaspoon cinnamon
Instructions
- If you are using fresh cherries, wash the cherries and remove the pits with a cherry pitter.
- Add cherries and 1/4 cup water to a medium sized sauce pan on medium heat. Bring to a boil and let simmer for 5 -10 minutes, reduce heat if necessary.
- Make a cornstarch slurry by mixing the cornstarch and 1/4 cup cold water. Using a fork, mix well.
- Add sugar and spices to cherry mixture, and stir mixture.
- Next add cornstarch slurry mixing constantly.
- Bring it back to a simmer; filling should thicken within a few minutes.
- Add lemon juice and stir.
- Continue to simmer till cherry filling has thickened. If the filling is too thick, add more water a teaspoon at a time. If the filling is too thin, add a bit more cornstarch, 1/2 teaspoon at a time.
- Remove the hot pie filling mixture from heat and let cool before stirring.
- If you are making a homemade cherry pie filling, allow the cherry filling to cool completely before putting it into an unbaked pie crust.




Follow Us For More!
Be sure to share your review in the comments below and follow us on Pinterest, Facebook, Instagram or Tiktok for even more food + family fun!