With this Air Dry Clay recipe, you can make your own Air Dry clay at home for so many different craft product uses! Homemade Air dry clay is simple to make and cheaper then buying it in the store!
This homemade air dry clay is the best air dry clay recipe that you are going to find! It is simple to make and makes the PERFECT ornaments!
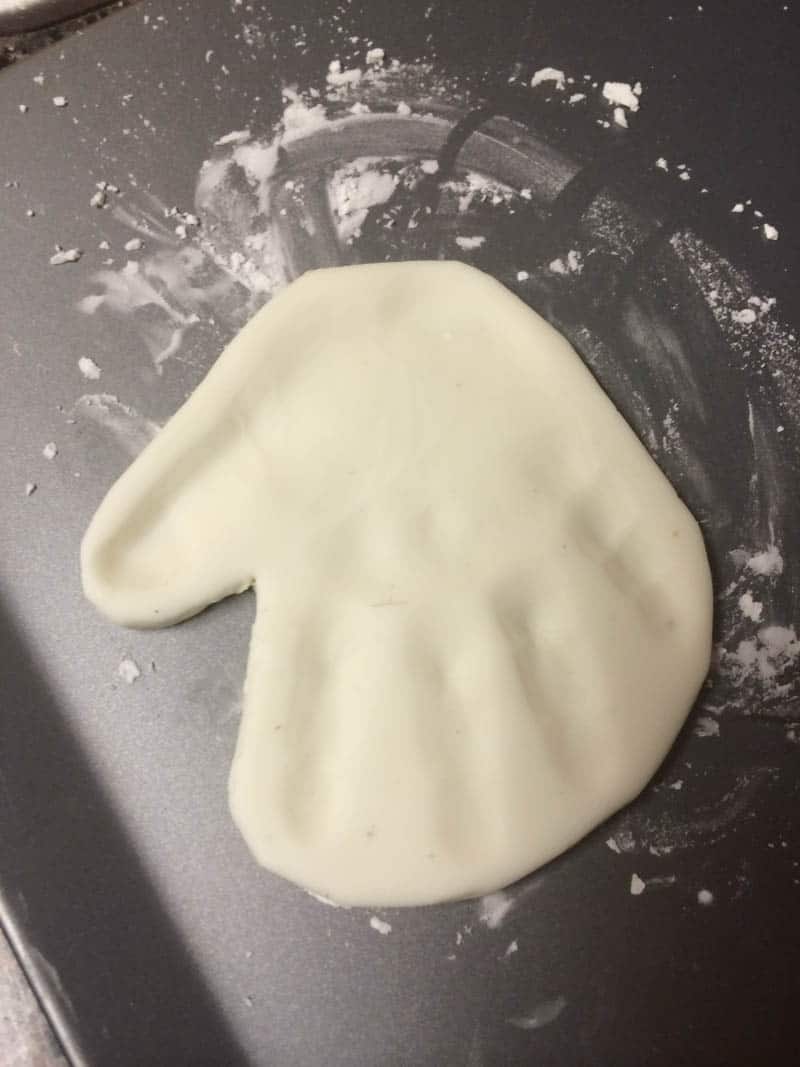
Homemade Air Dry Clay
I love making ornaments of my kids handprints and footprints. I have been doing it since they were younger and I have plans to continue on as long as they will let me. I make them as keepsakes for myself and to give as gifts. Eventually when the kids are older, my plan is to give them their ornaments so they have them to show their kids, and hopefully they make them with their kids too.
This is the same air dry clay recipe that I use in our Foot print ornaments, DIY Santa Ornaments, and Grinch handprint ornaments. You can make just about anything with this homemade clay, even though my favorite thing is the ornaments.
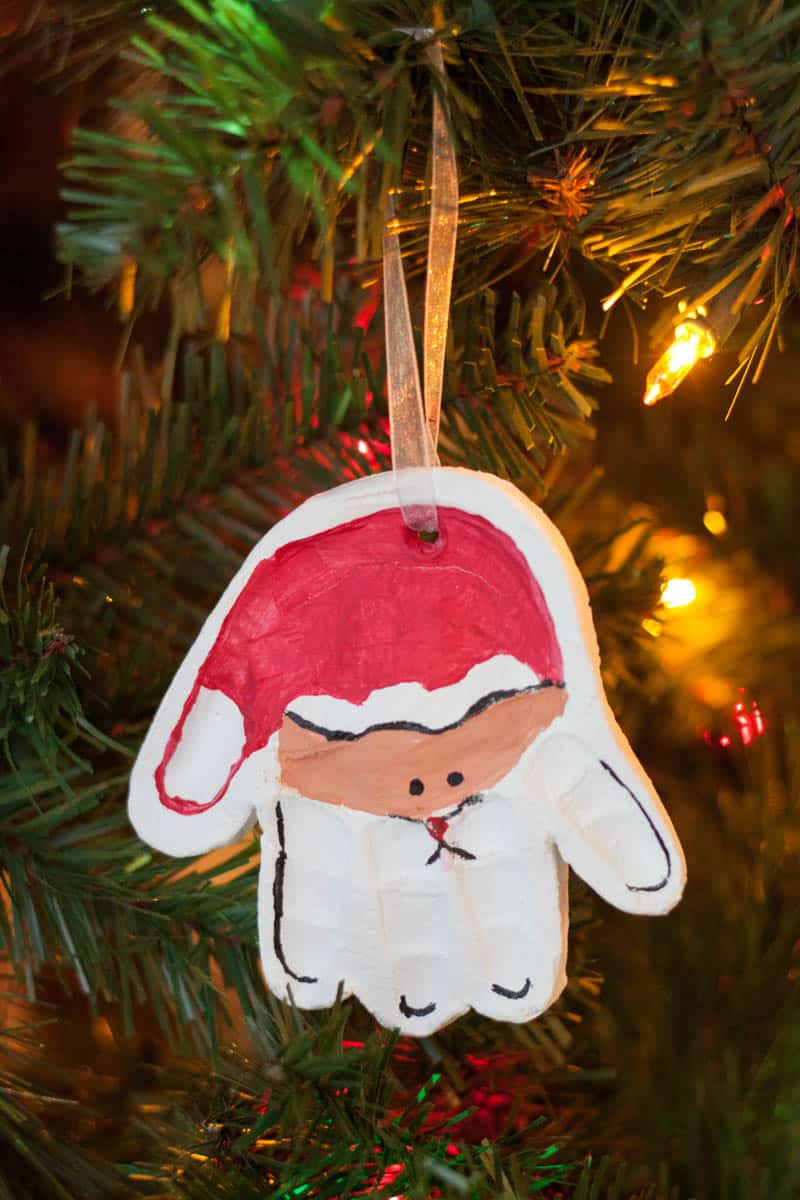
Getting Crafty with Air Dry Clay
This DIY clay, is great to make for the kids to shape on their own. Then you can just let the clay dry and a few days later let the kids paint their creations.
The great thing about this air dry clay is you probably have most of the items needed already in your house. All you need is white glue, cornstarch, lemon juice or white vinegar and baby oil.
Once you make the clay dough you will want to use it right away to make your projects. It will start to harden if you let it sit out, so this is not a clay to make days in advanced.
If you are like us, then crafty projects are always going on. Do yourself the favor and just buy glue by the gallon. It is soooo much cheaper then buying the little bottles of glue.
Homemade Air Dry Clay Ingredients
- 3/4 cup white glue
- 1 cup cornstarch
- 2 tablespoons baby oil
- 1 tablespoon lemon juice or vinegar
How to Make Homemade Air Dry Clay
Mix the cornstarch and glue together in a pot on medium heat on the stove. Once they are mixed well, stir in the baby oil and the vinegar (or lemon juice if that is what you are using).
Cook over low heat stirring no stop until the mixture resembles mashed potatoes. Then remove the pot from the heat and turn the stove off.
Sprinkle some cornstarch on your counter and rub some on your hands before removing the dough from the pot.
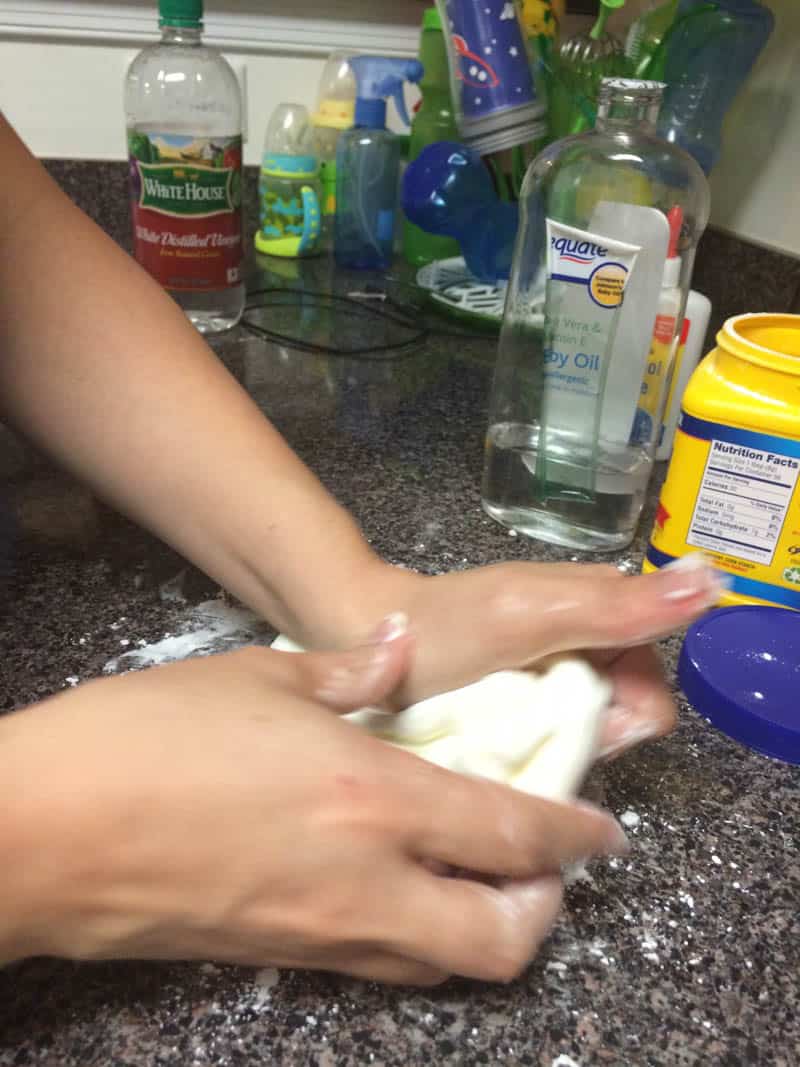
Place the dough mixture onto the counter and knead the dough until its nice and smooth. If your dough starts to stick add more cornstarch. You will know that the right amount of cornstarch is in it when it becomes smooth and clay like.
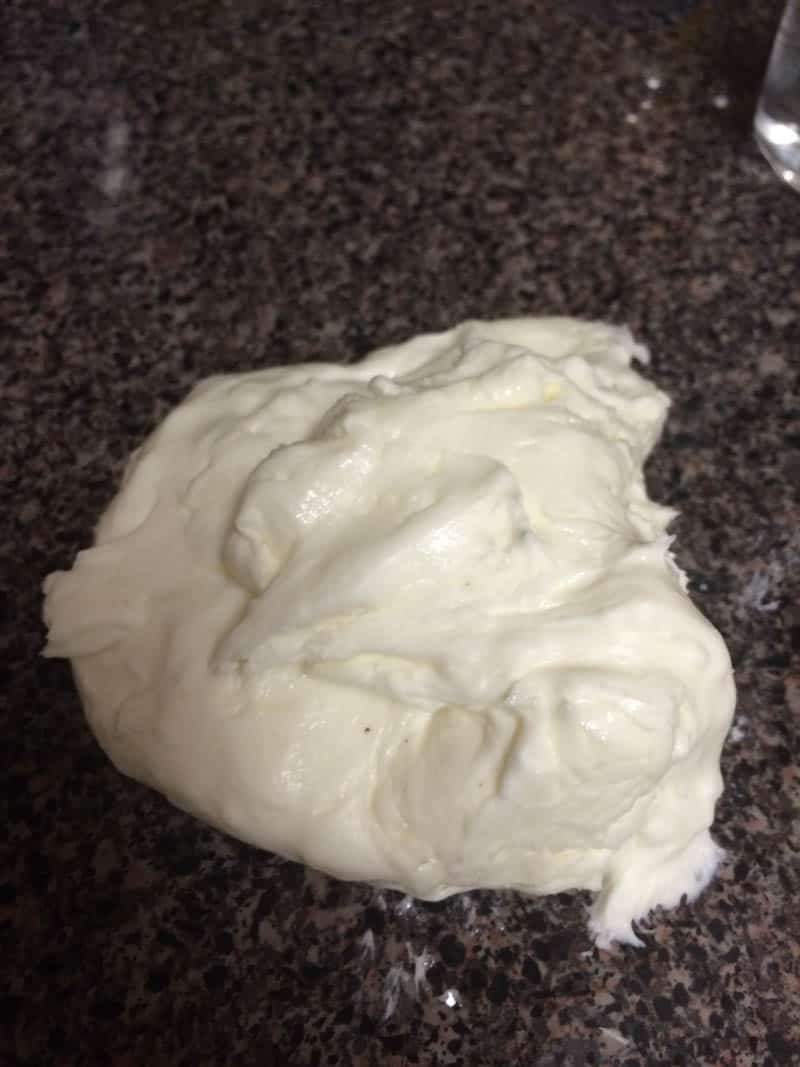
Once your air dry clay is done, shape the dough into what ever shape you would like. You can at this point roll it out with a rolling pin and have the kids make hand prints in it or have them shape it into animals or whatever else they want to create.
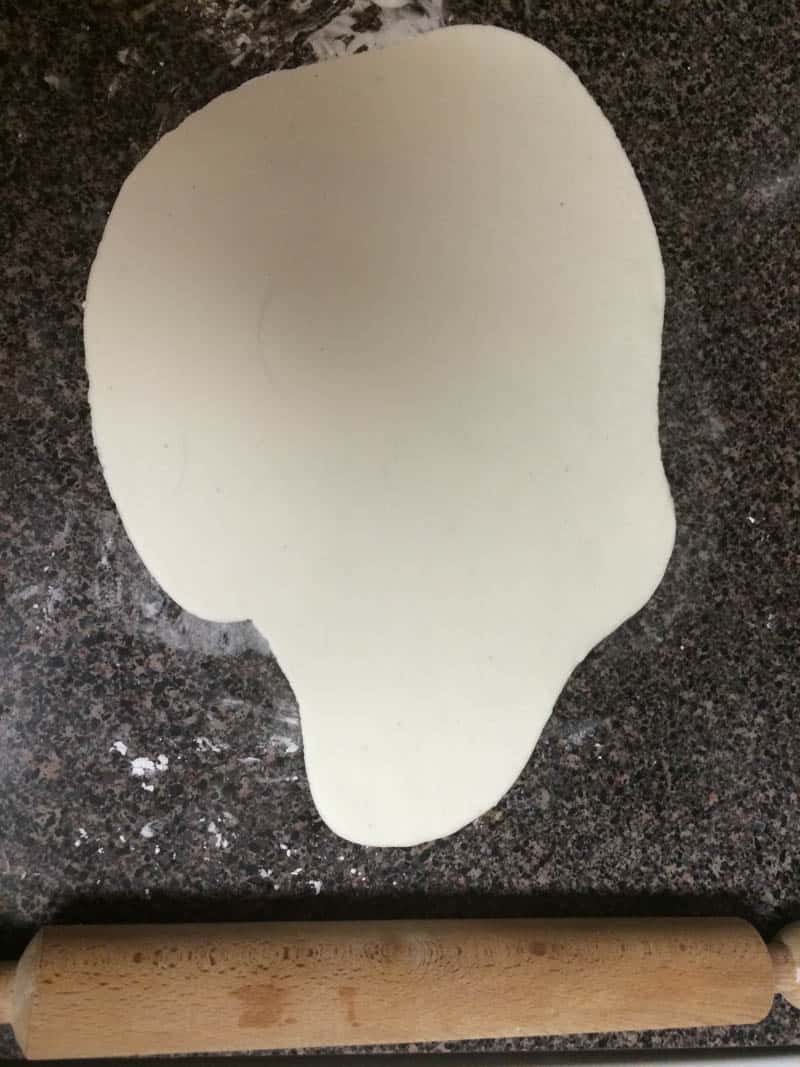
Once you have the shapes done, or the ornaments made, let the clay dry for two days. I leave our projects on the kitchen counter, you want them to be in an open space to dry out. After the 2 days drying time you can then paint the clay or leave it as is.
More fun Kids activities to try!
- How to Make Butter Slime
- How to Make Slime Stretchy
- Mess free finger paint
- Homemade Playdough Recipe
- Homemade Glitter playdough
- How to make Fluffy Slime
- Floam Slime
- Unicorn Slime
- Starburst Slime
- Clear Slime Recipe
- Edible Slime
Homemade Air Dry Clay
Supplies Needed
- 3/4 cup white glue
- 1 cup cornstarch
- 2 tablespoons baby oil
- 1 tablespoon lemon juice or vinegar
Instructions
- Mix the cornstarch and glue together in a pot on medium heat on the stove. Once they are mixed well, stir in the baby oil and the vinegar (or lemon juice if that is what you are using).
- Cook over low heat stirring no stop until the mixture resembles mashed potatoes. Then remove the pot from the heat and turn the stove off.
- Sprinkle some cornstarch on your counter and rub some on your hands before removing the dough from the pot.
- Place the dough mixture onto the counter and knead the dough until its nice and smooth. If your dough starts to stick add more cornstarch. You will know that the right amount of cornstarch is in it when it becomes smooth and clay like.
- Once your air dry clay is done, shape the dough into what ever shape you would like. You can at this point roll it out with a rolling pin and have the kids make hand prints in it or have them shape it into animals or whatever else they want to create.
- Once you have the shapes done, or the ornaments made, let the clay dry for two days. I leave our projects on the kitchen counter, you want them to be in an open space to dry out. After the 2 days drying time you can then paint the clay or leave it as is.


Follow Us For More!
Be sure to share your review in the comments below and follow us on Pinterest, Facebook, Instagram or Tiktok for even more food + family fun!