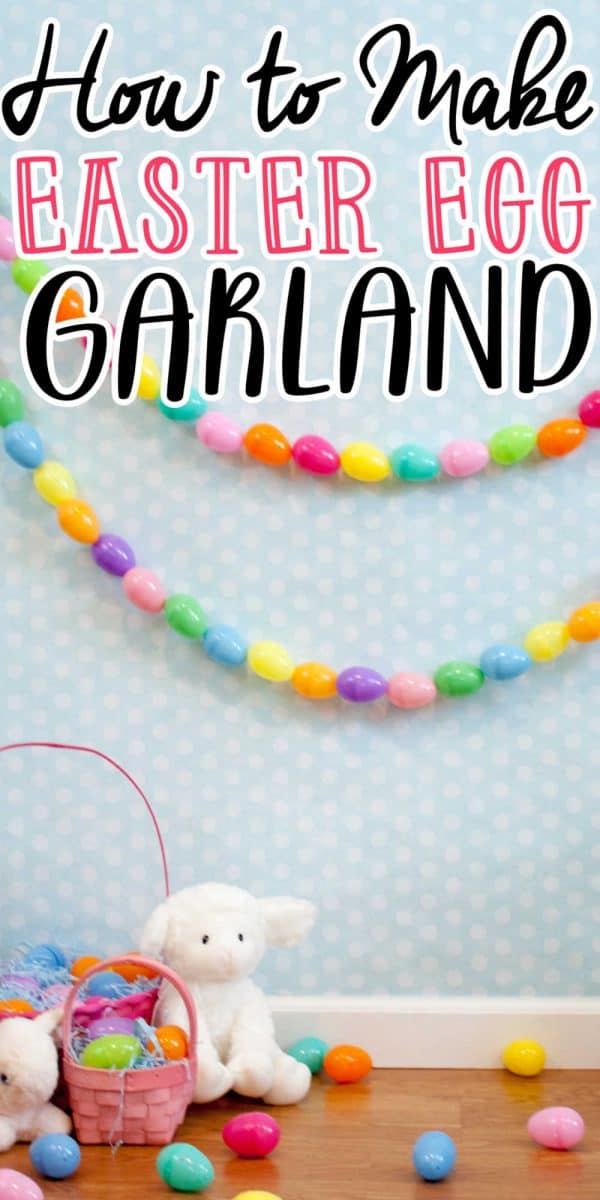
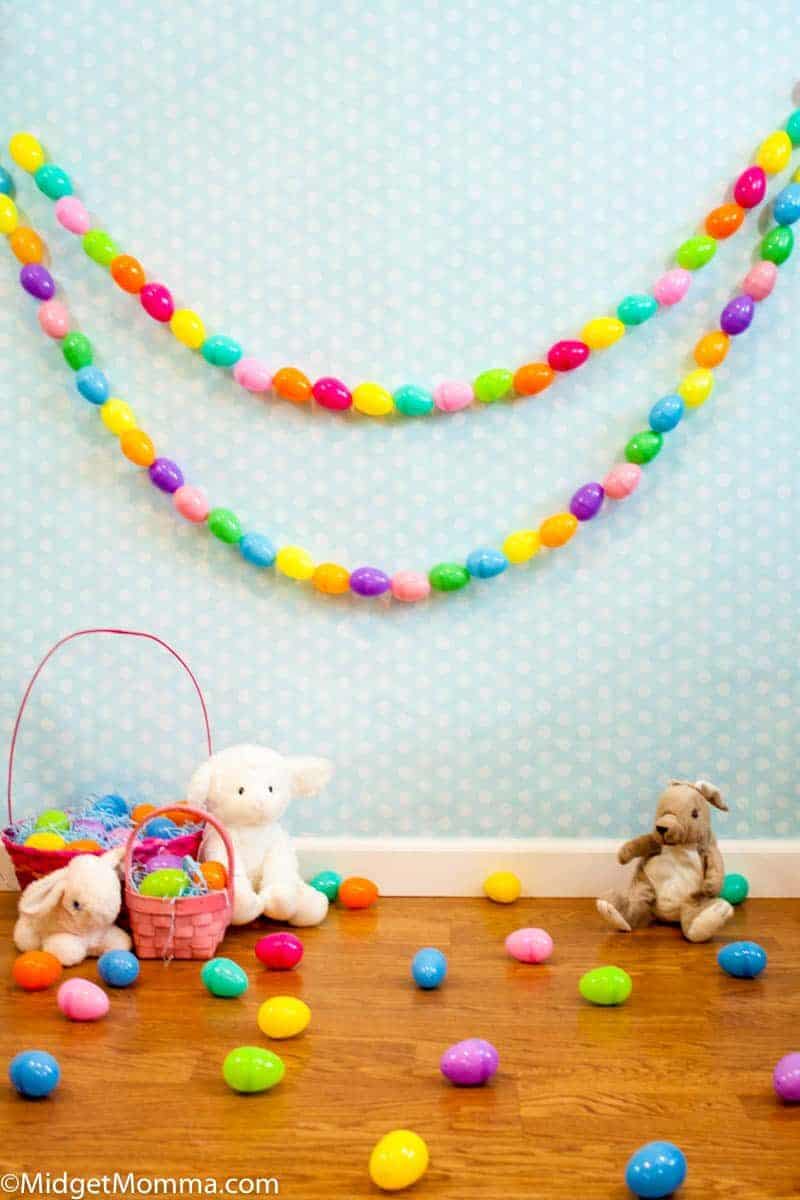
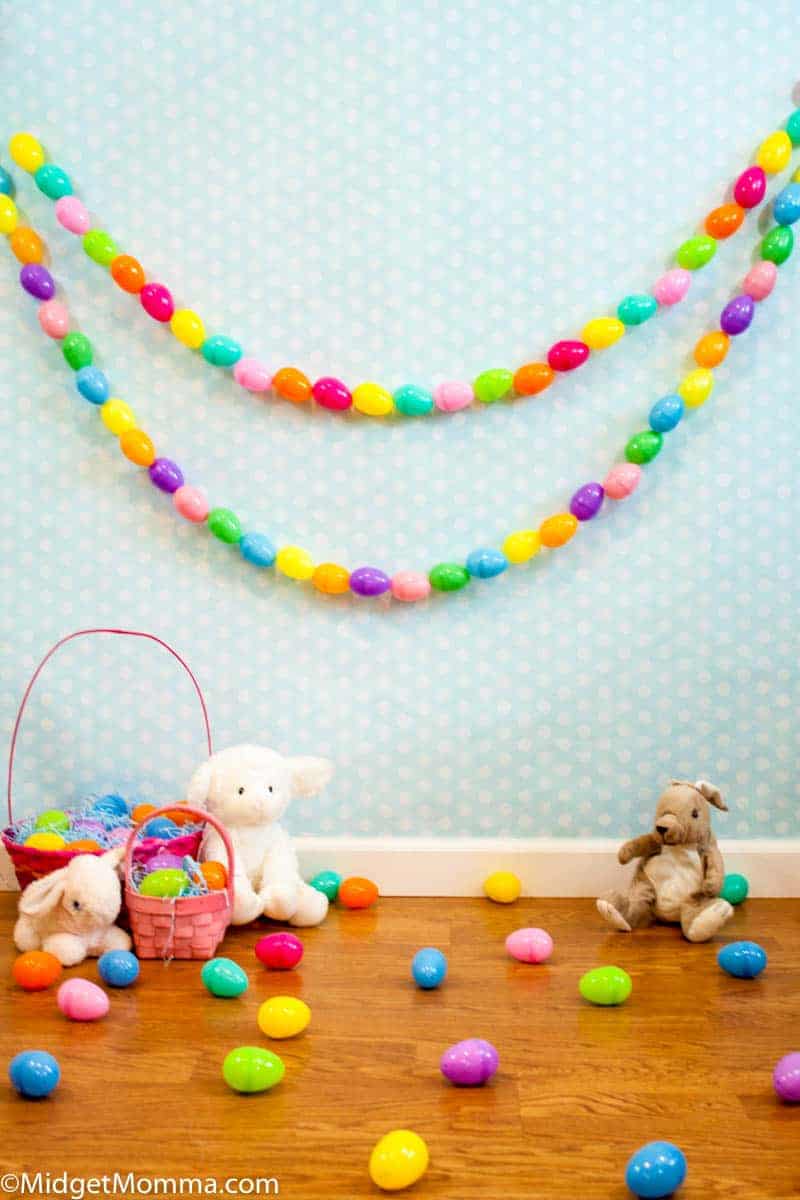
This DIY Easter Egg Garland is super easy to make! It is the perfect DIY Easter decoration to make with the kids. Easter Egg Garland is easy to customize to the size you need for your home.
DIY Easter Egg Garland
I love all holidays and I love decorating for them. Most of the time we use decorations that have been handed down to us by my parents and grandmother but we have been wanting to change things up a bit and make our own. Thankfully I have come up with some really easy and fun DIY Easter decorations that the kids are able to help me make.
This DIY Easter egg garland is a great twist on the classic garland and makes a fun and festive way to decorate the house for Easter. If you are looking for another fun Easter DIY, check out this super cute DIY Easter Wreath.
If you do photography or want to set up a cute set up in the house to take photos of the kids for Easter this Easter garland makes a great piece for the background of your photos.
- Tattoo Easter Eggs
- Easter Bunny Nest cupcakes
- Goldfish Carrots Easter Kids Treat
- Easy Easter Bunny Cake
- Shaving Cream Easter Egg Dying
- Resurrection Cookies
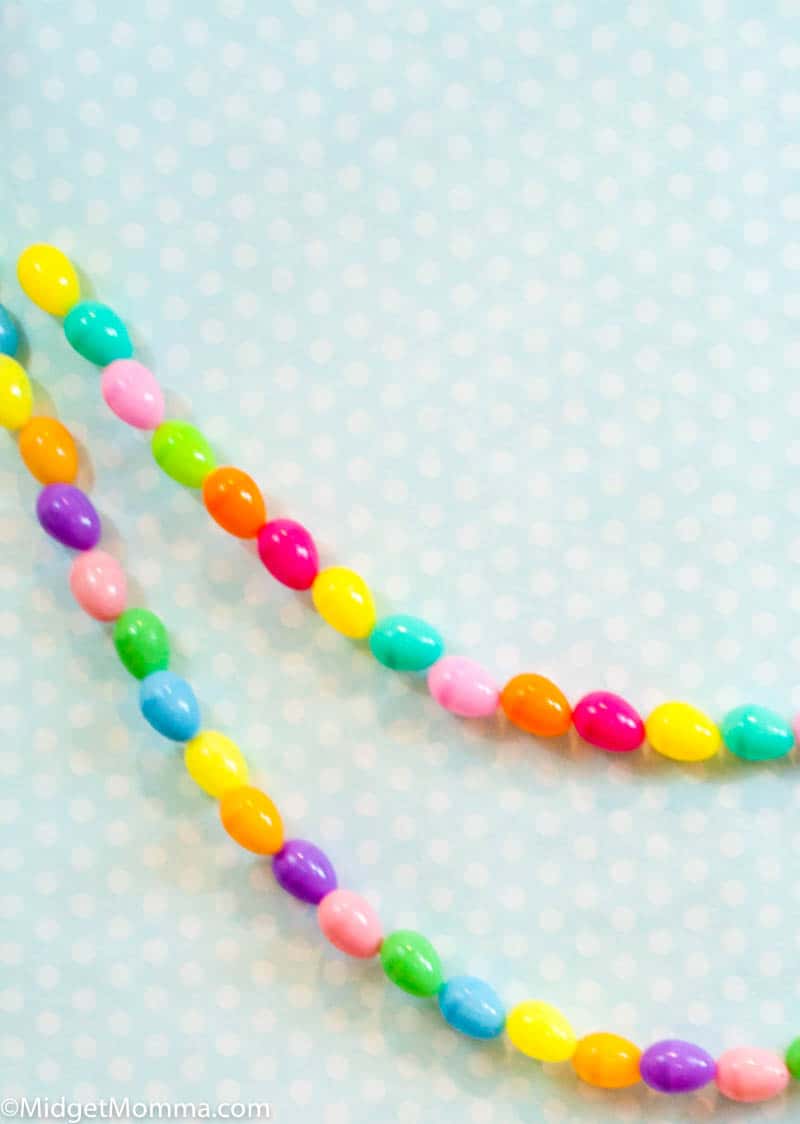
Easy DIY Easter Garland
The great thing about the plastic Easter eggs are they already have holes on the top and bottoms. That makes it really easy to make this DIY Easter Garland. Empty plastic Easter eggs are also cheap, I found bags of 15 empty eggs for $1 at Target and I have seen them at the Dollar Store as well. You can also grab them on Amazon.
Every now and then I found an without a hole that was not punch all the way through. If you run into any that are not fully poke thru, just take a pair of scissors and finish opening the whole then continue making your DIY Easter Garland.
Looking to talk about the Story of Easter? Make sure you check out my Easter Resurrection Cookies it is the perfect cookie for teaching the Easter Story.
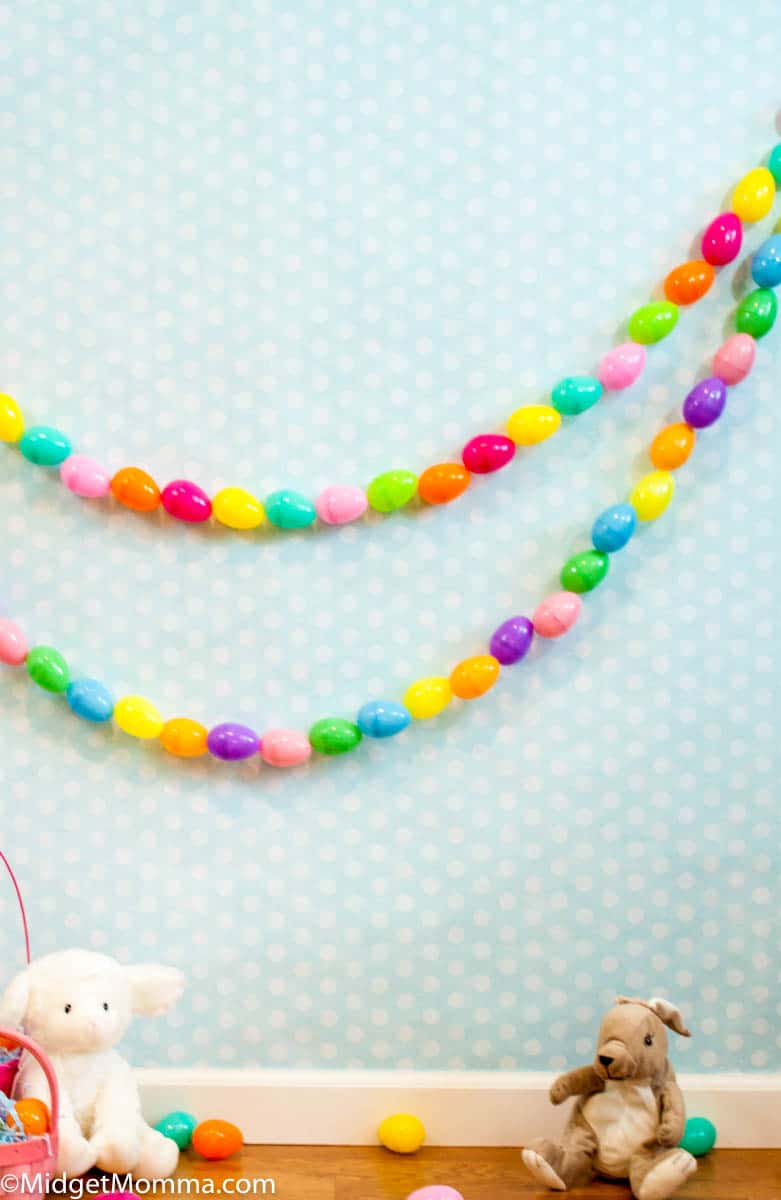
How to Hang DIY Easter Egg Garland
After you have made your Easter egg garland hanging it is easy. You can make a loop with the extra fishing line at the end and use a hook or a nail in the wall to hang it.
Easter Egg Garland Supplies
- Plastic Easter eggs
- Fishing line or thin string
- Scissors
Easter Egg Garland Directions
Measure the fishing line or string to the desired for the garland. Add an additional 12 inches and cut the string or fishing line.
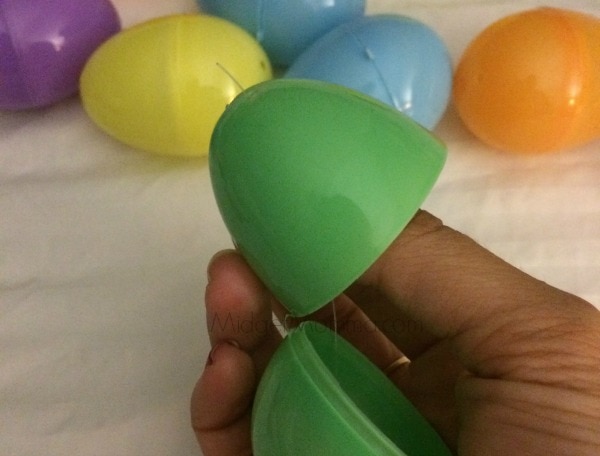
String the fishing line though the top two holes of the plastic easter egg. Leave six inches of line out of the eggs and tie it in a knot so the egg can not slide.
Thread the fishing line or string thru all of the eggs that you want on the garland filling up the piece of fishing line.
Make sure the eggs are facing the same way as they are thread with fishing line or string. Make sure you leave 6 inches of thread of fishing line at the end.
Once you have the desired amount of eggs on the garland, tie a tight knot after the last egg to hold them together.
Use the extra line hanging off the sides of each knot to make a loop to hang the garland.

DIY Easter Egg garland with Plastic Easter Eggs
Supplies Needed
- Plastic Easter Eggs
- String or fishing line
Instructions
- Cut the fishing line or string to the desired for the garland with an extra 12 inches to be be able to tie the garland.
- String the fishing line though the top two holes of the plastic easter egg leaving six inches of line out and tie it in a knot so the egg can not slide.
- Thread the fishing line or string thru all of the eggs that you want on the garland filling up the piece of fishing line.
- Make sure the eggs are facing the same way as they are thread with fishing line or string. Make sure you leave 6 inches of thread of fishing line at the end.
- Once you have the desired amount of eggs on the garland, tie a tight knot after the last egg to hold them together.
- Use the extra line hanging off the sides of each knot to make a loop to hang the garland.


Follow Us For More!
Be sure to share your review in the comments below and follow us on Pinterest, Facebook, Instagram or Tiktok for even more food + family fun!