This is a Sponsored post written by me on behalf of FrogTape Brand Painter’s Tape. All opinions are 100% mine.
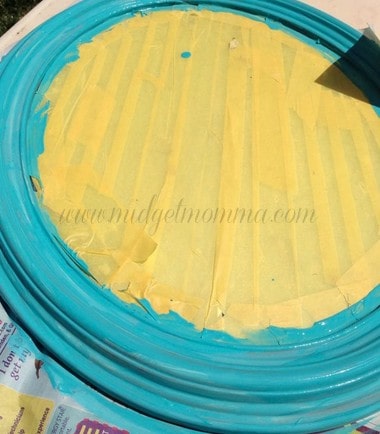
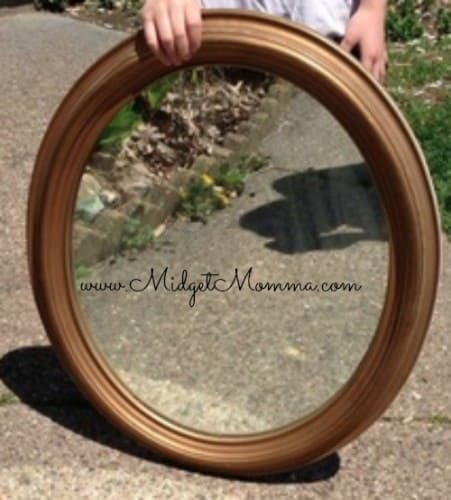
Our move to the new house is coming quickly and while I should be packing up the house, decorating pieces of furniture that I found while trash picking to make the kids rooms awesome has been more fun. (Don’t tell Tom haha) Last week I found an awesome mirrior but it was really really ugly but I knew that it would be perfect once it was refinshed and it would go perfectly in McKenzie’s room. Best thing about it was that the project was on the cheap side plus it was super easy! I used Frog Tape® Shape Tape to protect the mirror glass while working so I would not get paint on it and it is awesome because when you remove it it does not leave any residue and it comes off easy peasy too!! Frog Tape® has paint blocking technology that makes paint unable to seep through! Great for when you let the kiddos help out with a project and for when you are not always the best painter with staying in the lines of the wood 🙂
Supplies Needed for DIY: Refinishing Old Mirror with Chalk Paint
Chalk paint (Find how to make chalk paint)
Old mirror
Frog Tape
Sand paper
Finishing wax
Cheese Cloth
Directions for DIY Refinishing Old Mirror with Chalk Paint
Get your Sand paper and sand the mirror, you dont have to sand it perfectly just enough to get the old color off, once sanded use a paper towel to wipe down the mirror and get all the dust off.
Take your frog tape and cover the entier surface of the glass in the mirror. Make sure you make it so you can still paint the wooden parts of the mirror that are close to the glass
Using the chalk paint put a layer of paint on and let it dry for 15-20 minutes (you may need to let it dry longer depending on the weather, but it was really nice out and it only took 15 minutes for me for it to dry). Then add another coat of chalk paint and let dry again.
Get you sandpaper out again and in random spots sand gently to remove the paint so it looks a little bit worn
Put a layer of wax on top using the cheese cloth, let dry for 20 minutes then put another coat on and let dry for another 20 minutes.
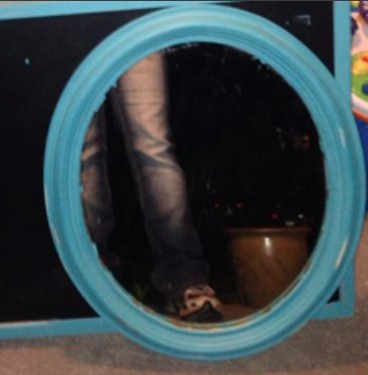
Thats is you are done and have a mirror that you have refinished to match whatever you want to!!!

Cost Break down:
Paint Sample – $3
Plaster of Paris – $6 (but the box is HUGE and will last a very long time I only used about 1/15 of the box!! so about .75 worth max)
Plastic Bucket – $1.79
Sponge Brush – $0.79
Polishing wax – $9.99 ( I used maybe 1 1/10th of the container so about $1 worth)
Mirror from my trashpicking – FREE!
Frog Tape – For this project Frog Tape sent me mine but my store had it for about $7 a roll but you won’t use anywhere near that for this project so maybe $2-$3 worth max
total cost – About $9.33 total cost for this awesome and easy DIY project!!
You can also find more inspirations for your craft mojo with the FrogTape how-to ideas and following them on Twitter


Comments & Reviews
Megan says
Looks great! I have an old mirror in the garage that I can’t wait to makeover! I have made homemade chalk paint before and used the good stuff. My experience with the homemade stuff has been great and such a cash saver!