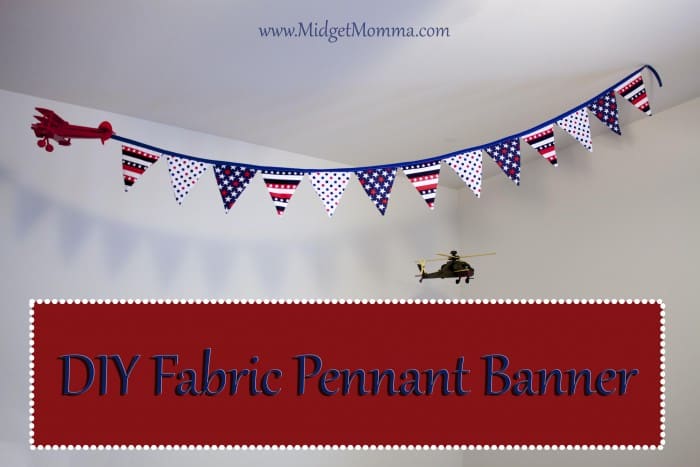
This DIY Fabric Pennant Banner is a great way to make personalized decorations for holidays like Valentine’s Day, Christmas, Halloween ect. While this particular DIY Fabric Pennant Banner was used in a nursery you can easily make your own to fit any room in your house or as a holiday decoration with your choice of fabric.
I was decorating baby d’s nursery and I felt one of the planes was missing something. I thought why not have a banner coming off the back! I stuck with the theme and choose patriotic fabric. You can use any fabric of your choose and you don’t need to hang it off the back of a model plane. This would look great for any holiday on you front porch.
DIY Fabric Pennant Banner
DIY Fabric Pennant Banner Supplies
- Approximately 1/3 yard of fabric in assorted colors/prints
- Coordinating Extra Wide Double Fold Bias Tape
- Thread
- Fabric scissors
- Pins
- Fabric marker
- Piece of cardboard or stiff card stock
- Sewing machine
- Safety pin
DIY Fabric Pennant Banner Directions
(Scroll down for step by step photo directions)
To make your pattern cut a piece of cardboard so its nine inches in length and eight inches wide. Cut that into a triangle. Using your fabric pen mark you fabric and cut them out. Take two triangles and place them right sides facing together. Sew the two long sides together but leaving the top open. Repeat with all the other triangles. Turn them all right side out and iron them flat. Place your pendants inside your bias tape being sure the shorter side of the tape is up. I place the pendants so they are end to end. Then sew down the bias tape, stitching close to the edge.
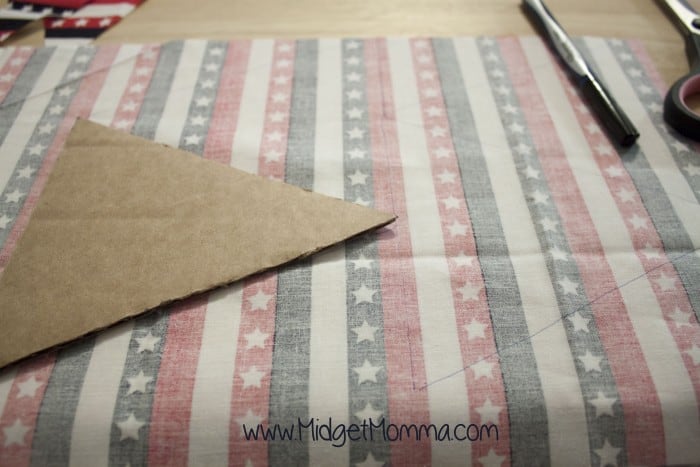
To make your pattern cut a piece of cardboard so its nine inches in length and eight inches wide. Cut that into a triangle. Using your fabric pen mark you fabric and cut them out.
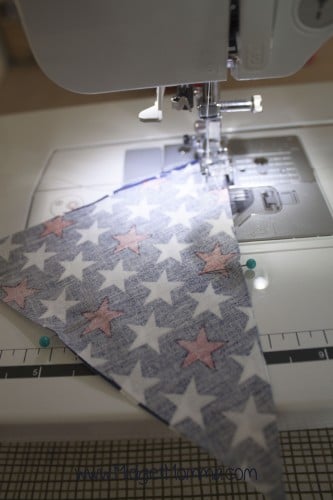
Take two triangles and place them right sides facing together. Sew the two long sides together but leaving the top open. Repeat with all the other triangles.
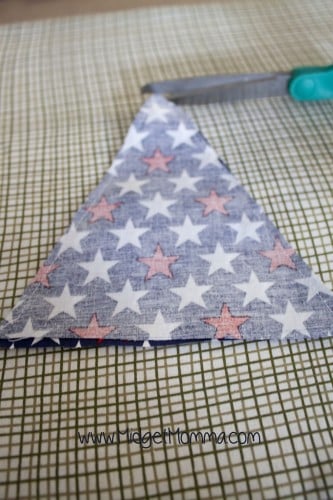
Carefully cut the extra fabric of the point.
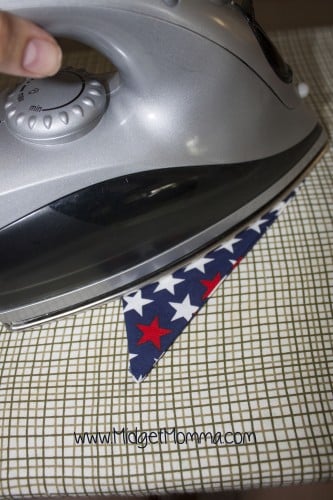
Turn them all right side out and iron them flat.
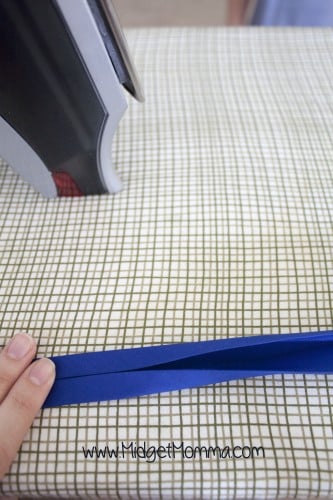
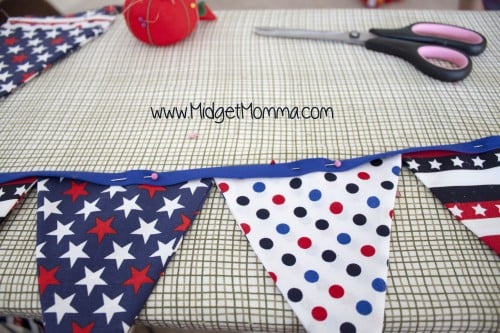
Place your pendants inside your bias tape being sure the shorter side of the tape is up.
I place the pendants so they are end to end. Then sew down the bias tape, stitching close to the edge.


Follow Us For More!
Be sure to share your review in the comments below and follow us on Pinterest, Facebook, Instagram or Tiktok for even more food + family fun!