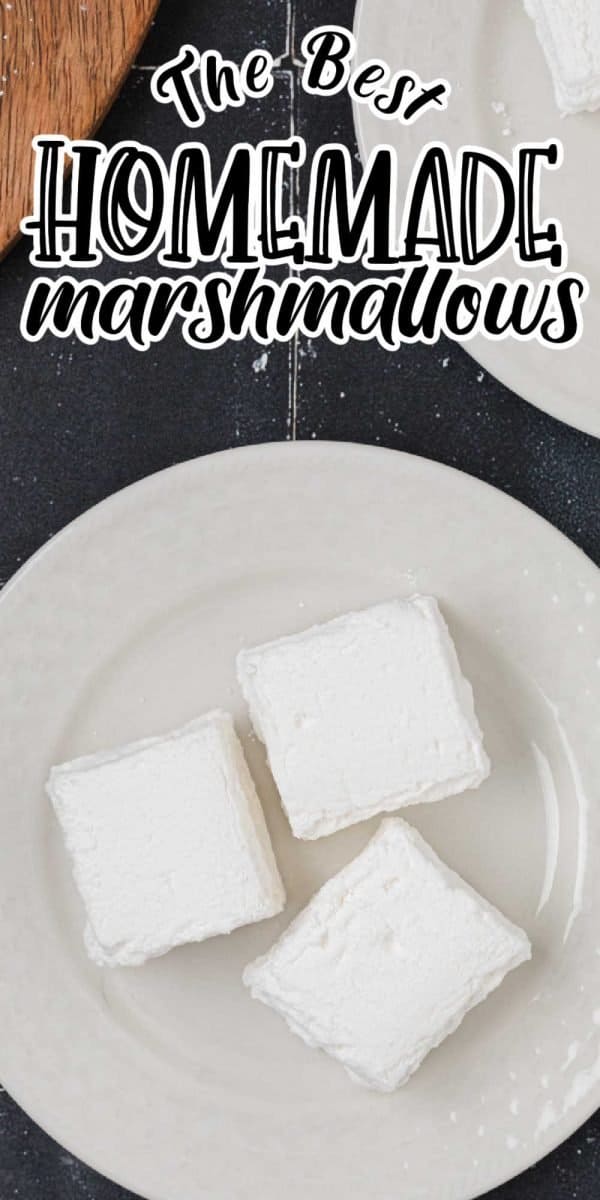
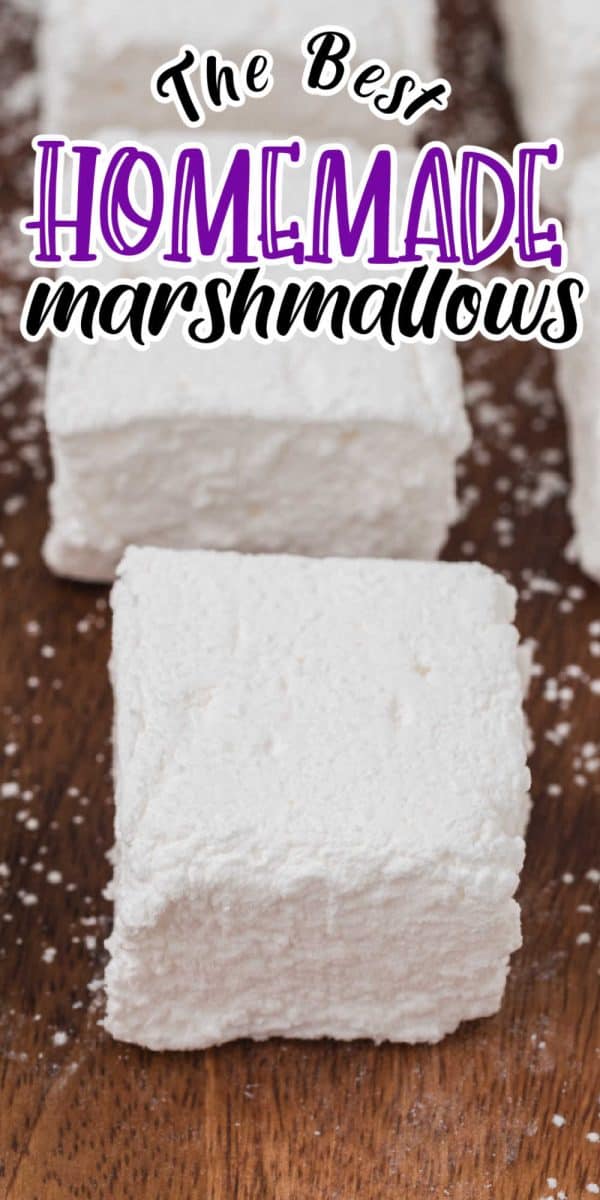
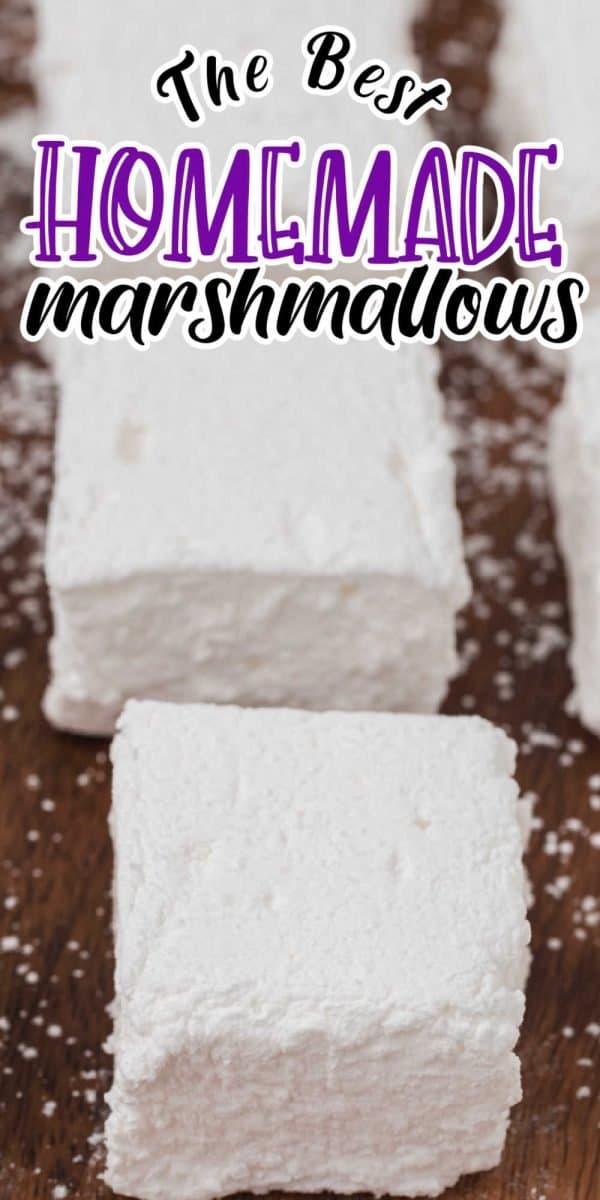
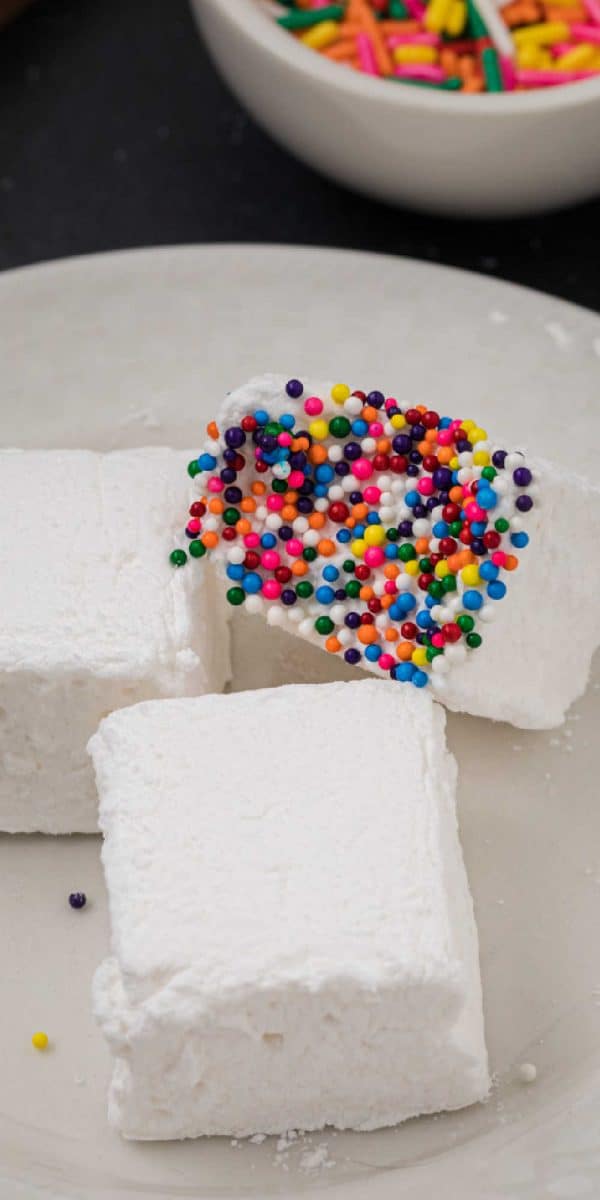
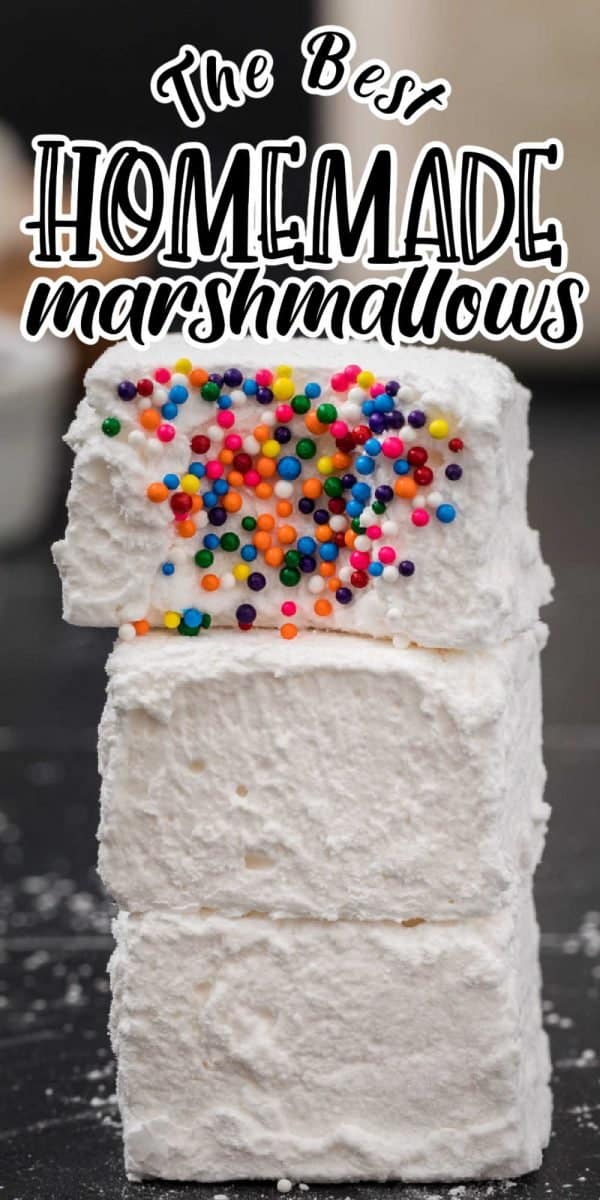
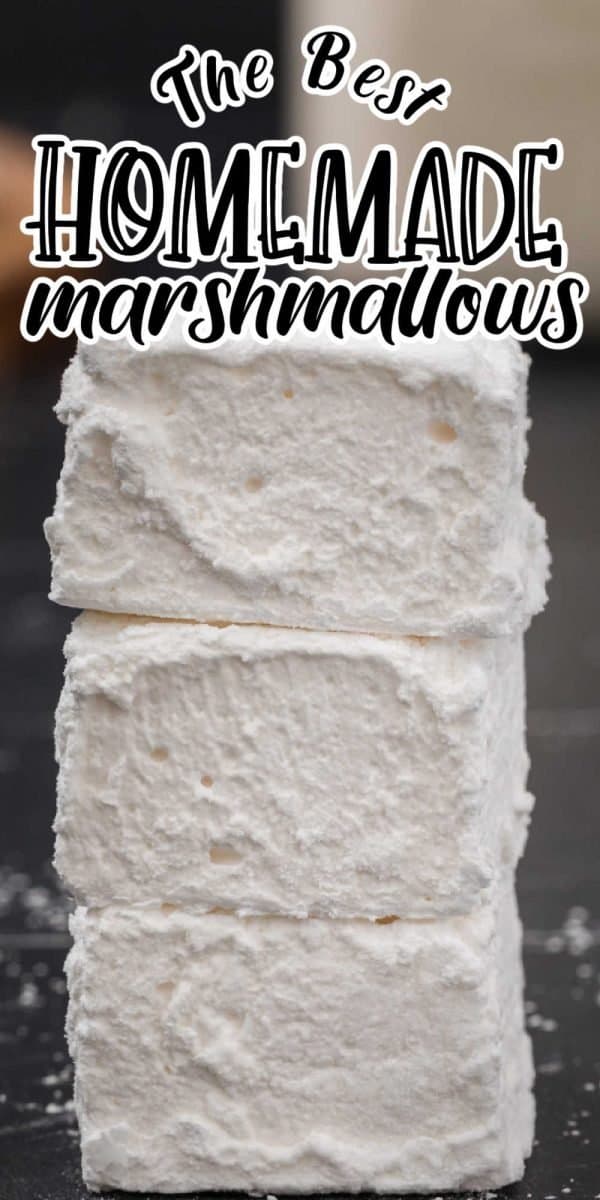
Homemade marshmallows are totally going to blow you away! Once you make marshmallows at home you are never going to look back. Light, airy, sweet marshmallows that are perfect for eating by themselves, using in recipes like chocolate covered marshmallows and using for the best s’mores ever.
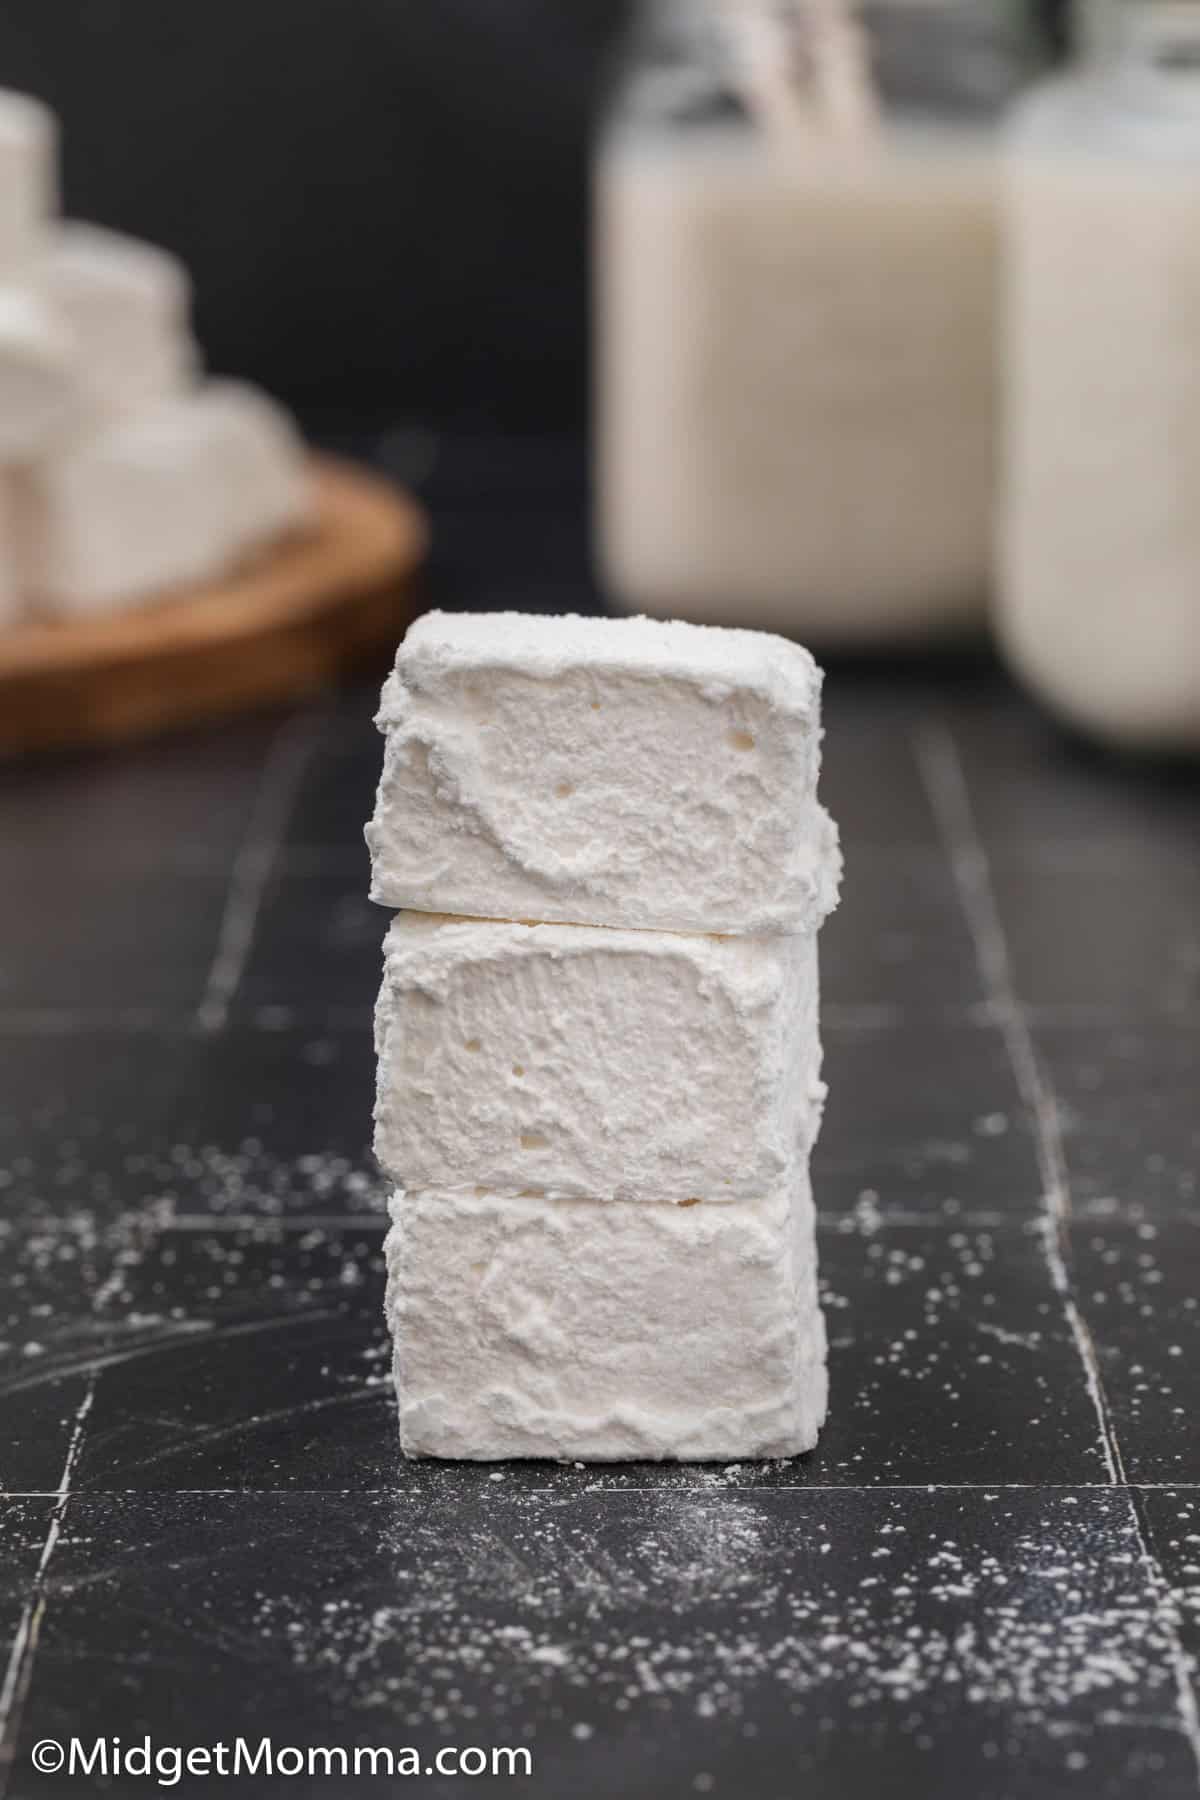
Homemade Marshmallows
There is just something special about a homemade marshmallow. Homemade Marshmallows are so different then your store bought marshmallows but they are sooo much better! The store bought ones we have used many times in our recipes here at MidgetMomma.com but I have to tell you they are totally subpar to making your own marshmallows.
Store bought have that dry outer layer and taste like a ball of sugar. Don’t get me wrong I am all about a marshmallow from the store but I LOVE LOVE LOVE Homemade marshmallows. If you think you are not a fan of marshmallows, then I can almost guarantee it is that you do not like the store bought ones, but will be a fan as soon as you try these light, airy squares of tasty goodness that just melts in your mouth.
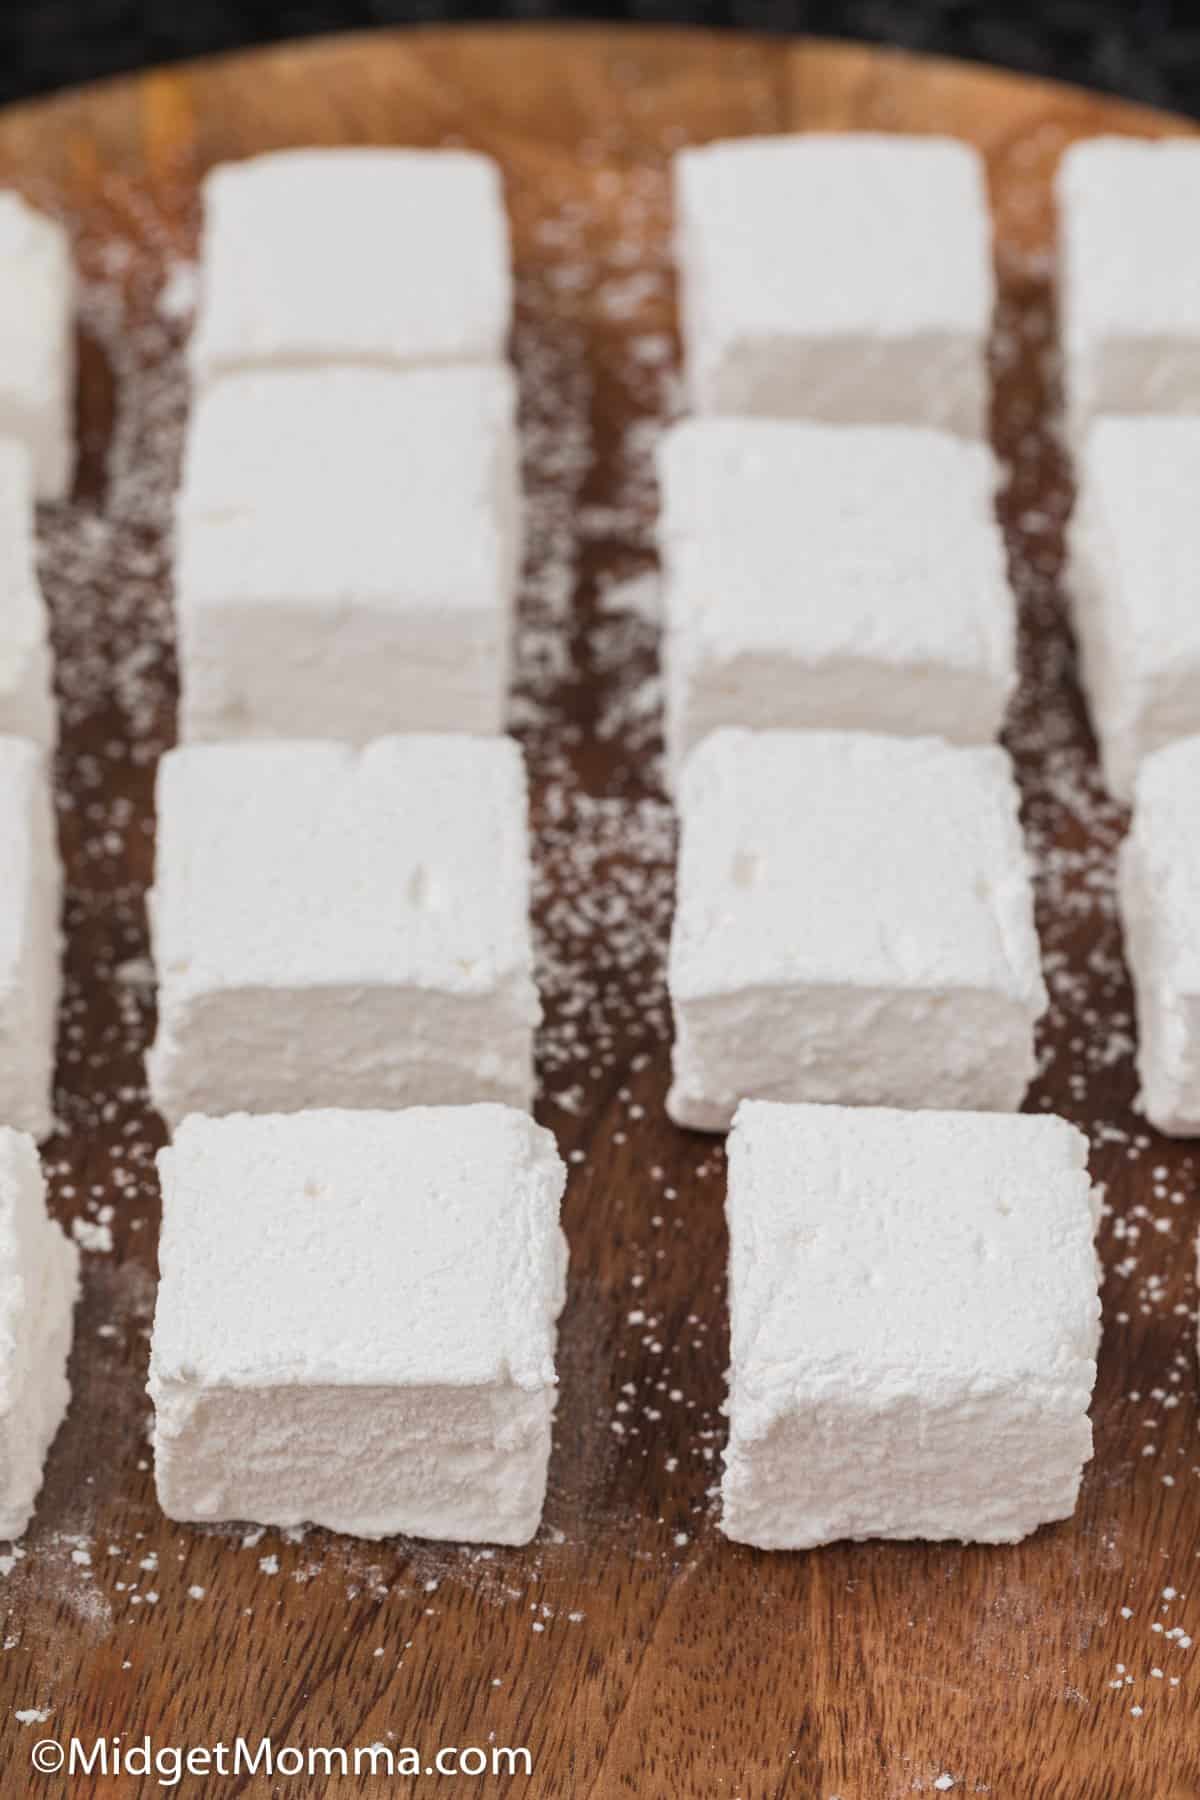
While this is not a recipe you can make at the last minute to have a treat done quickly it is a recipe you have to make at least once. Although I am sure when you make these marshmallows at home you will want to skip the packaged marshmallows and have these fluffy homemade marshmallows instead.
It might be scary to think about making your own marshmallows, but I promise this homemade marshmallows recipe is easy to follow and you can not mess them up if you follow the steps properly.
Homemade marshmallows are totally going to WOW you! Once you make marshmallows at home you are never going to look back. Light, airy, sweet marshmallows that are perfect for eating by themselves, using in recipes like chocolate covered marshmallows and using for the best s’mores ever.
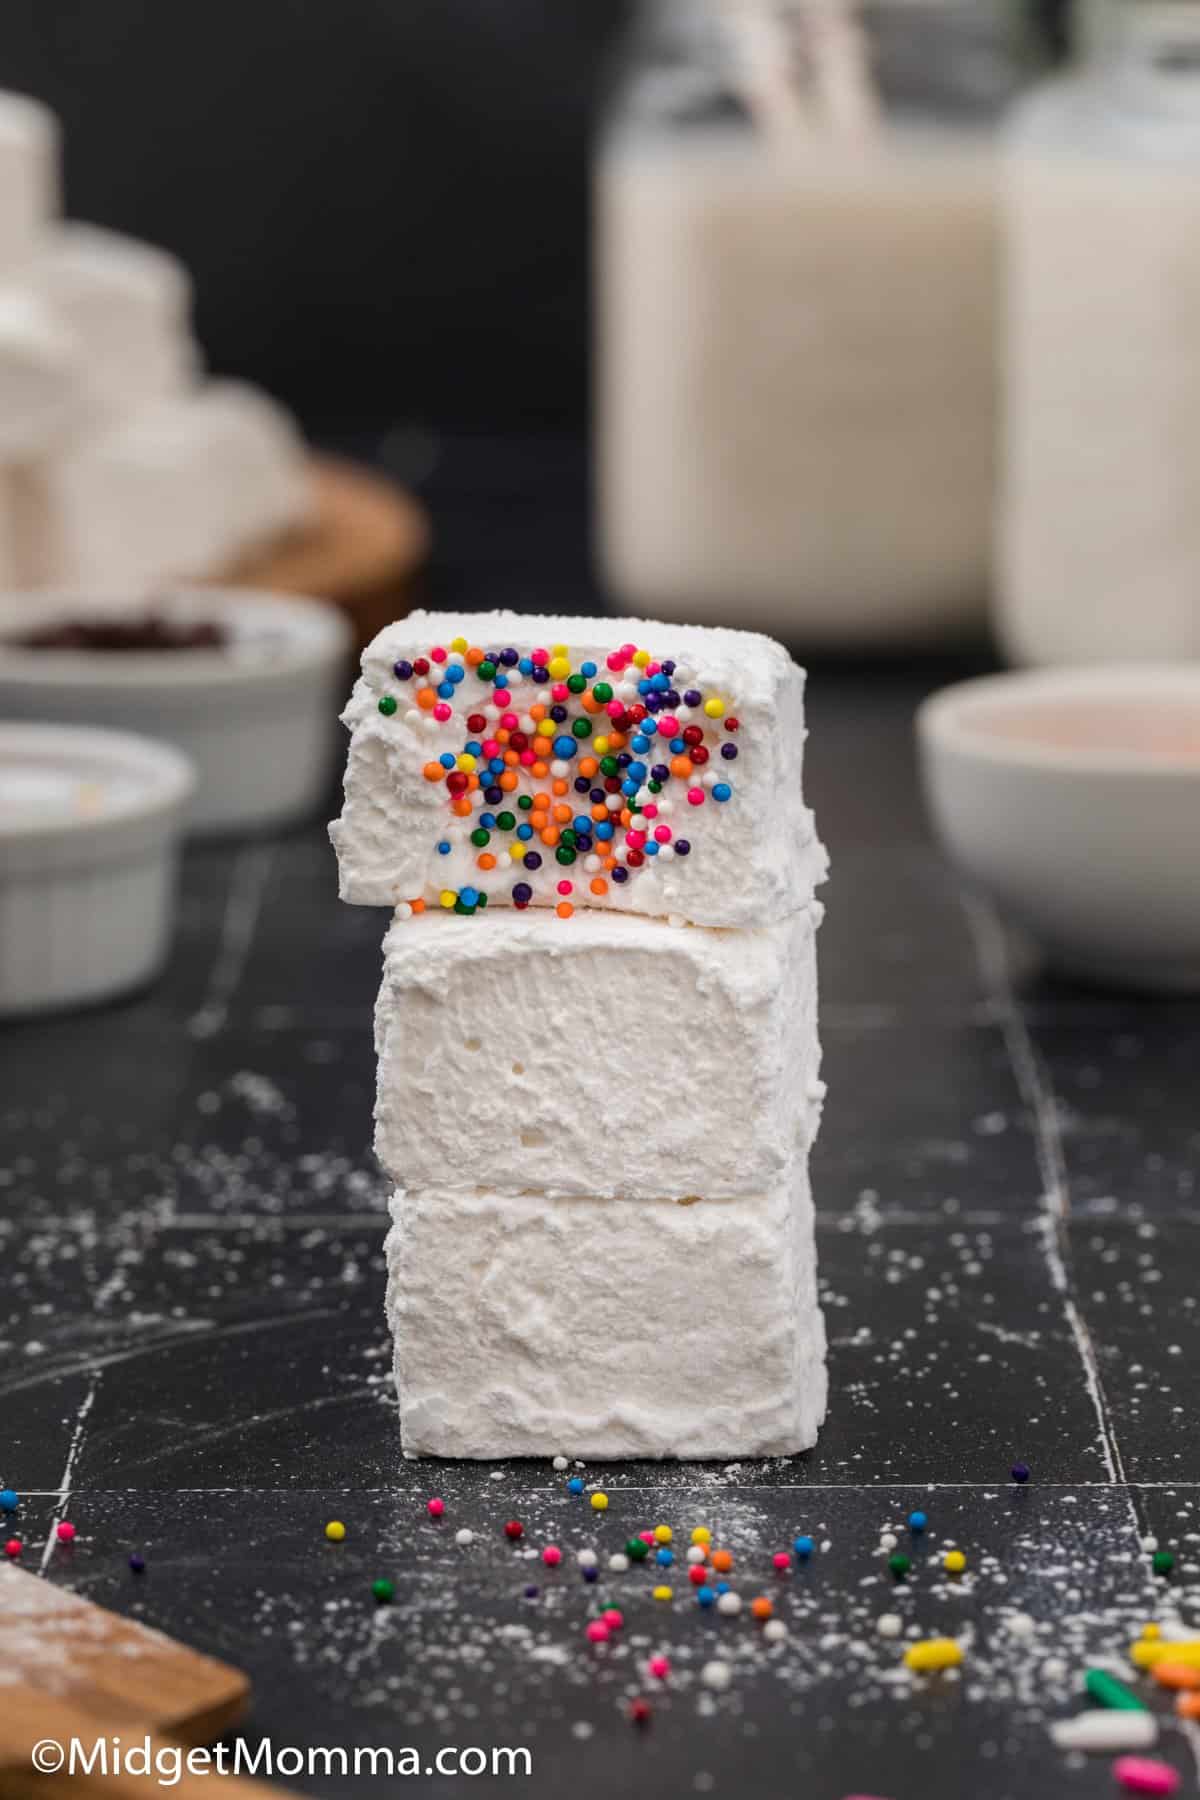
Why You will love this Recipe
I am pretty sure once you learn how to make homemade marshmallows that you are going to skip buying the store bought ones from now on.
Amazing flavor. Homemade marshmallows have a true vanilla flavor which is what makes them so much different than the marshmallows you buy in the store. You take a bite of these soft vanilla flavored pillows of goodness and you can not help but to enjoy how tasty they are.
So Meltable! They melt so well when you are making smore’s.
There are no eggs. Some marshmallow recipes call for using egg white, this egg less marshmallow recipe is much better than any of the homemade marshmallows with egg recipes. I find that without eggs you get a much better flavor and a much better melt when you are melting them.
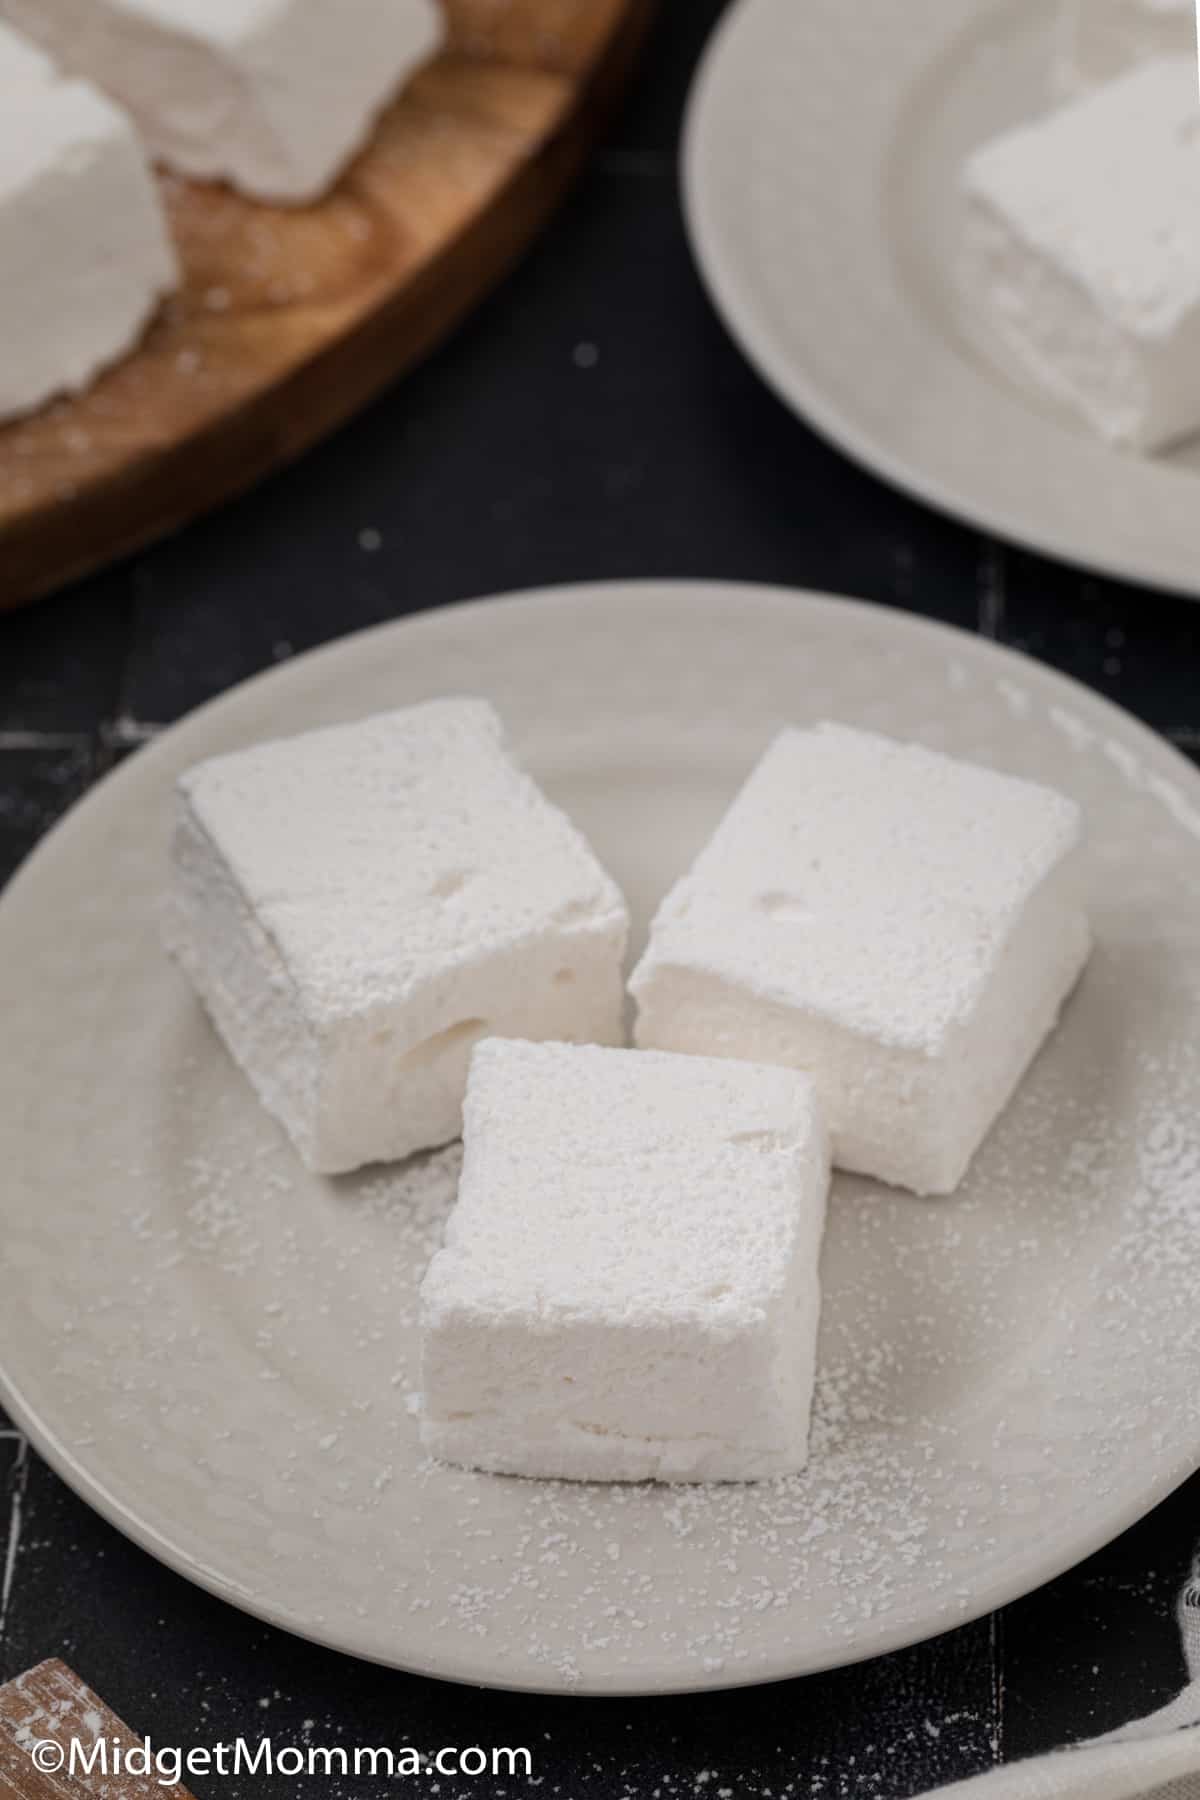
How to Use Homemade Marshmallows
S’mores. This homemade marshmallow recipe is perfect for making the best S’mores ever.
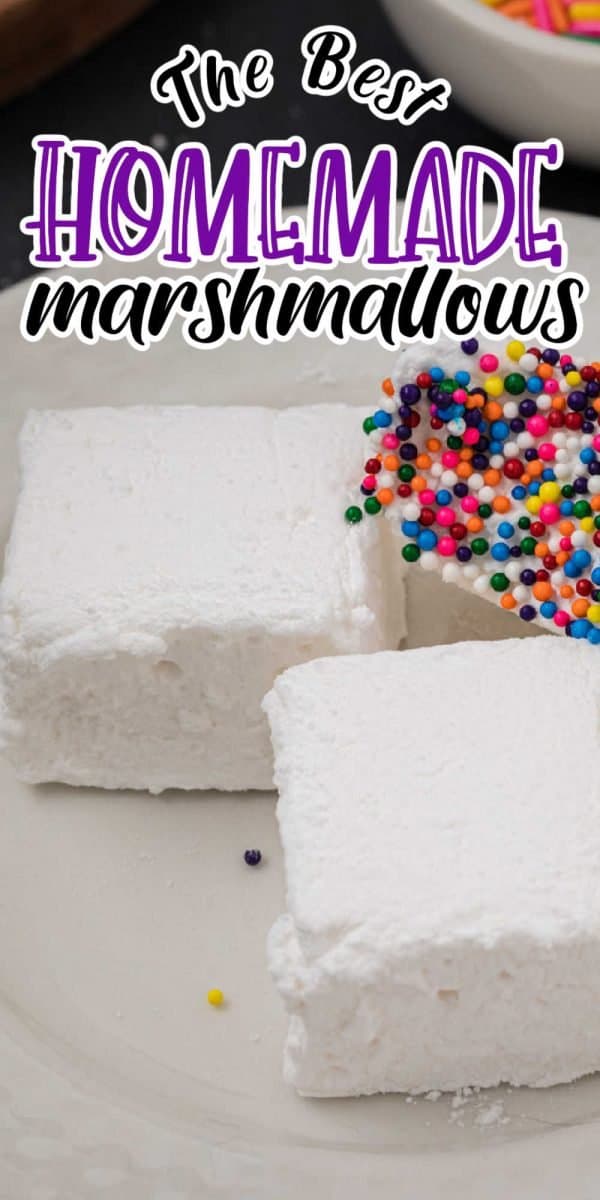
Homemade treats. We use homemade marshmallows when we make our homemade chocolate covered marshmallow eggs. They also make for an amazing sweet treat just because they are so good!
Shaped Marshmallows. You can pipe the marshmallow mixture into shapes using a piping bag if you want to. You can also pour the marshmallow mixture into silicone molds to make shapes.
With hot chocolate. Add these homemade marshmallows on top of your favorite hot drinks including hot cocoa, slow cooker hot chocolate, pink hot chocolate, and hot chocolate boards.
Chocolate Dipped Marshmallows. Using a double boiler to melt chocolate dip these homemade marshmallows in melted chocolate and allow the chocolate to harden.
Give as a gift. Make some homemade marshmallows and pair them with hot chocolate bombs, hot chocolate truffles or hot chocolate on a stick for an awesome homemade tasty gift idea.
If you are looking for more recipes to use homemade marshmallows in check these out!
- Carrot Marshmallow Pops
- Reindeer Marshmallow Pops
- Snowman Marshmallow Pops
- St. Patricks Day Marshmallow Pops
- Easter Resurrection Rolls
- Christmas Tree Marshmallow Pops
- Hot Chocolate Marshmallow Cups
- Turkey Marshmallow Pops
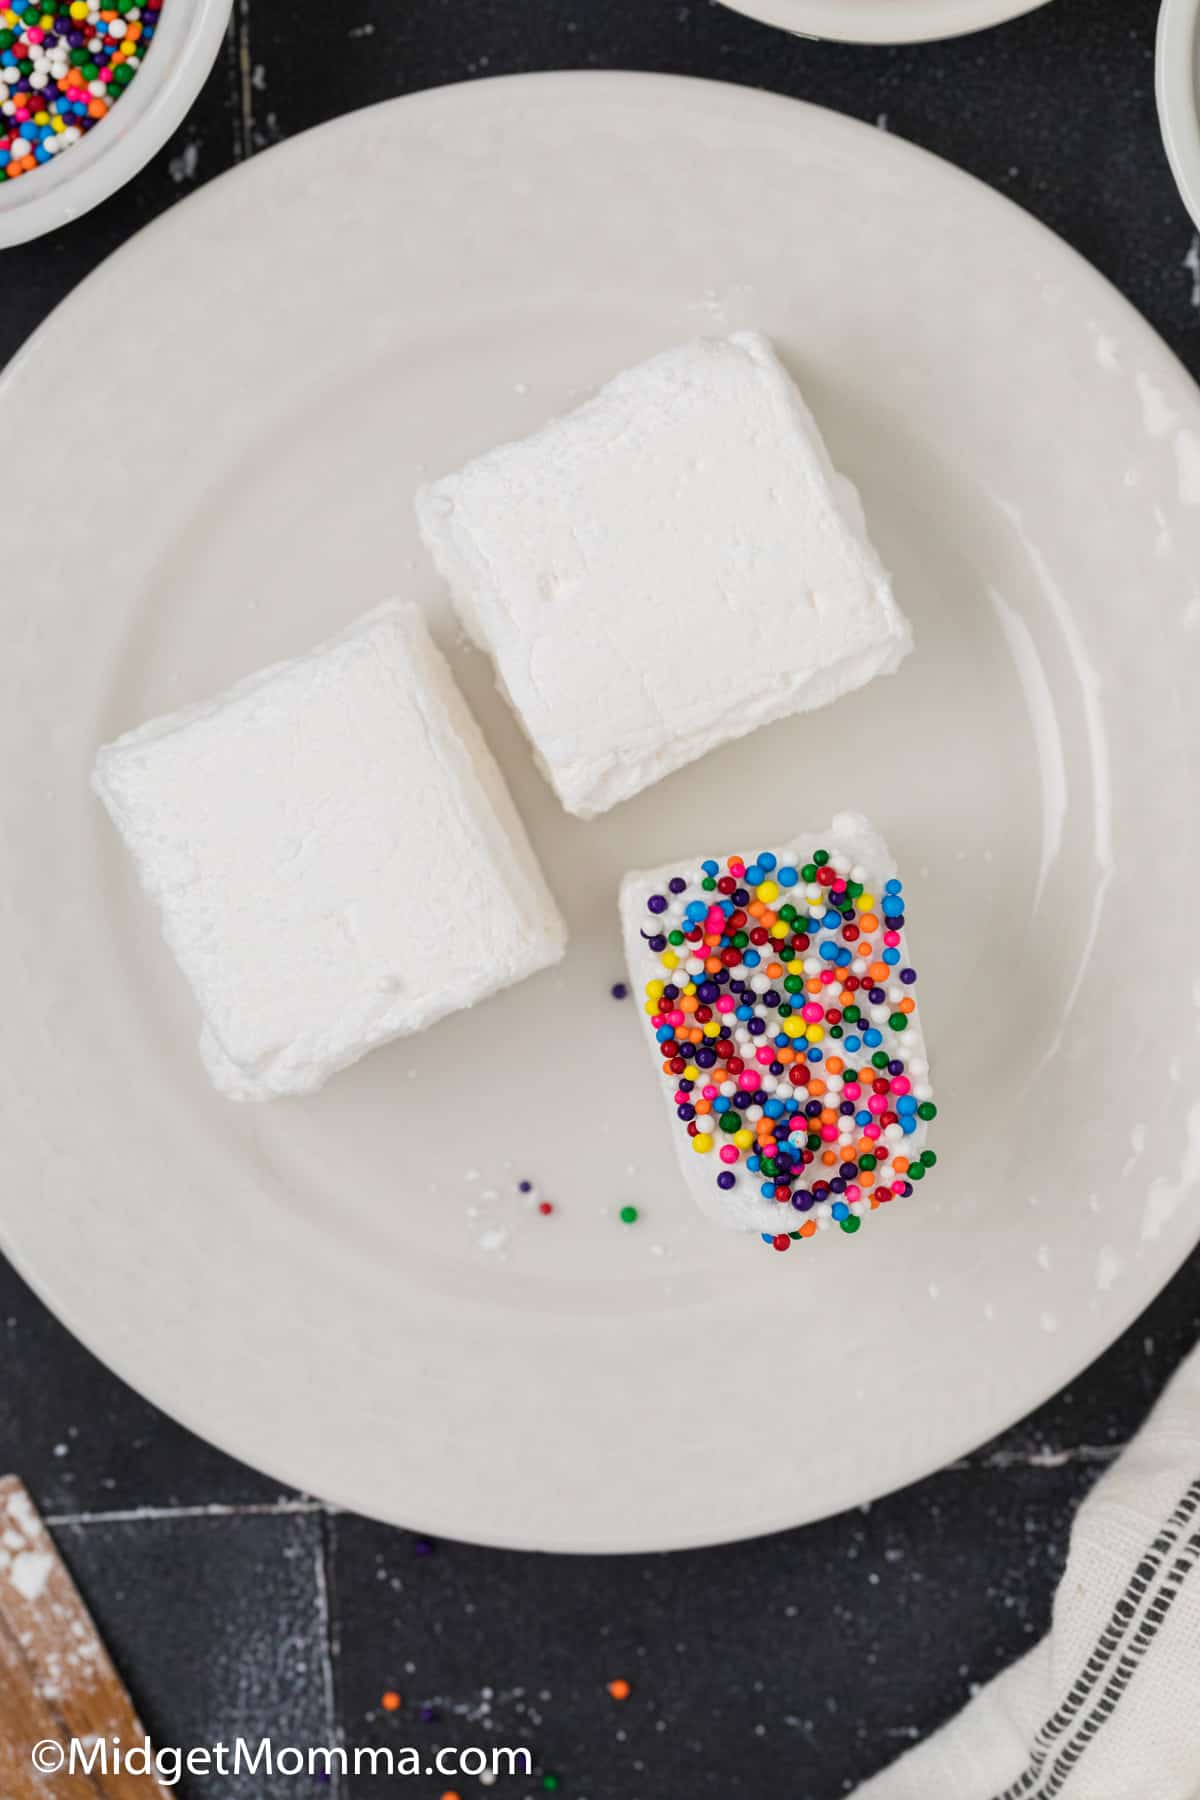
Tips for Making Homemade Marshmallows
Don’t be scared about making these homemade marshmallows. They are so much easier to make than you would think.
Avoid sticking to utensils. Always use nonstick cooking spray, cooking oil, shortening, or butter on the utensils you are going to be using to avoid them from sticking to the marshmallow mixture.
Don’t rush the setting processes. You will need at least 2 hours for the marshmallows to set before you cut into them. If you check on them and they are still sticky at the 2 hour point, let them sit longer before dredging them in powdered sugar.
Prep ahead of time. You will need a baking sheet lined with parchment paper for the marshmallows to set, to make things easier prep the baking sheet before you get started.
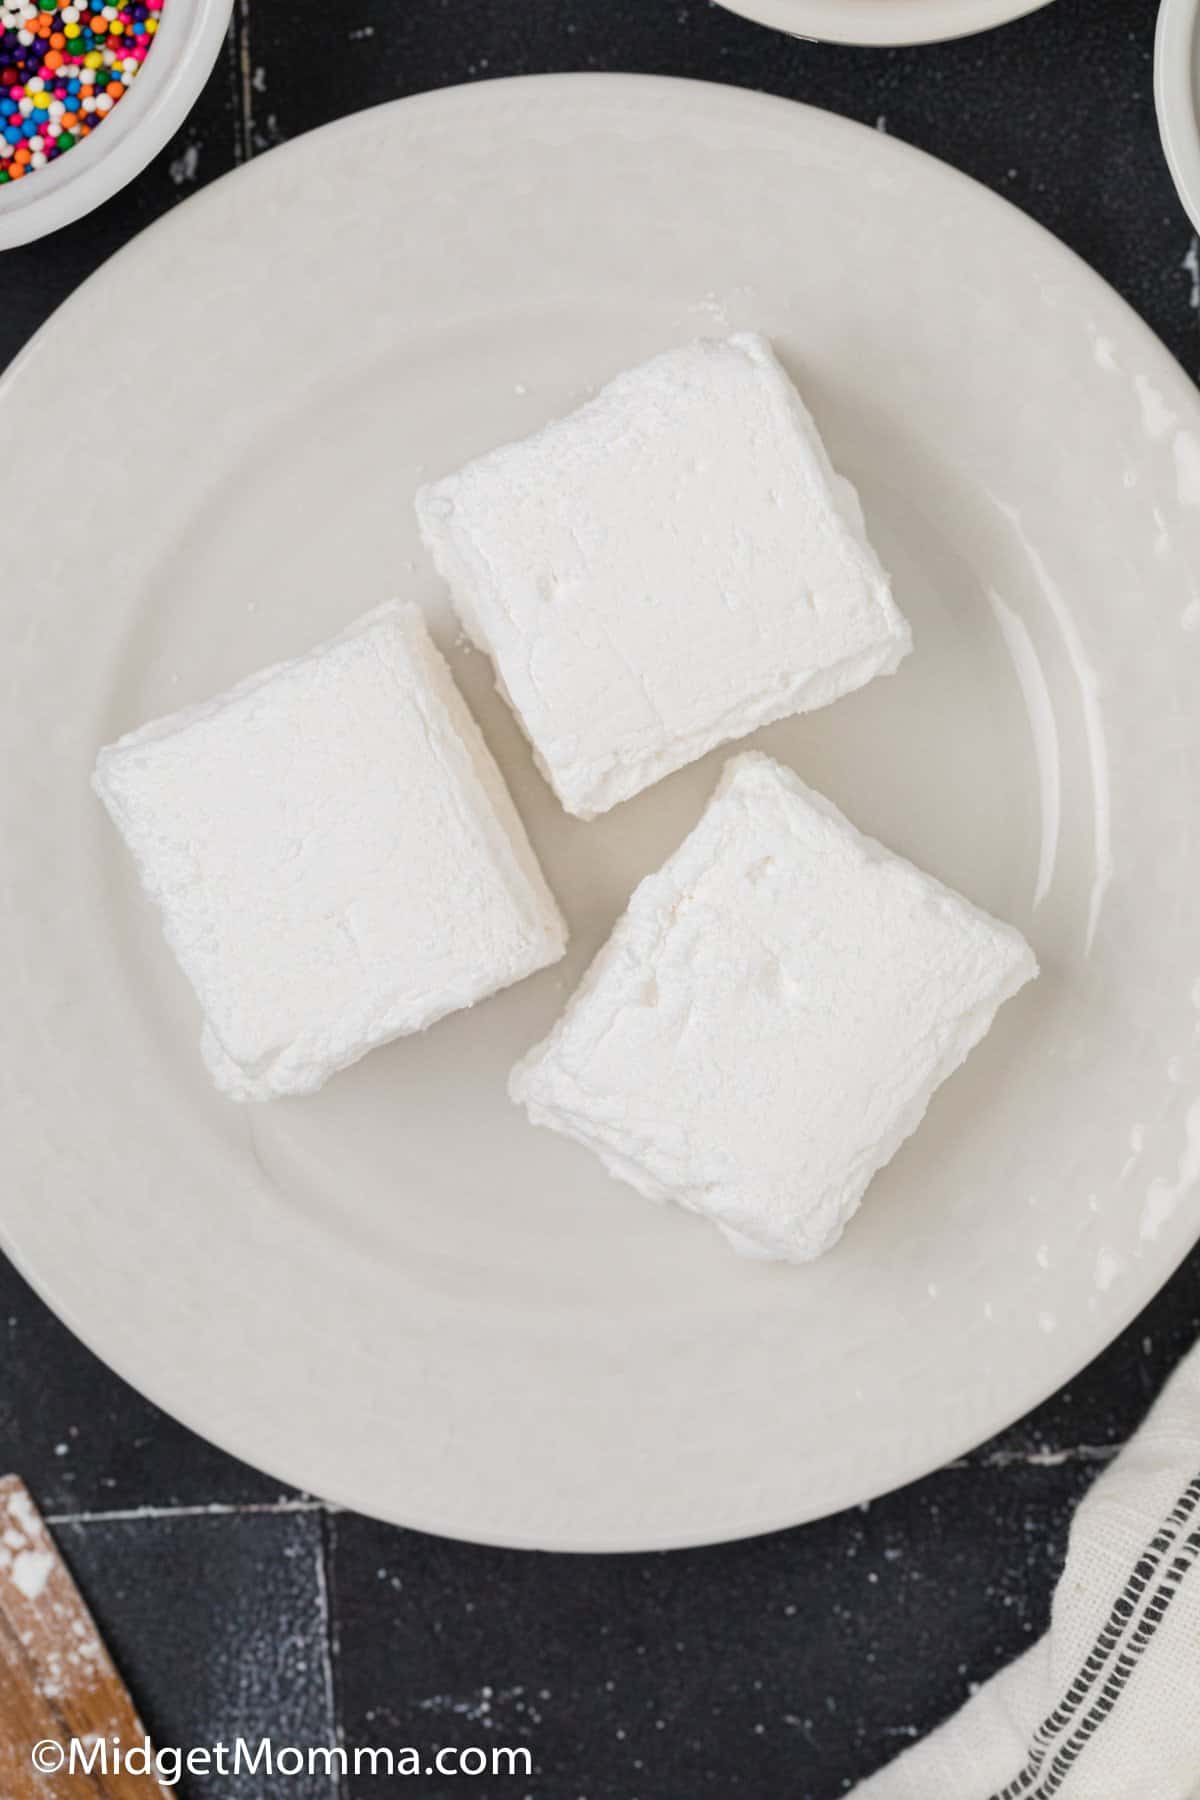
What Equipment do you need to make homemade Marshmallows?
Electric Mixer. To make homemade marshmallows you are going to need an electric mixer, my personal favorite my KitchenAid Mixer. Seriously I can not survive in the kitchen without mine!
Baking sheet, 8×8 pan or 9×9 pan. Depending on how thick you want to make the marshmallows will determine the pan that you use. You are going to also need to have some good sheet pans. You don’t want to have crappy pans ever in the kitchen because they will end up needing to be replaced. Personally, I love my Calphalon Nonstick Bakeware set.
You are also going to need a small sauce pan. If you are looking for an amazing cooking set, I have the Calphalon Premier Space Saving Nonstick Set and I have never loved a cooking set more then this one.
Rubber spatula. For mixing and scraping the bowl and spreading the marshmallow mixture in the pan and on the side of the pan.
How to Change the Flavor of Homemade Marshmallows
I normally stick with vanilla flavored marshmallows, but you can make just about any flavor marshmallow that you want. Instead of using 1 tablespoon of vanilla extract just change it out for 1 tablespoon of any other extract flavor.
How to Make Colored Marshmallows
If you are wanting to add a little bit of color to your marshmallows you totally can. Just add a few drops of food coloring and swirl it into the marshmallow mixture.
How to Store Homemade Marshmallows
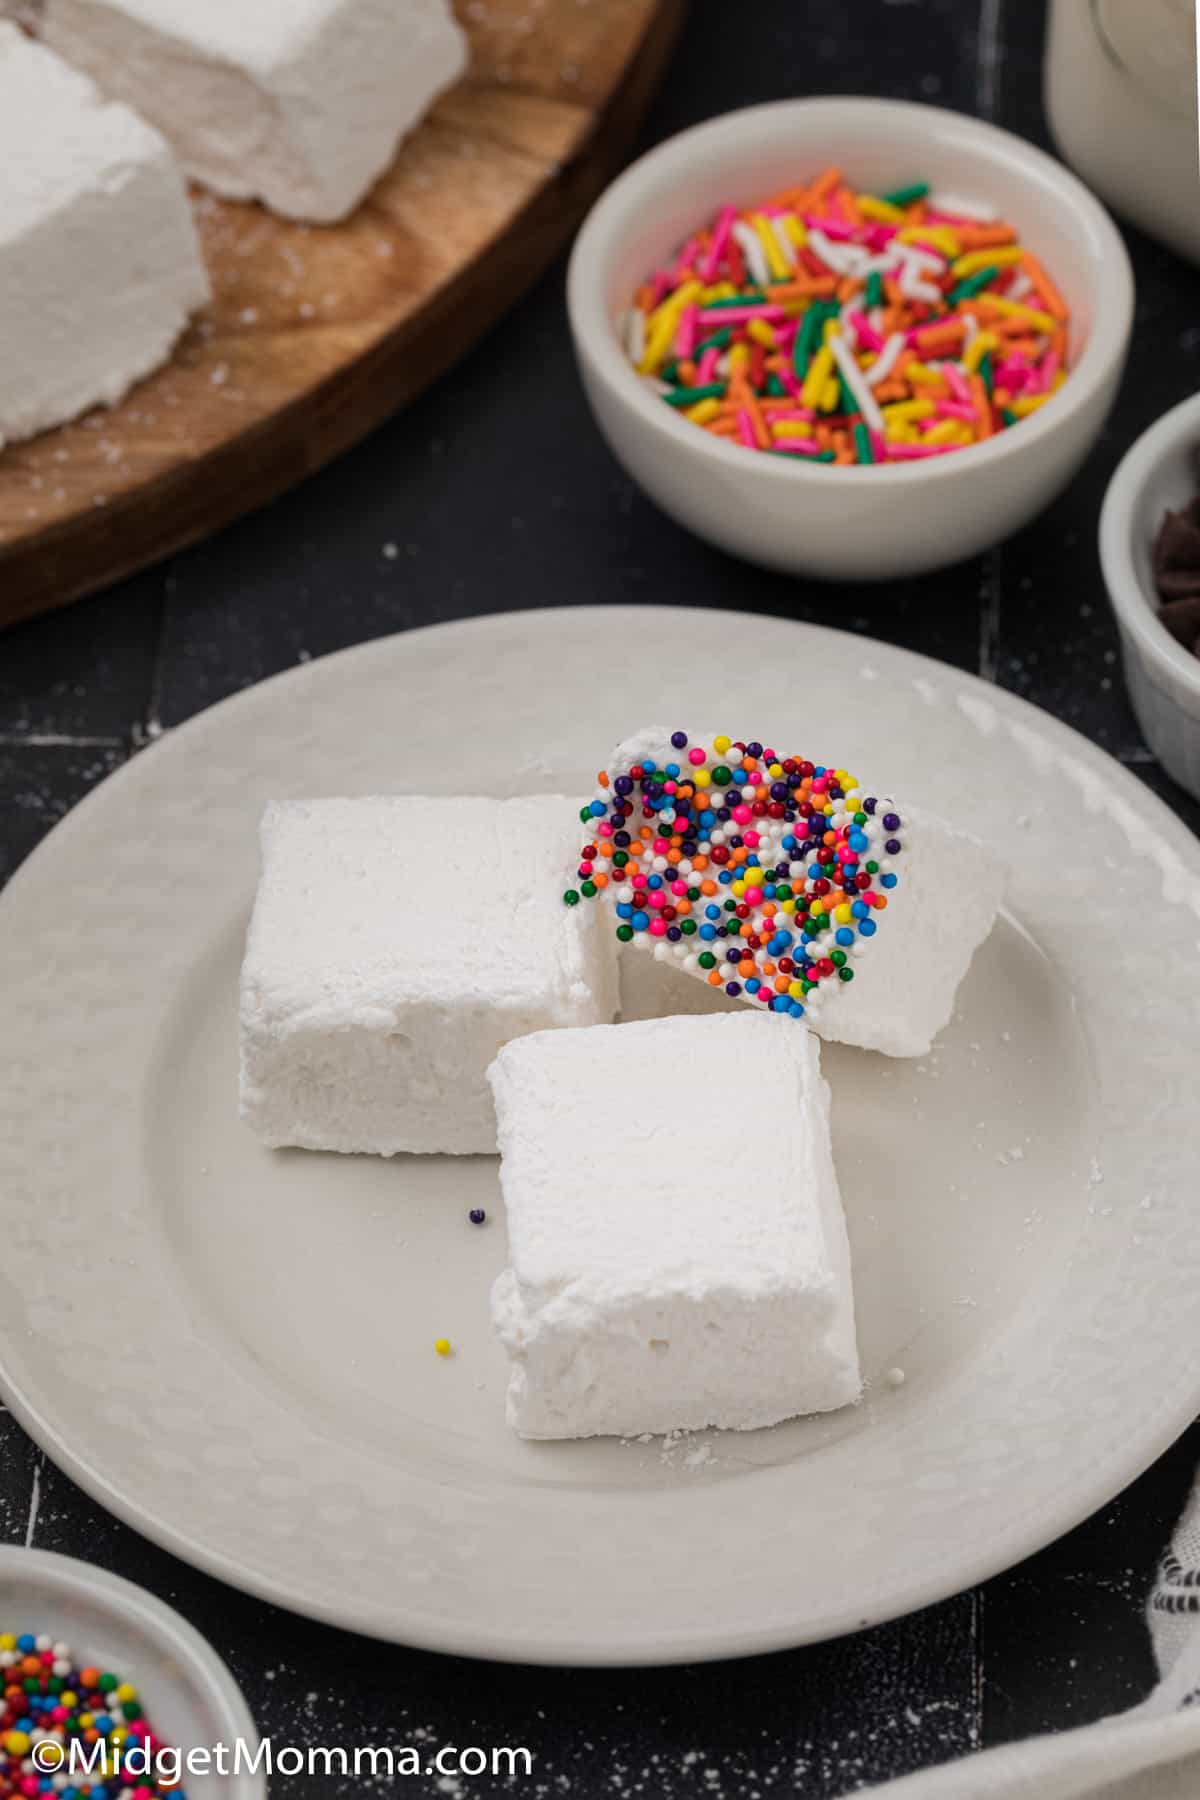
Once you have made your marshmallows, toss them in a little bit of extra powdered sugar. Then store them in an airtight container and store at room temperature. Homemade marshmallows will keep for up to 3 weeks in an airtight container. Never put homemade marshmallows in the fridge or freezer, if you do they will fully harden, and then as you thaw them they will melt. I also find it best to add extra confectioners sugar in the container to keep them from sticking to each other.
How long do homemade marshmallows last?
Since this is an egg-less marshmallow recipe there is a long shelf life on these marshmallows as long as thye are stored properly.
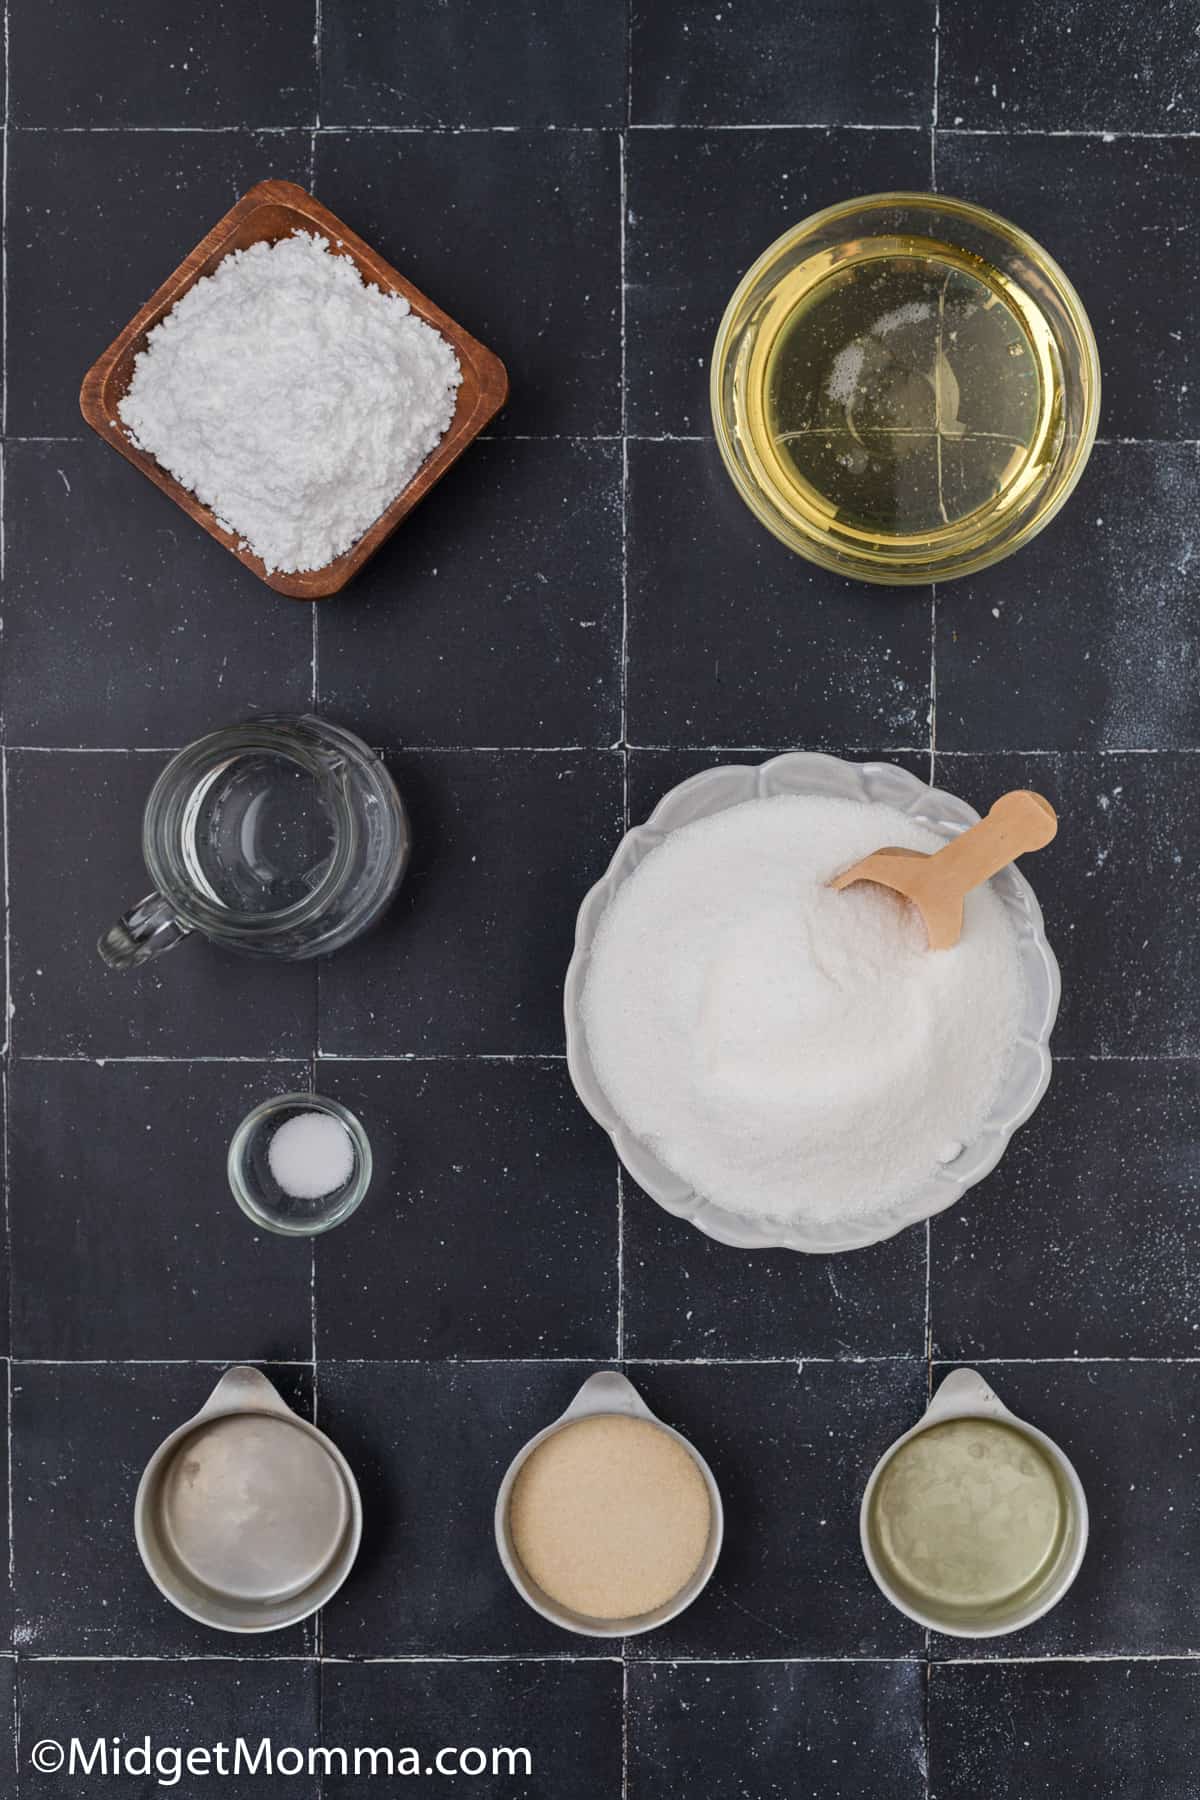
Homemade Marshmallows Ingredients
- 3 envelopes of Knox gelatin
- 1/2 cup cold water
- 2 cups granulated sugar
- 2/3 cups corn syrup
- 1/4 cup water
- 1/4 teaspoon salt
- 1 tablespoon vanilla extract
- Powdered sugar for dredging
- cooking oil
How to Make Homemade Marshmallows
Line your baking sheet with parchment paper.
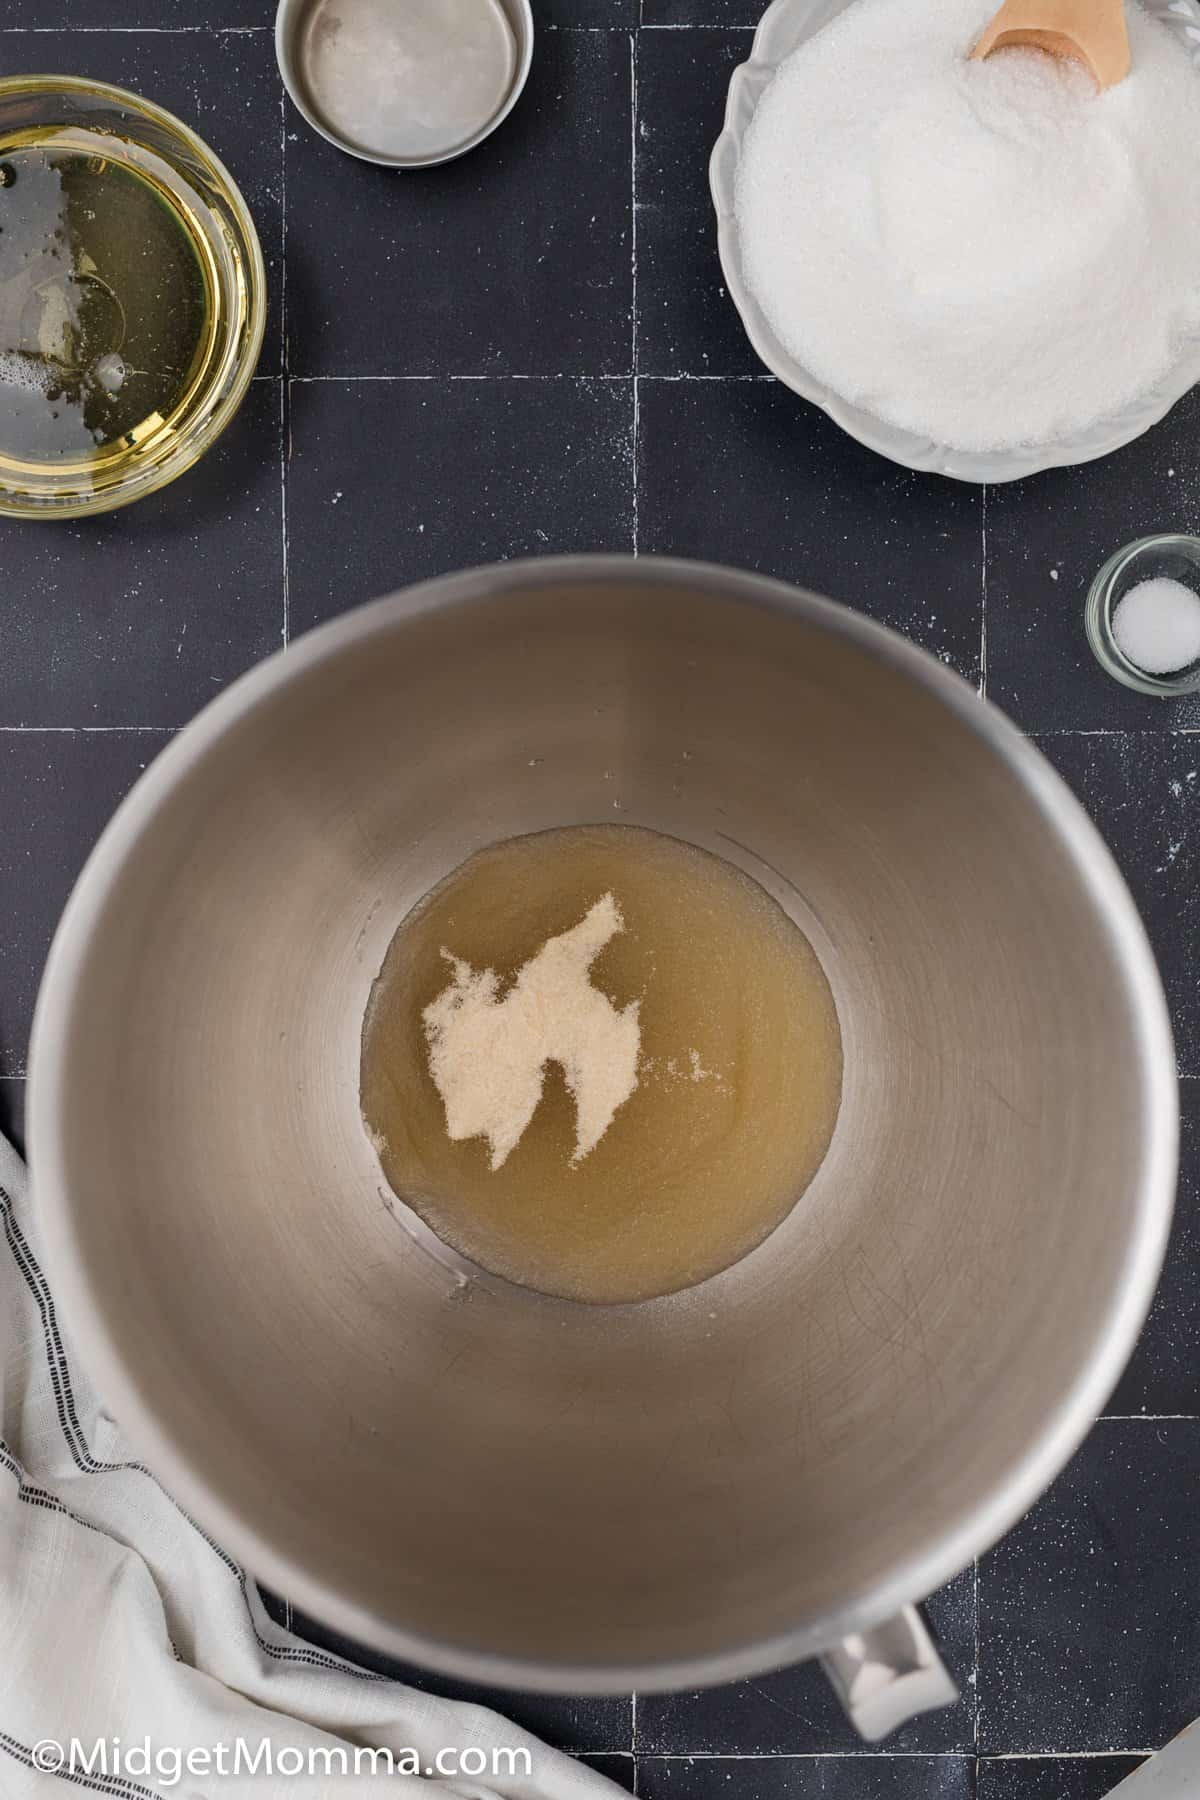
Get out your electric mixer and the bowl of your stand mixer. Set it up with the whisk attachment. In the bowl of an electric mixer add in the cold water. Then sprinkle gelatin on top of the cold water.
Let the gelatin sit and soak for 10 minutes.
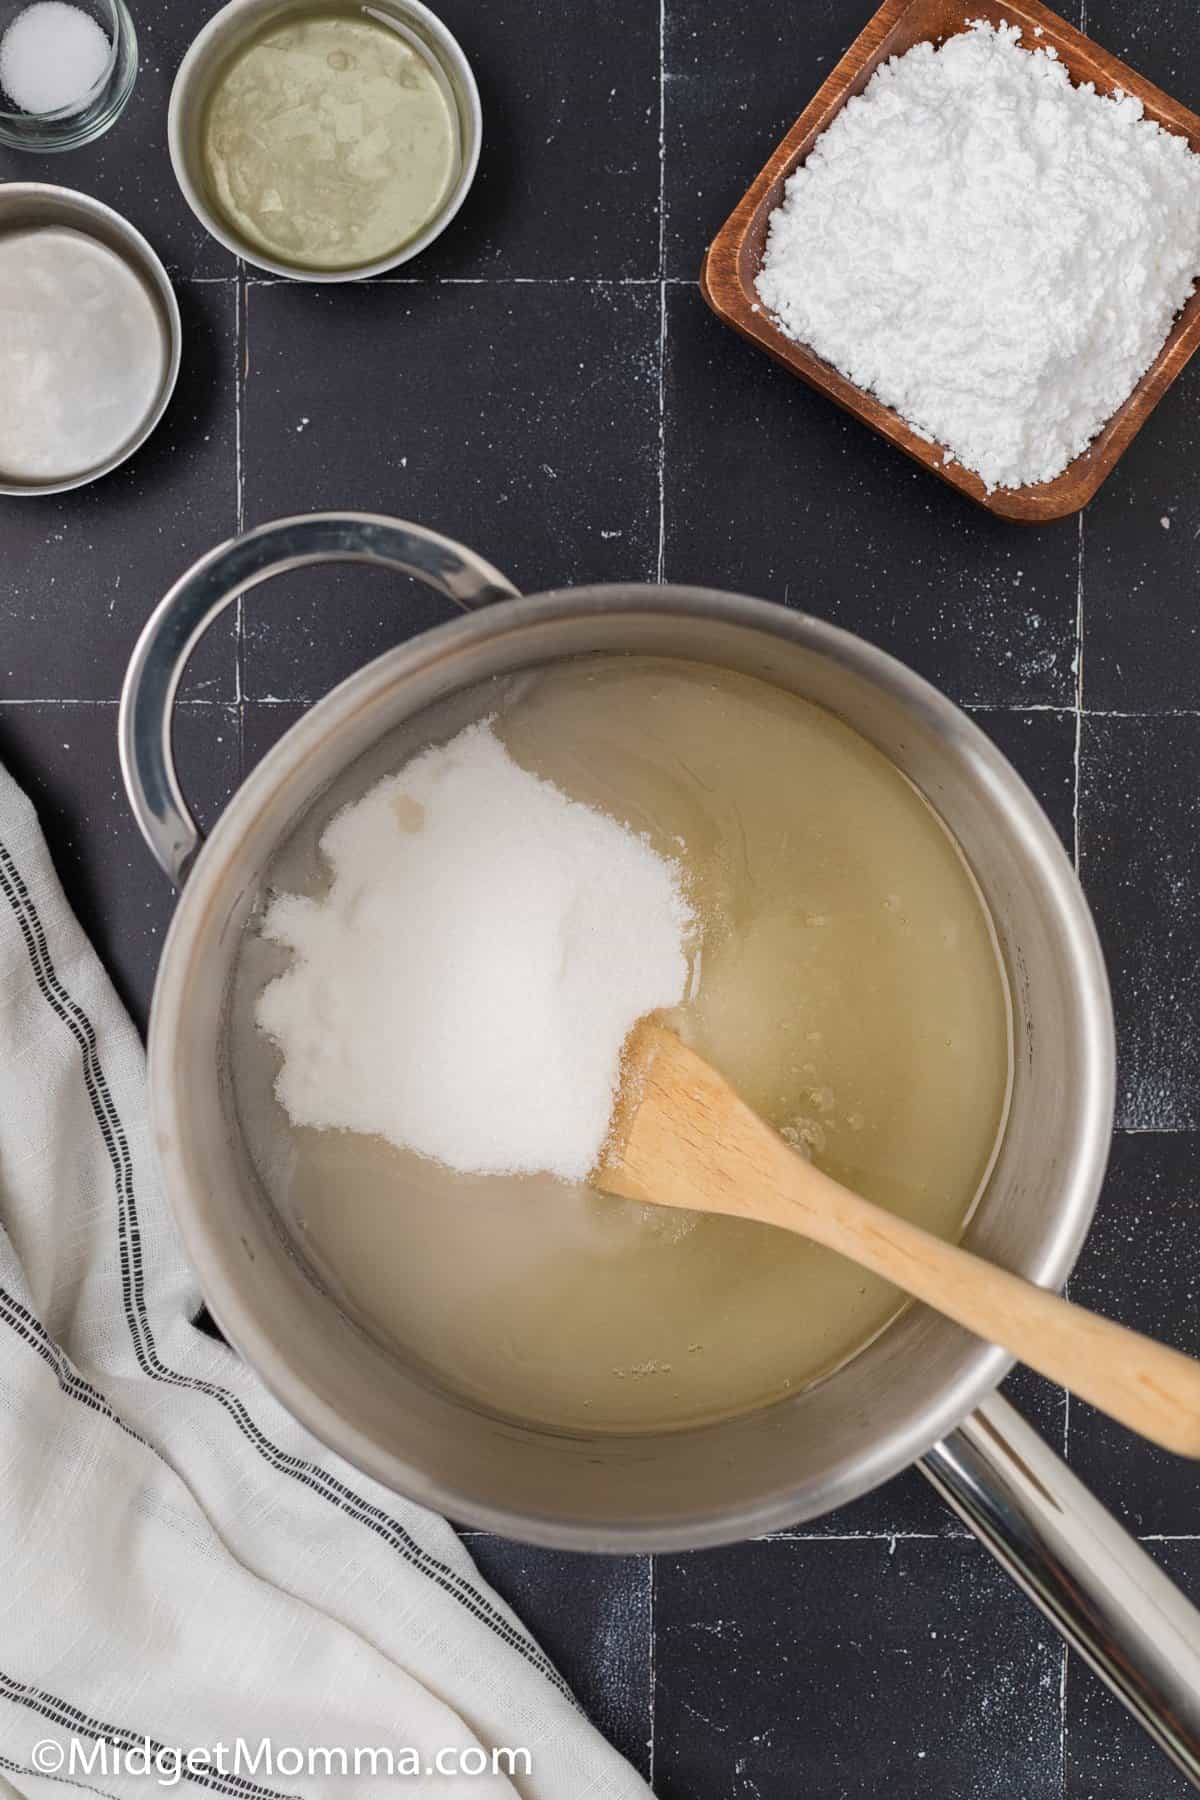
In a small saucepan, combine sugar, corn syrup, and 1/4 cup water and heat over medium heat. Bring the mixture to a boil and let it boil for 1 minute.
Once the sugar syrup mixture is done, pour the boiling sugar syrup into the gelatin mixture in your electric mixer. Turn the mixter speed to high speed and carefully add in the salt.
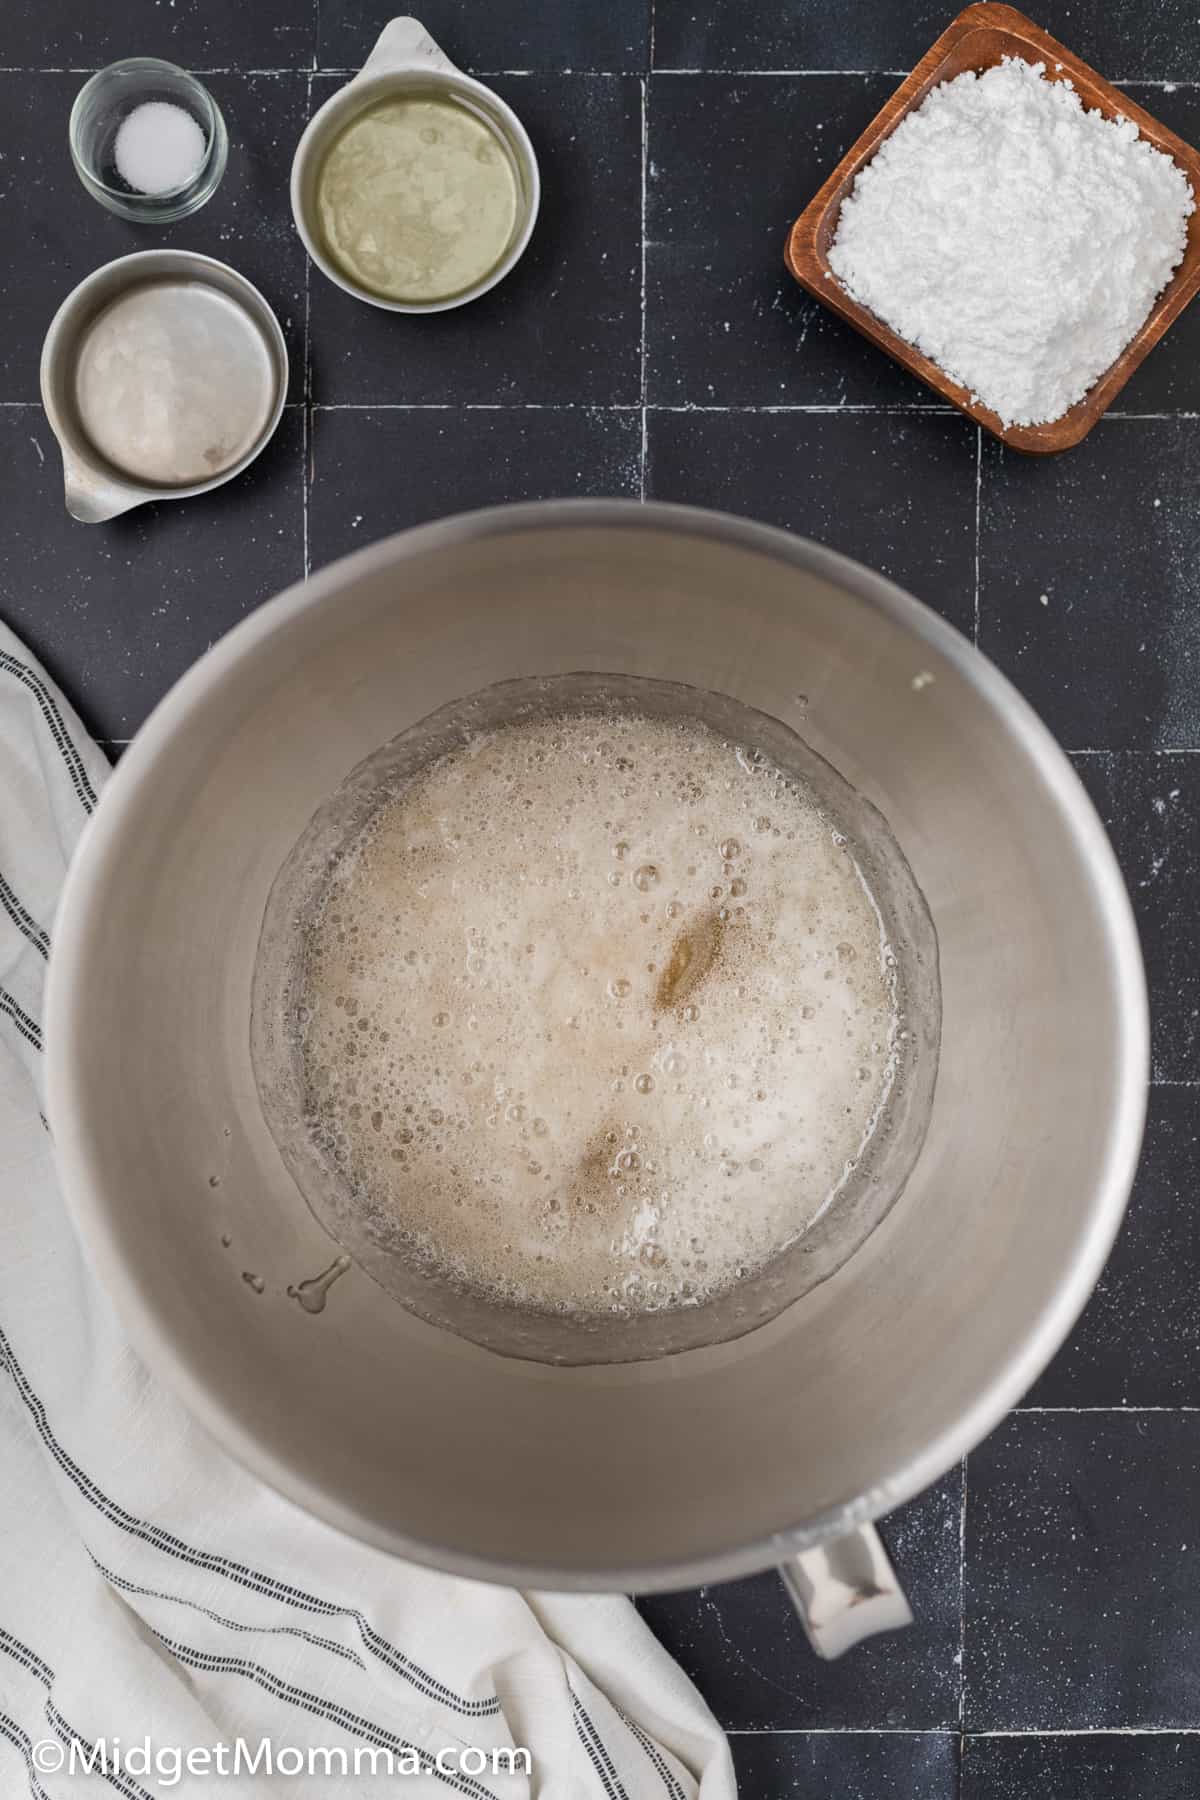
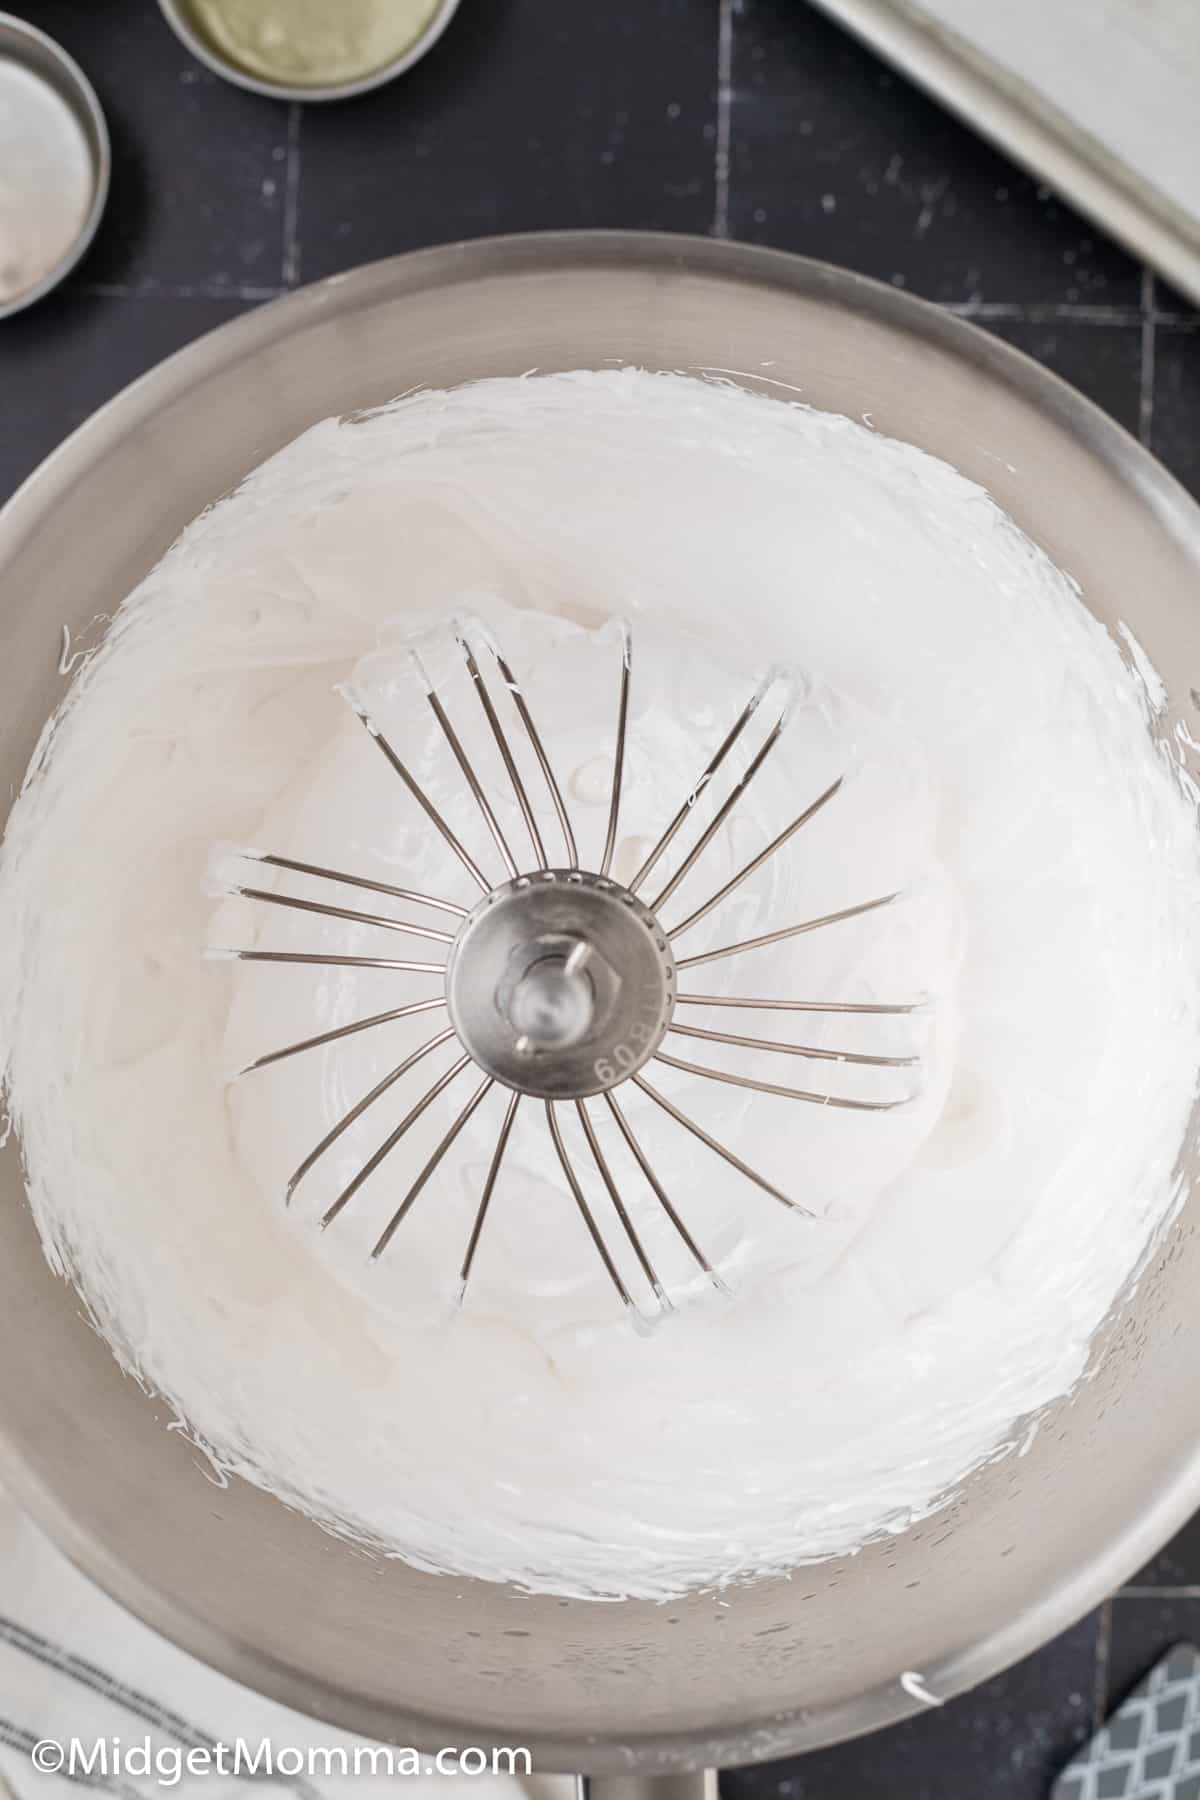
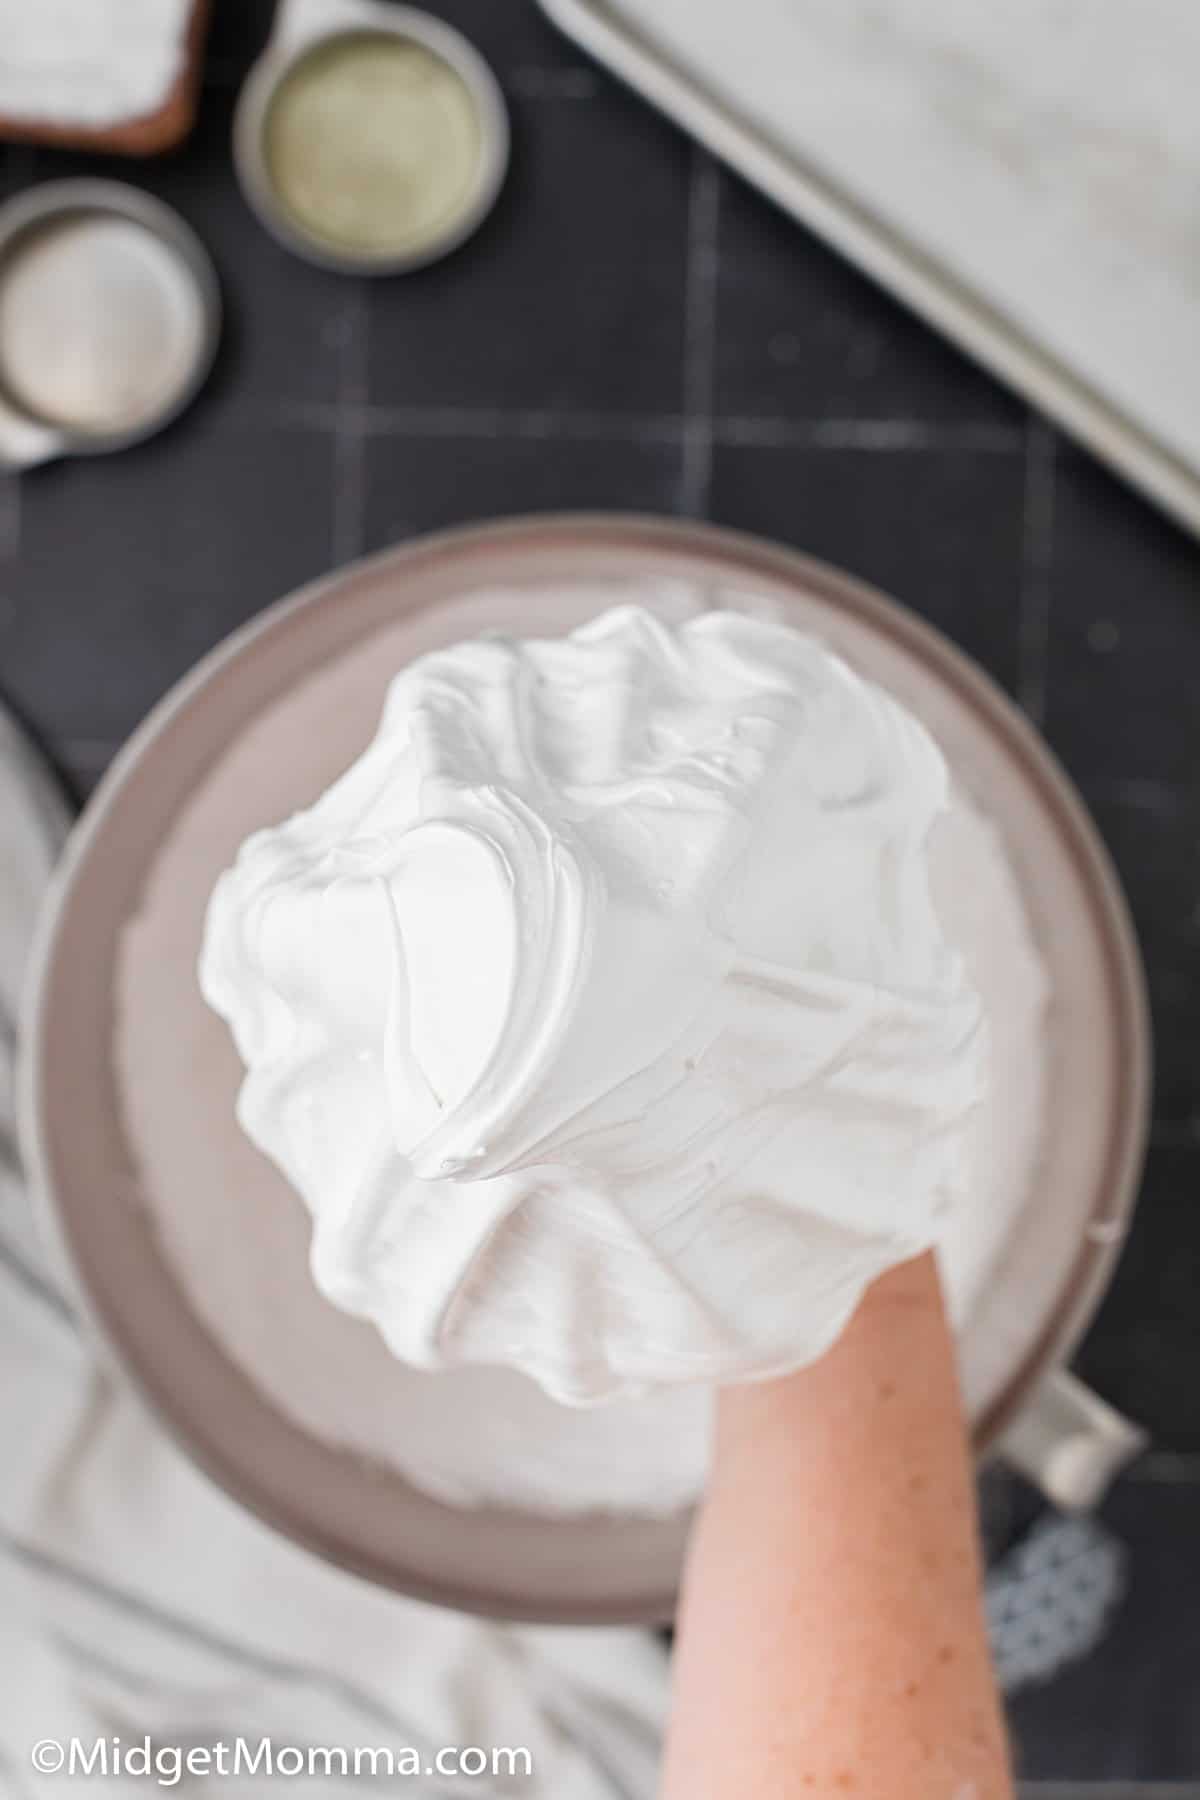
Allow the mixture to beat on high speed for 12 minutes.
After 12 minutes add in the vanilla extract and turn the mixer to medium-low speed and mix just to incorporate it into the mixture.
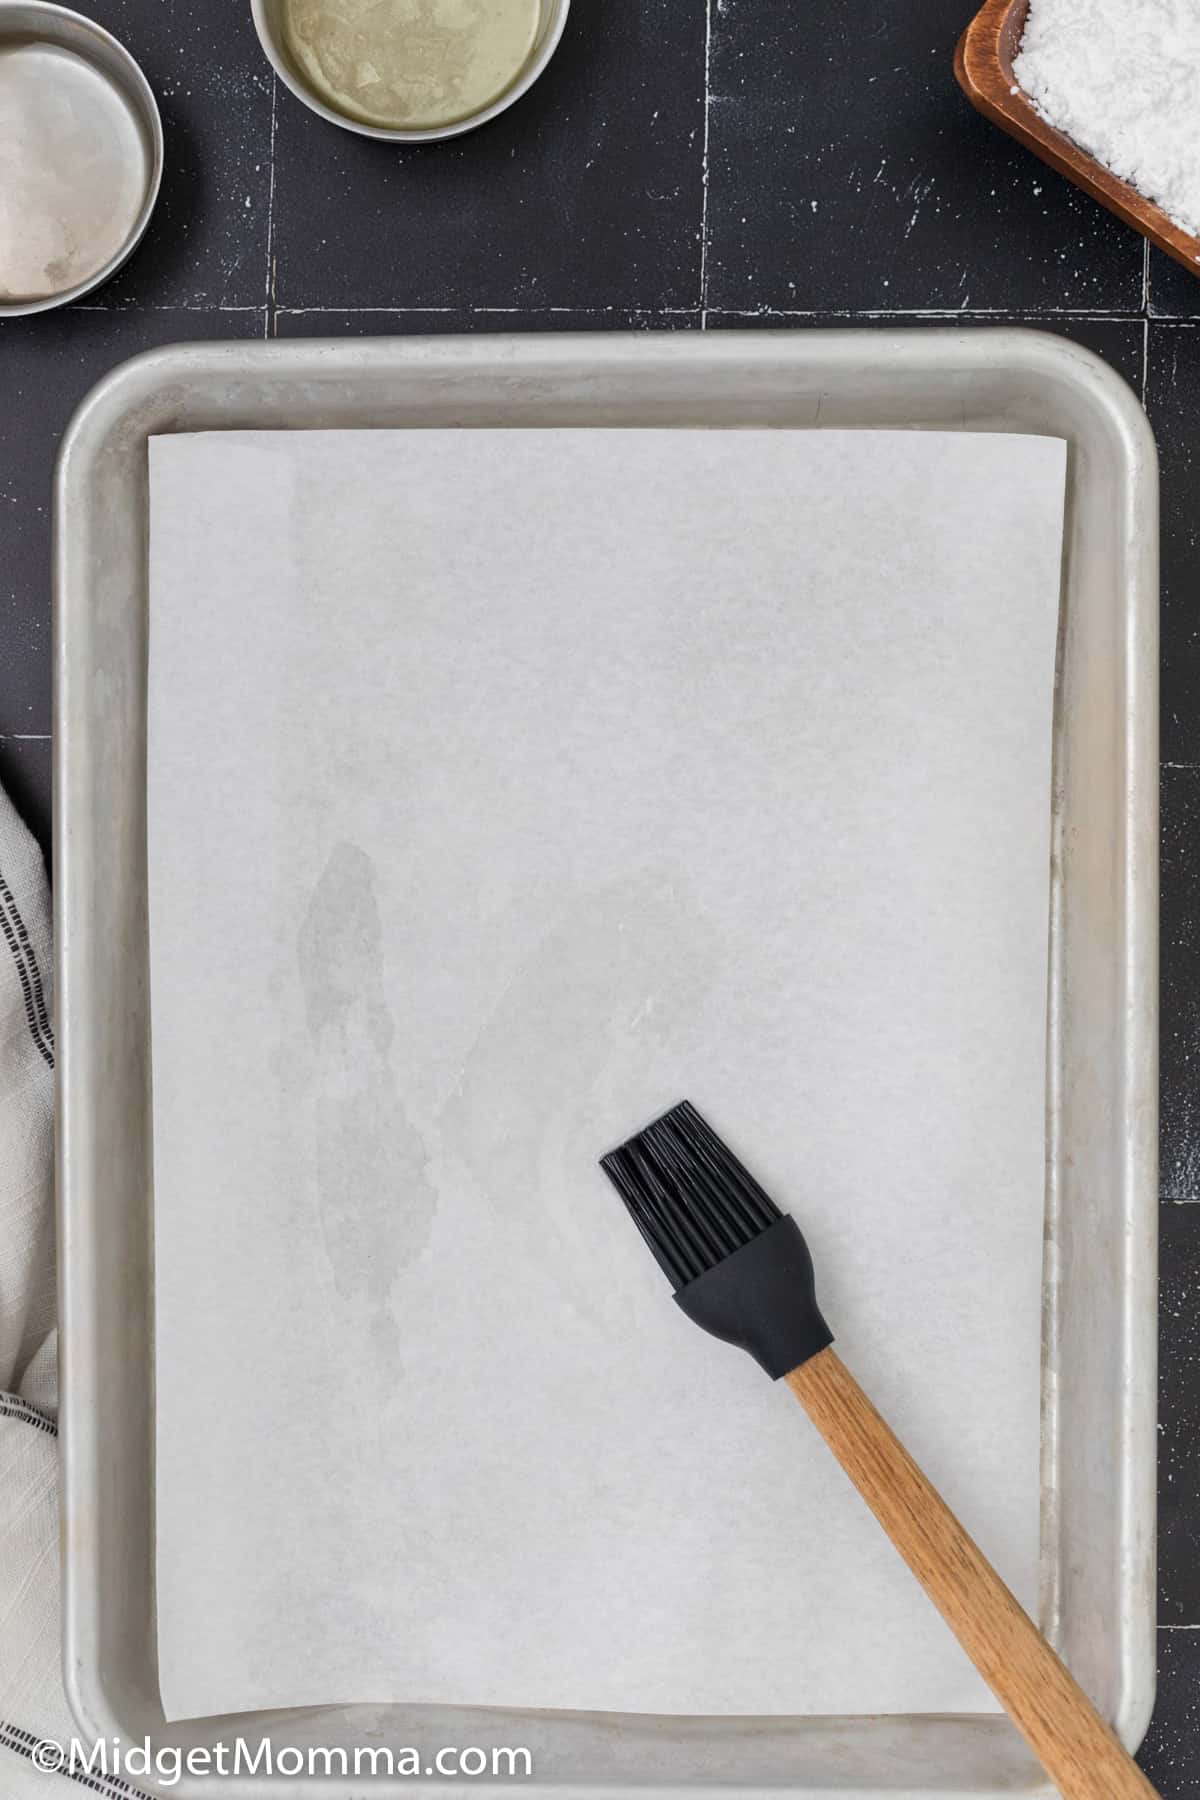
Use a spatula to spread a little bit of cooking oil onto the parchment paper and you will want to add some to the side of the pan you are using. This will prevent the marshmallow mixture from sticking to it.
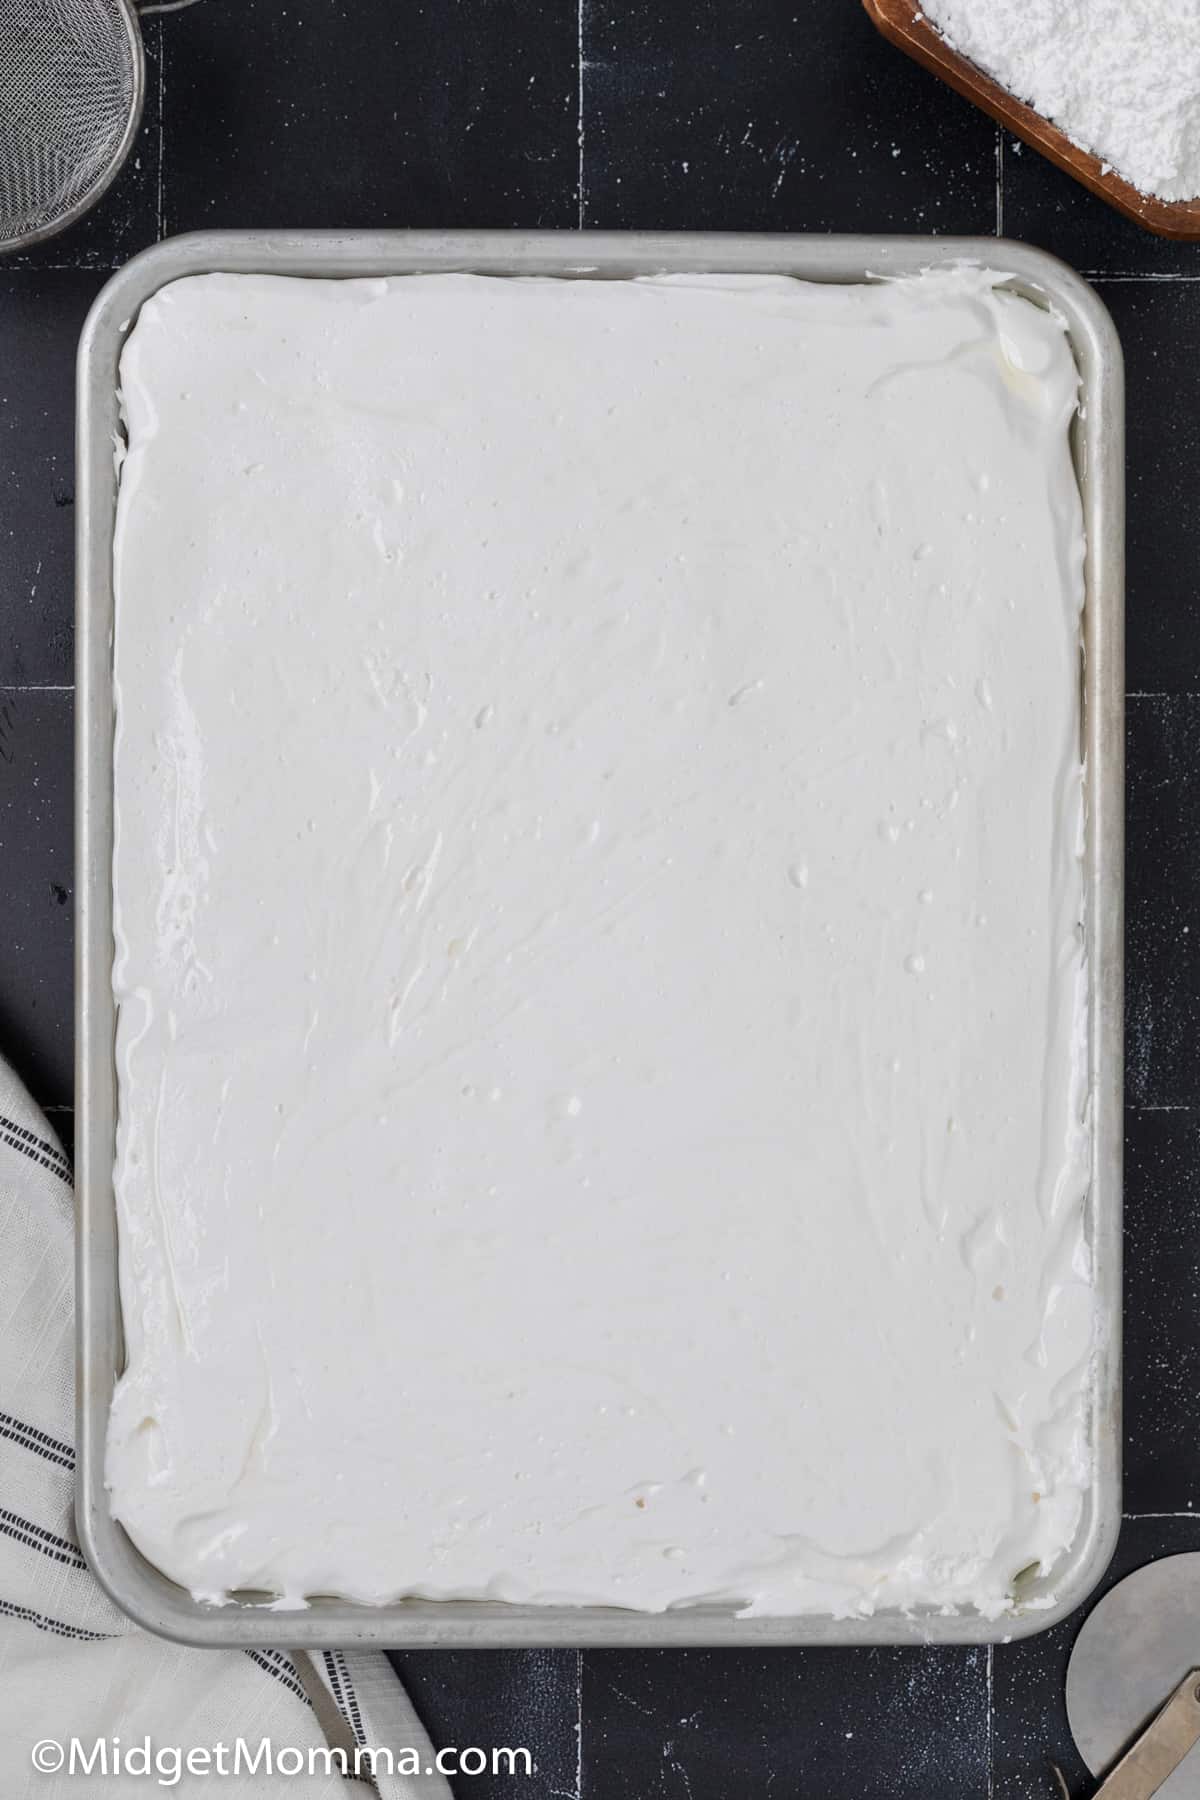
Rub the rubber spatula again with oil and pour the marshmallow mixture onto the sheet pan lined with parchment paper and spread evenly. Scrap any of the mixture out of the mixing bowl.
Get another piece of parchment paper and spread oil on one side, then place the oil side down on top of the marshmallow mixture.
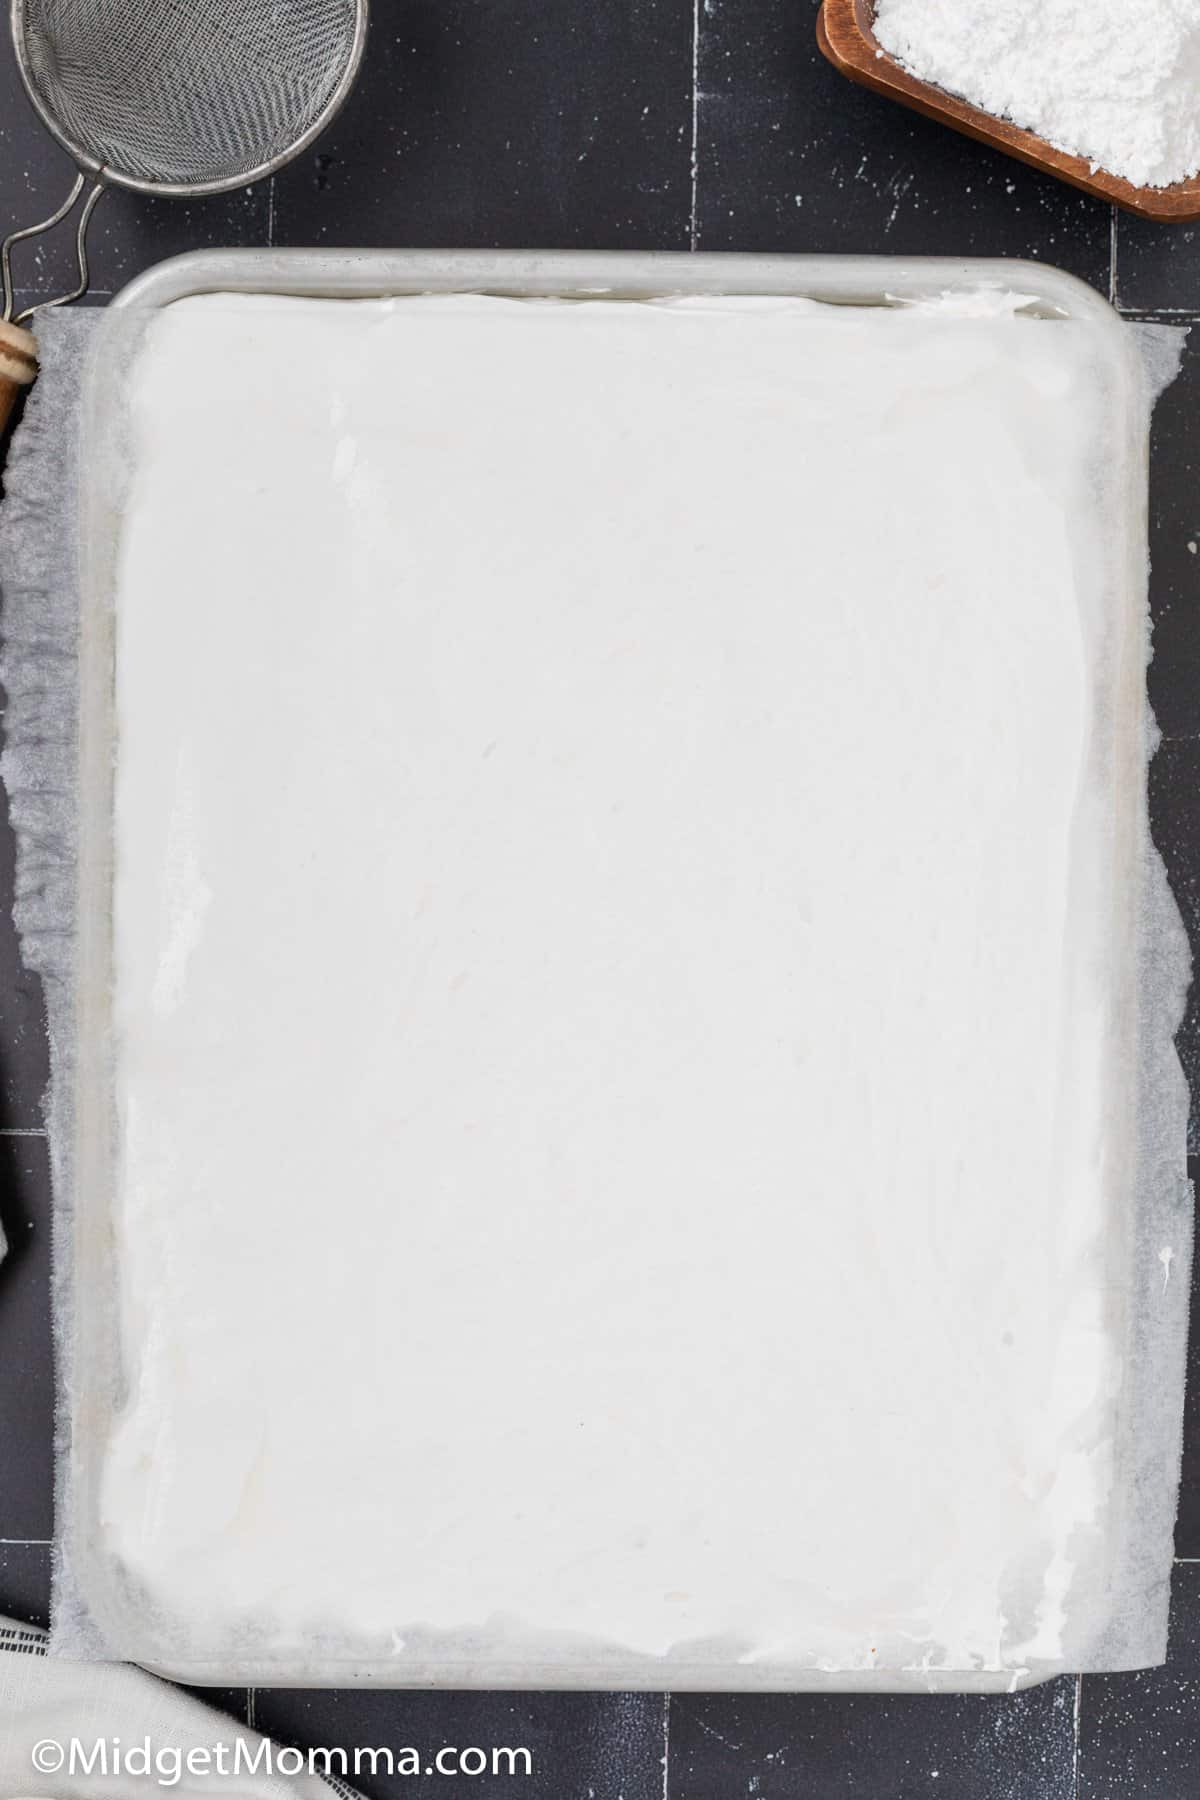
Let the marshmallow mixture sit for at least 2 hours. You want the marshmallows to firm up, depending on the temperature in your house it might take a little longer for the marshmallows to set.
Remove the homemade marshmallow slab from the pan.
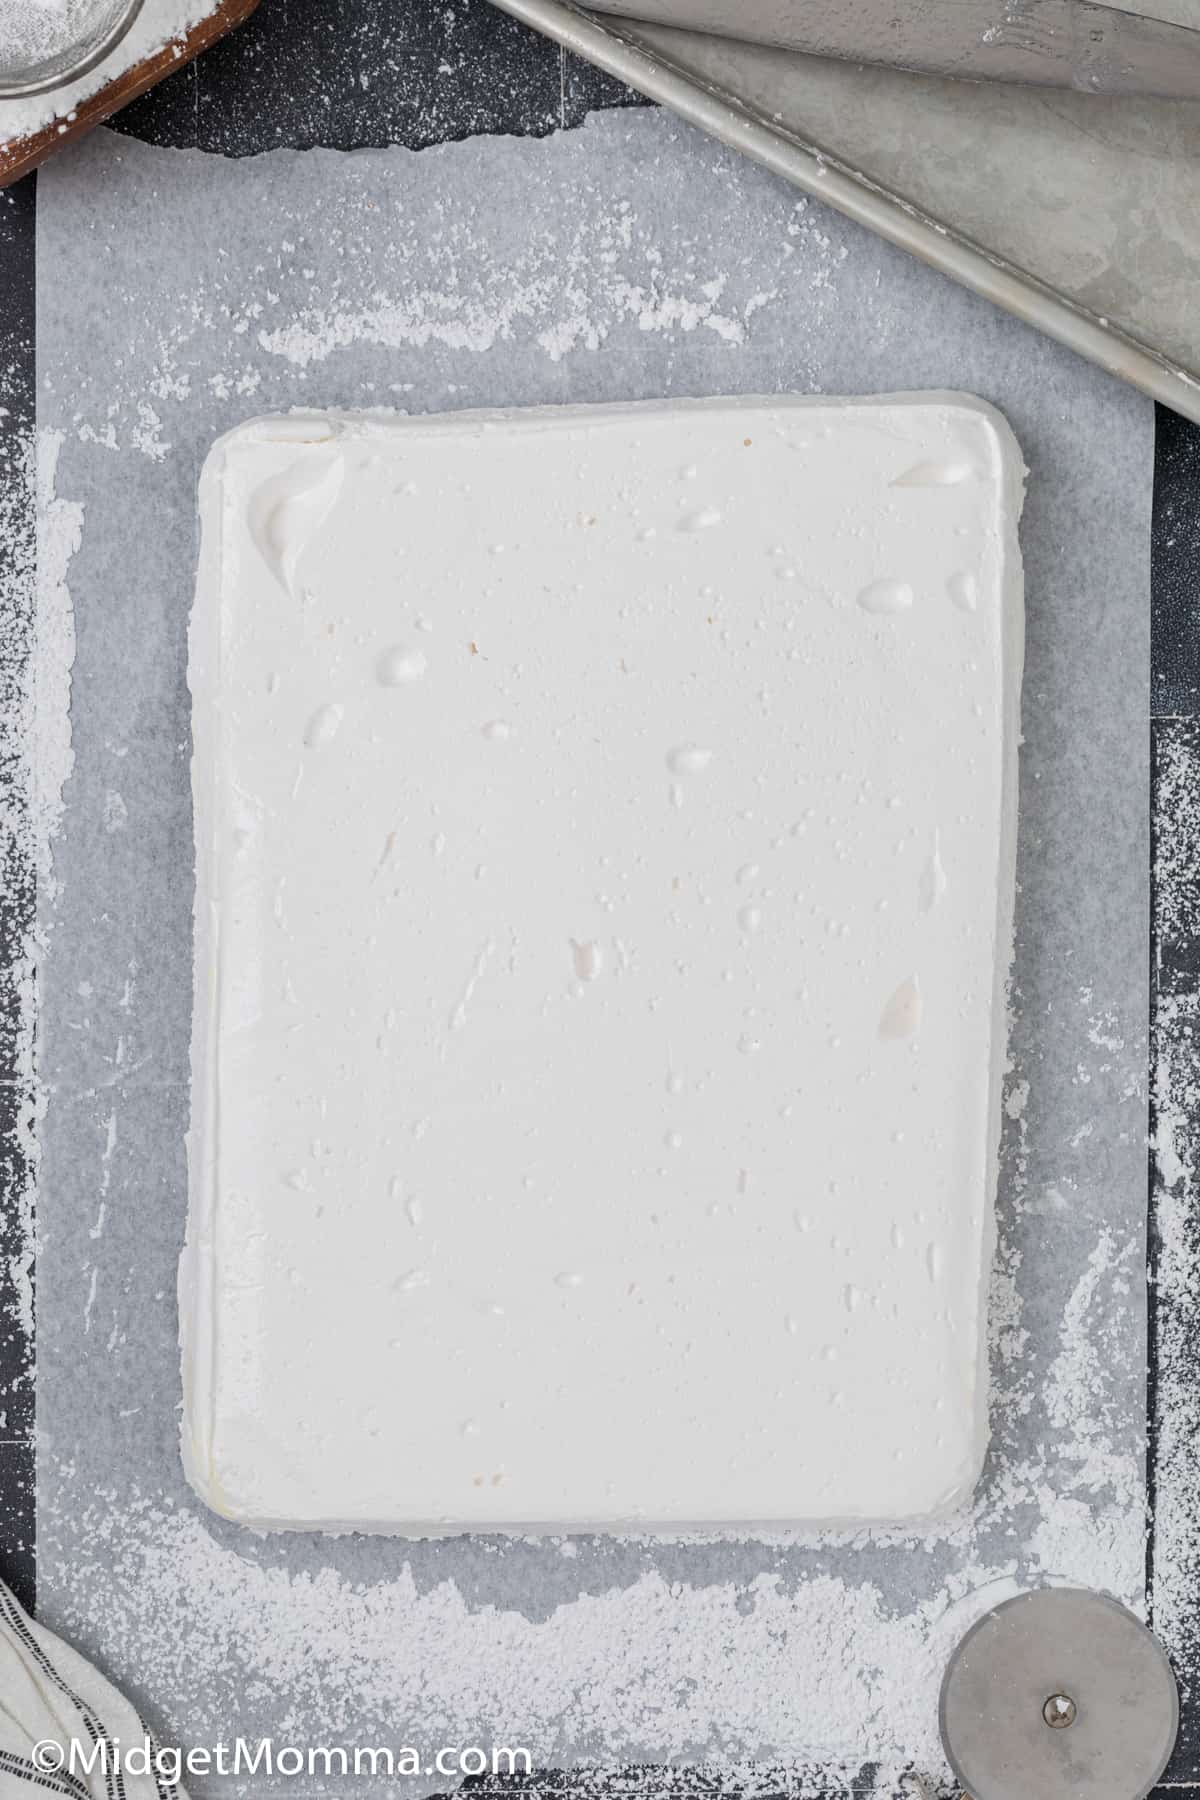
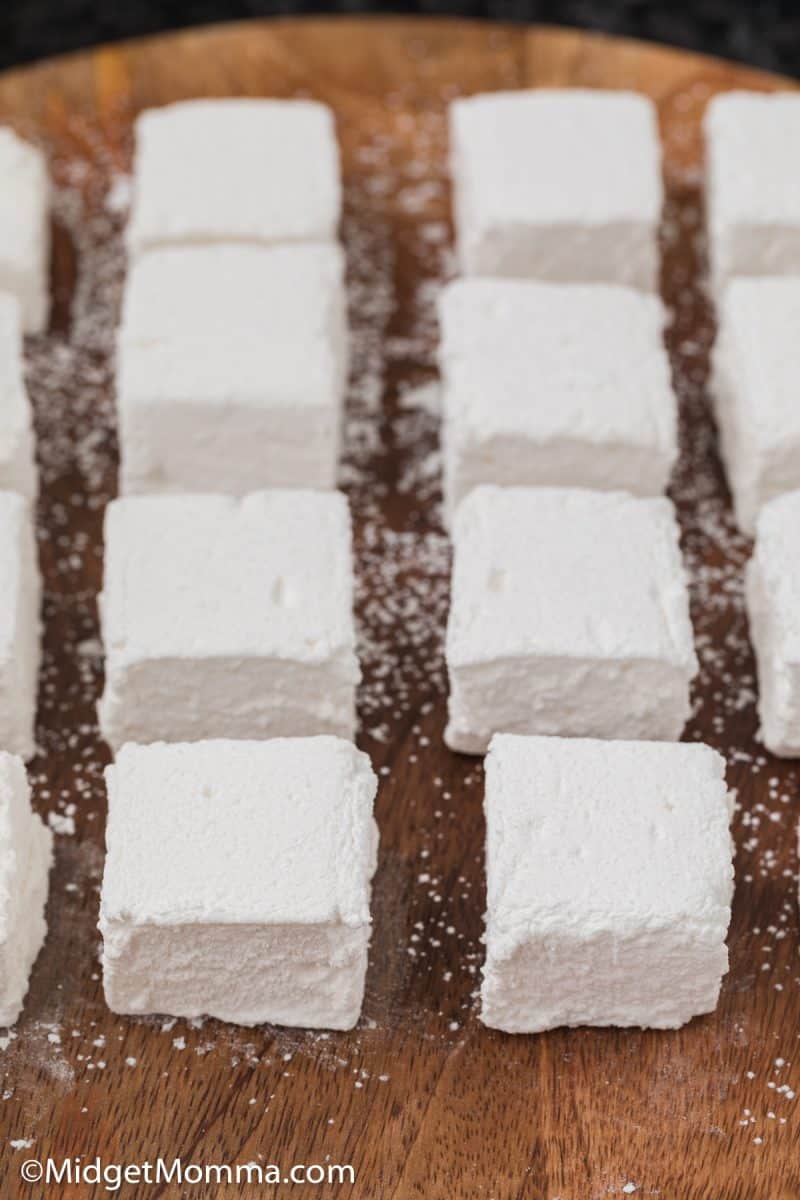
Dredge (which means to cover the whole thing) the marshmallow slab with confectioners’ sugar. You only want a light coating of confectioners’ sugar on the top of them.
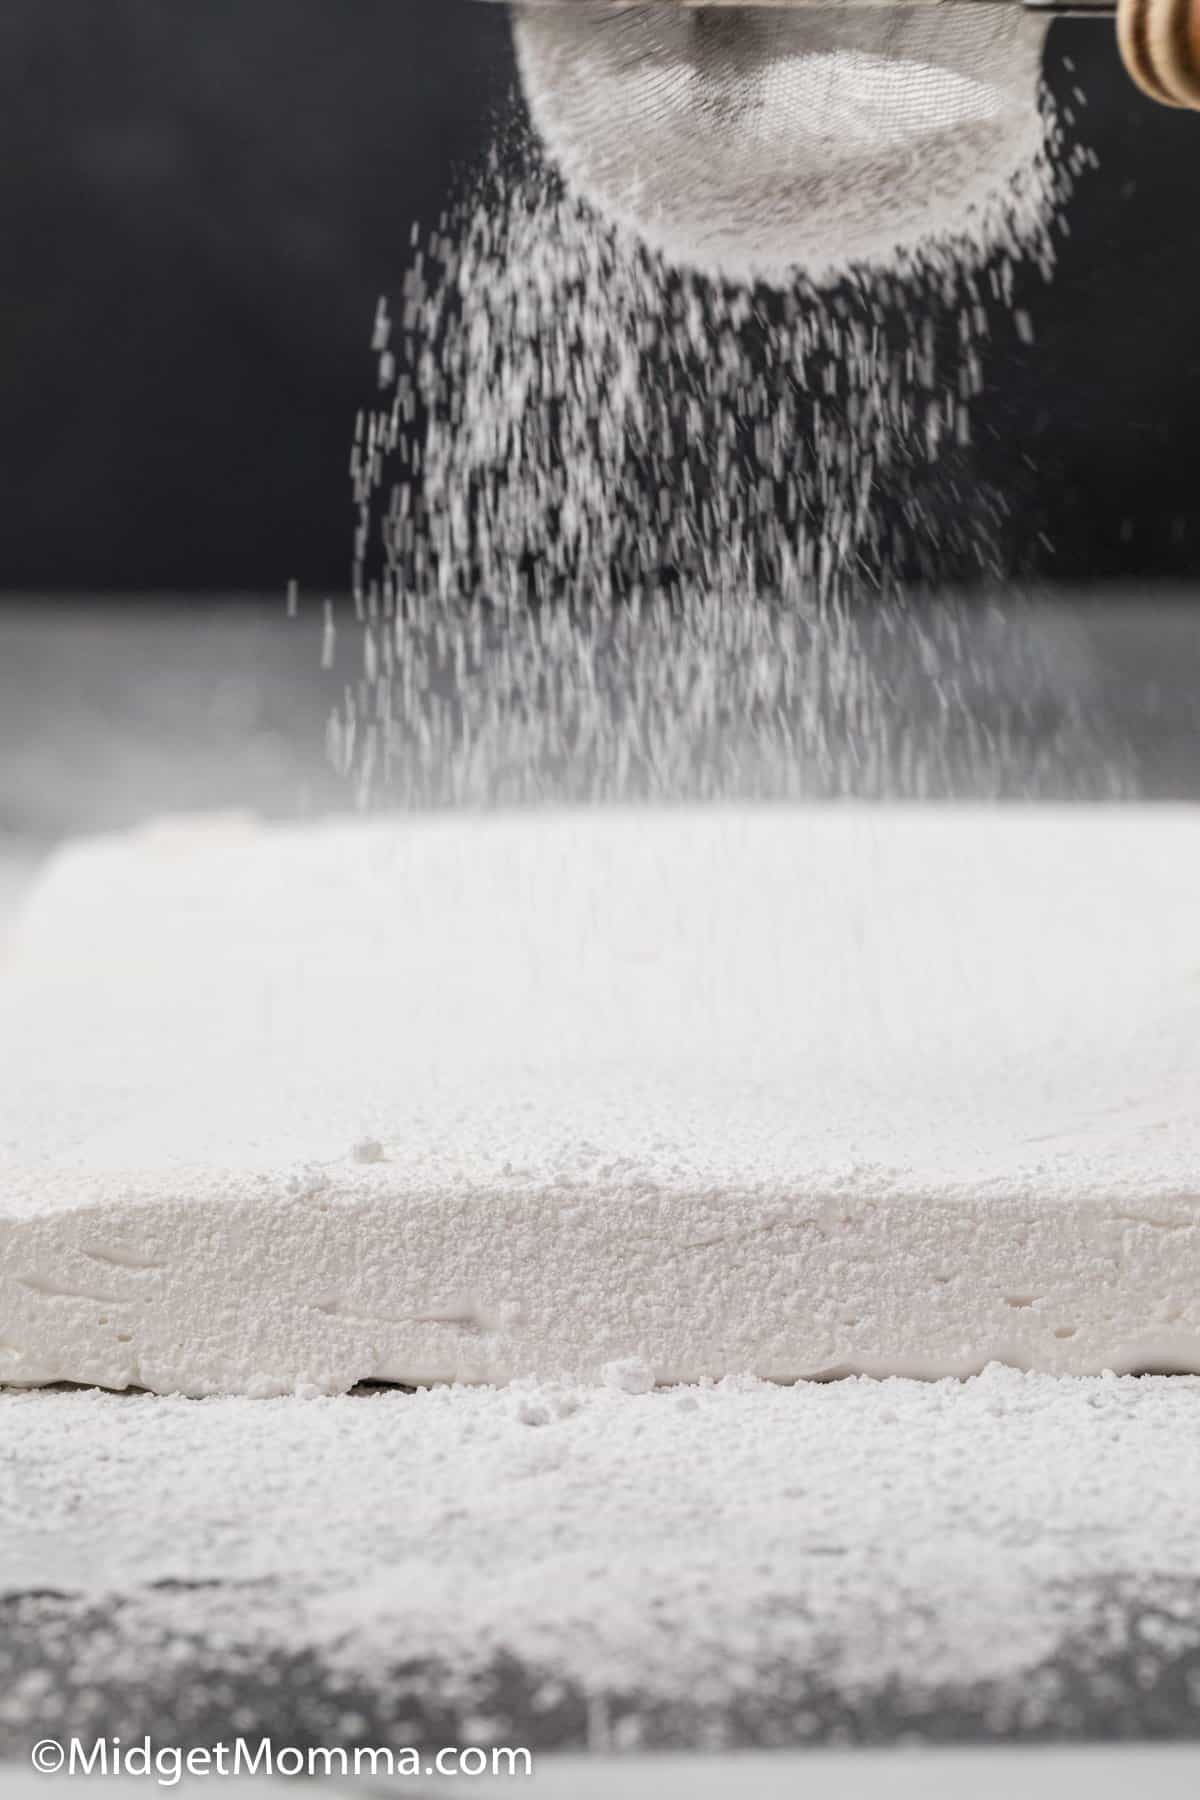
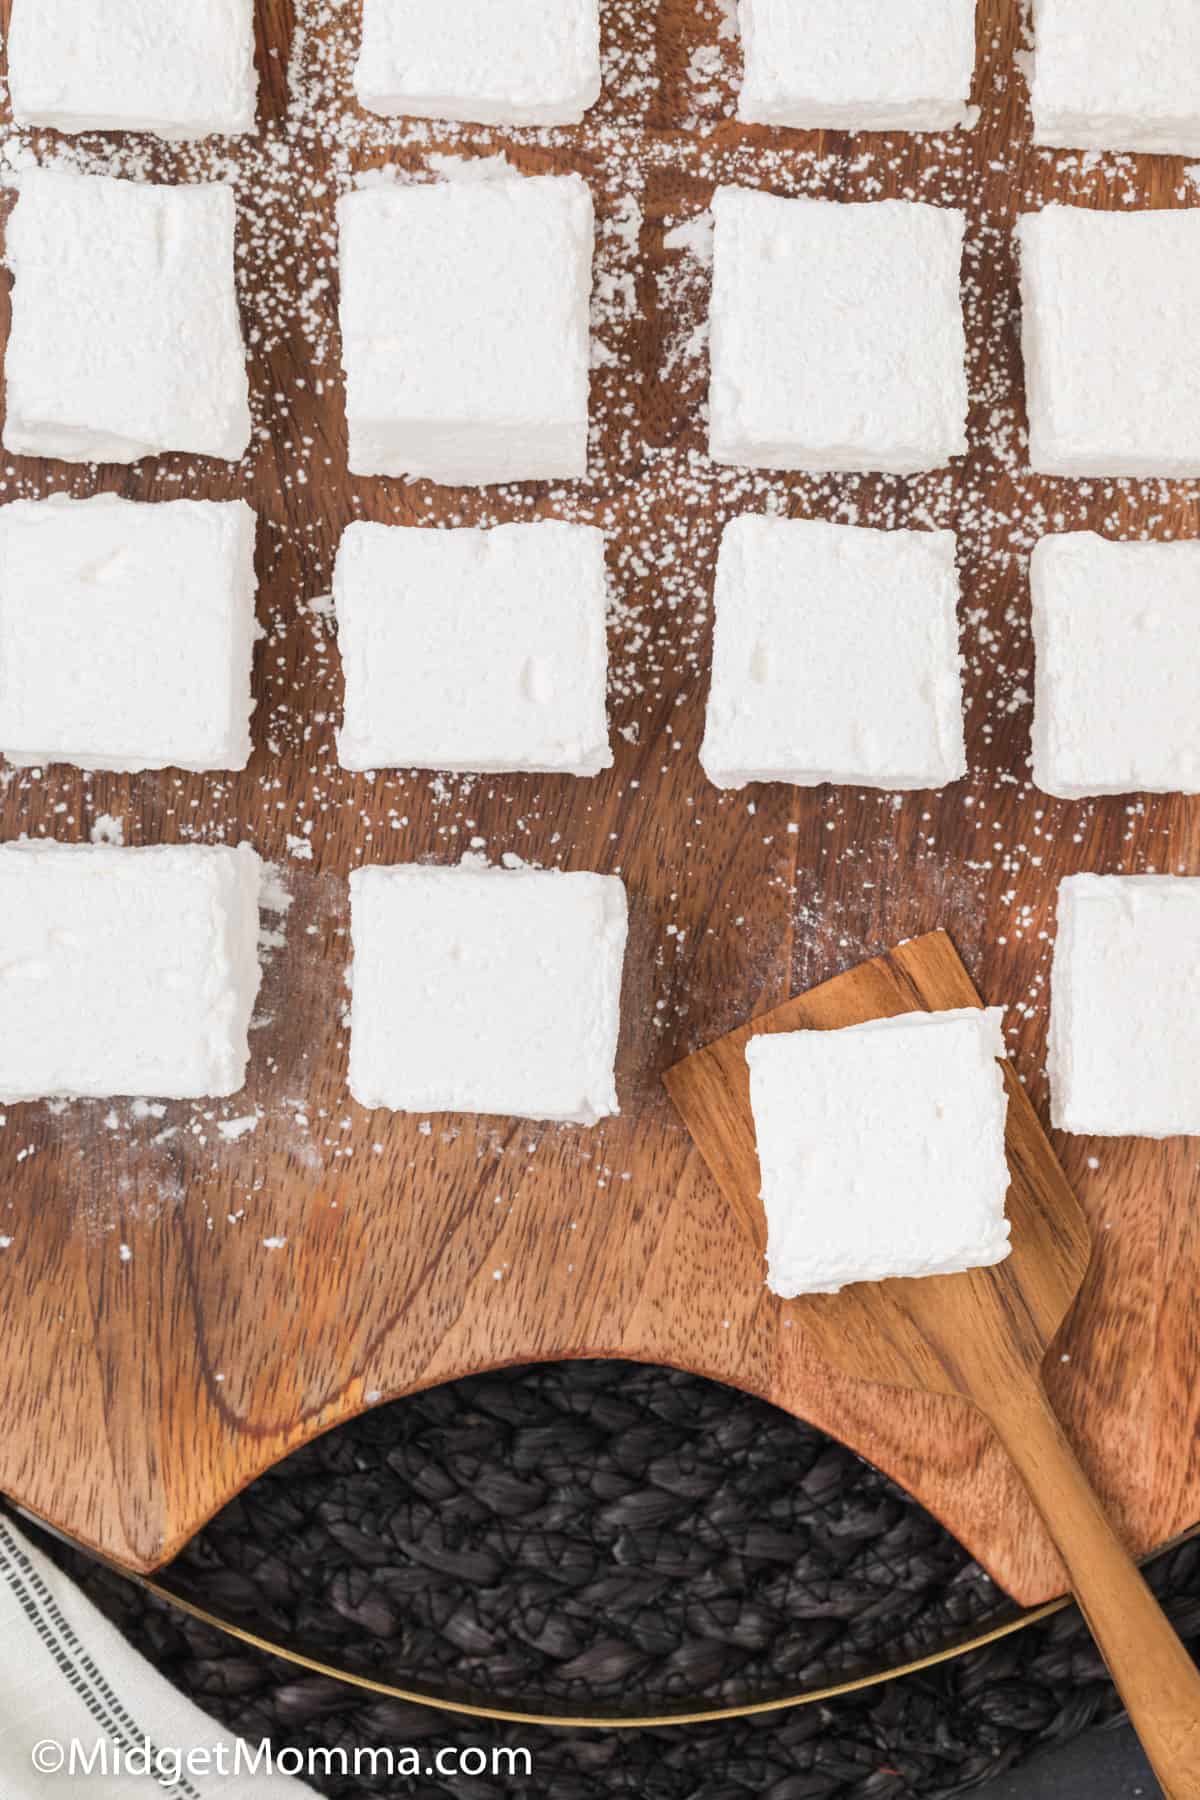
Cut marshmallows into equal pieces with a pizza wheel or a large sharp knife, you can make them any size you want to.
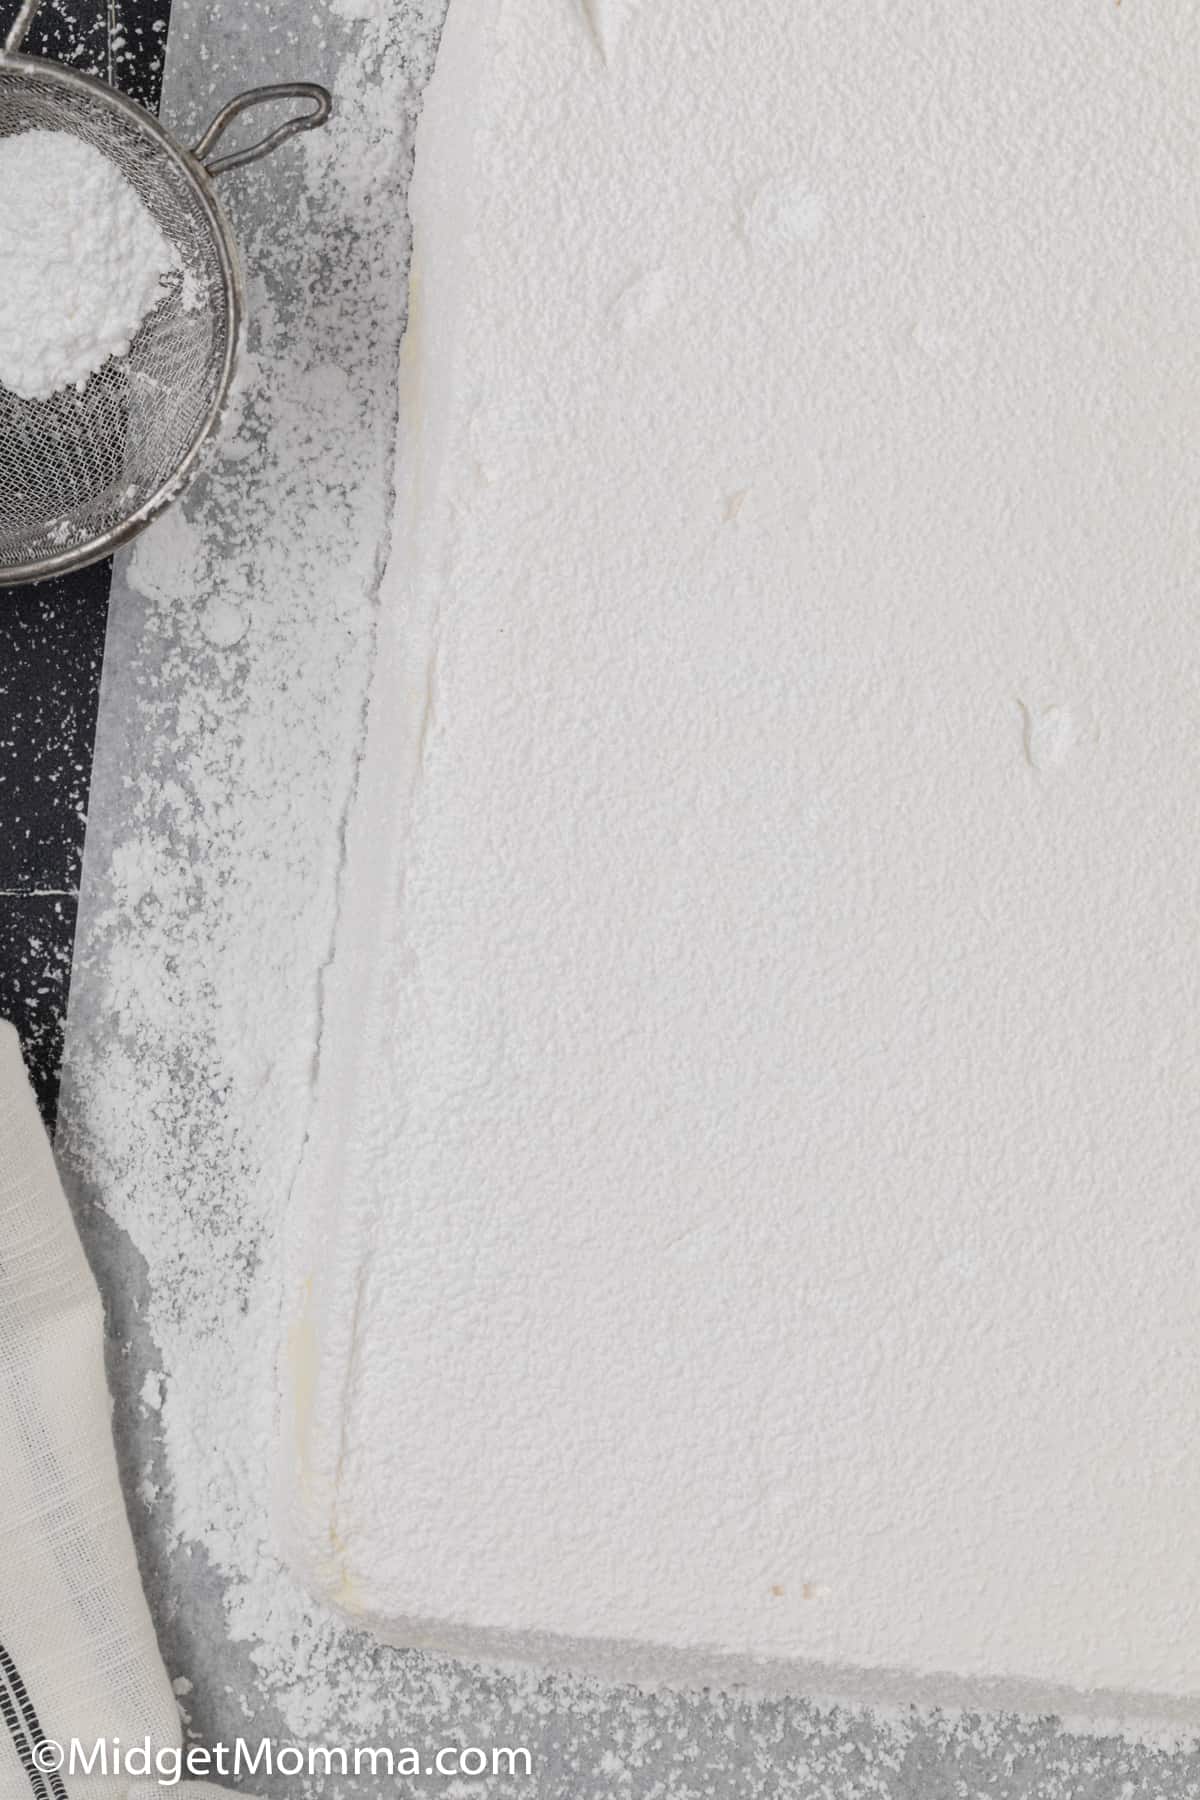
Dredge each piece of marshmallow in powdered sugar again lightly.
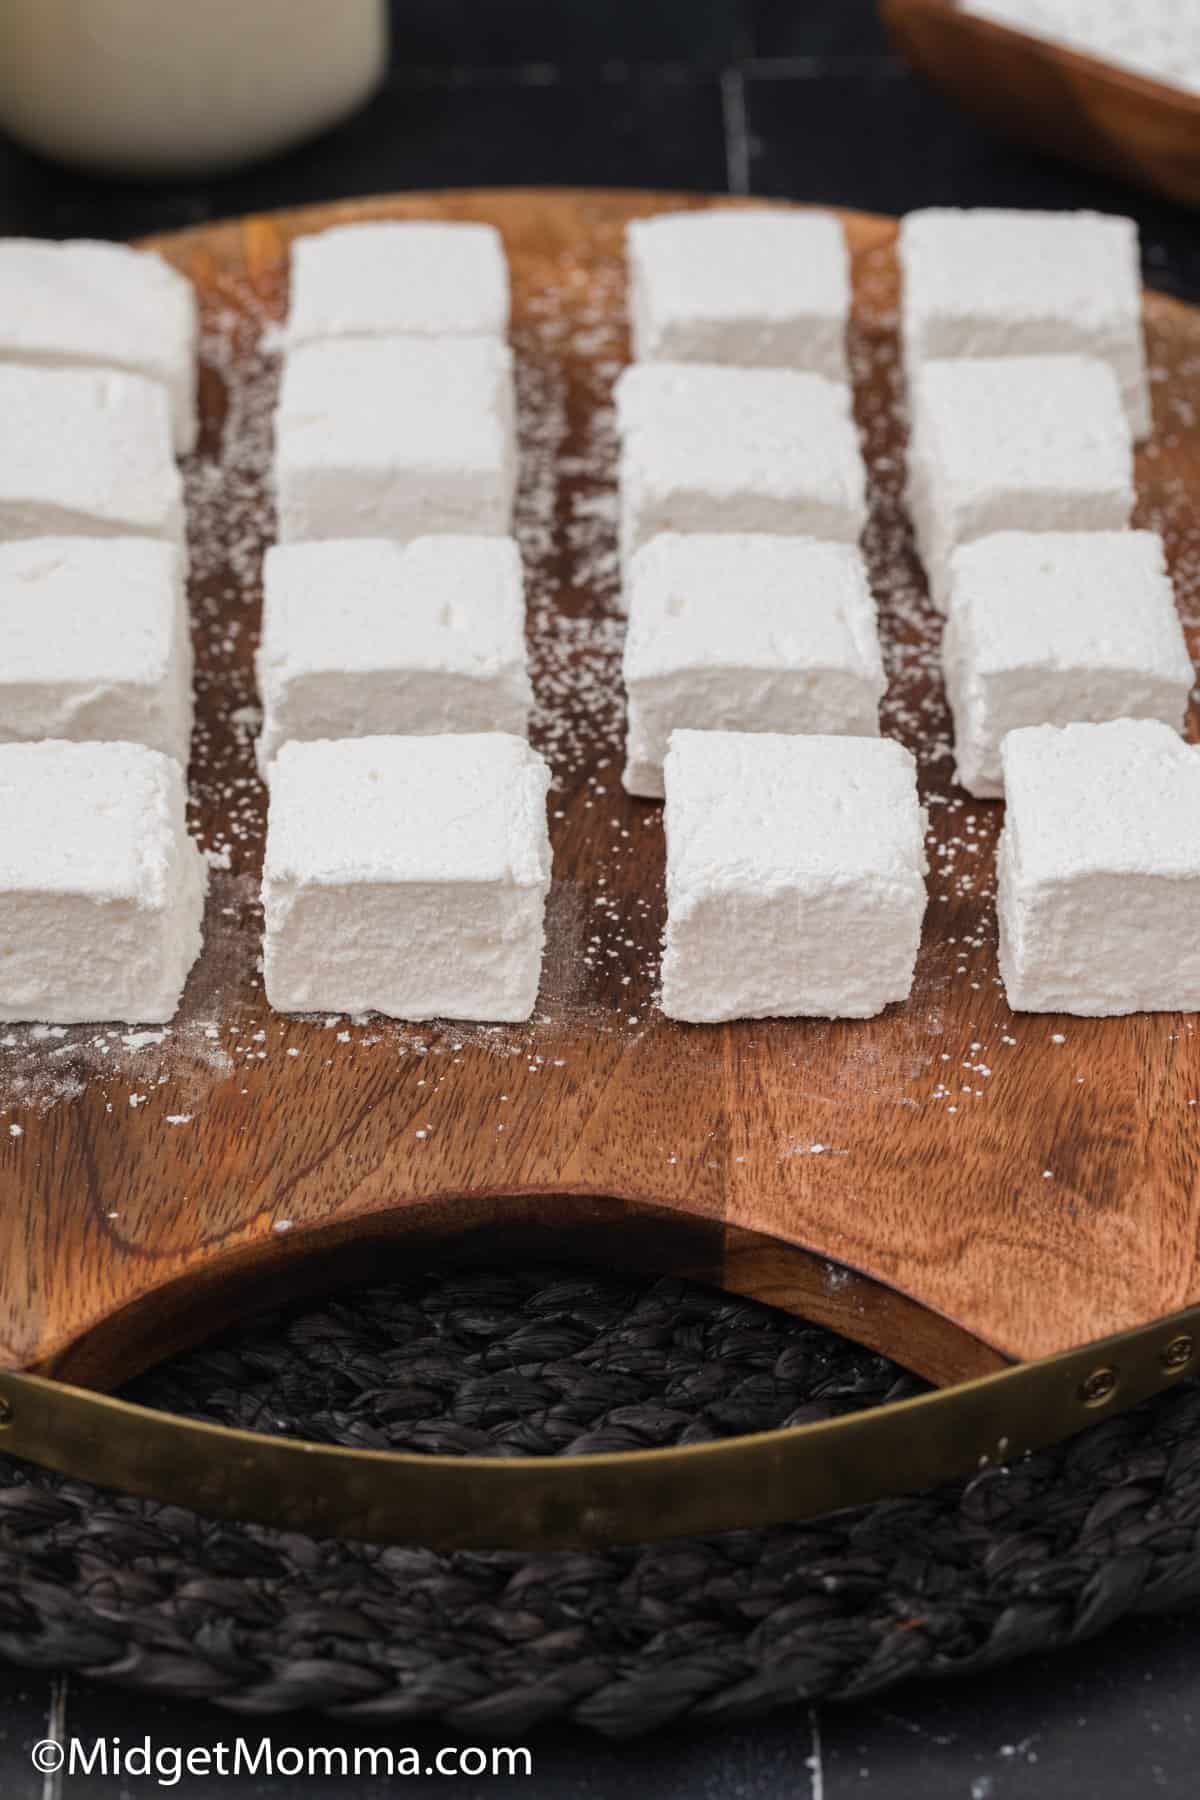
Store in an air tight container or eat right away because they are so good you are going to want to!
If you love marshmallows make sure you check out these other Marshmallow Recipes!
- Homemade Marshmallow Fluff
- Marshmallow Buttercream Frosting
- S’Mores Cake {Made with Homemade Graham Cracker Cake, Ganache & Marshmallow Fluff}
- Chocolate Covered Peeps
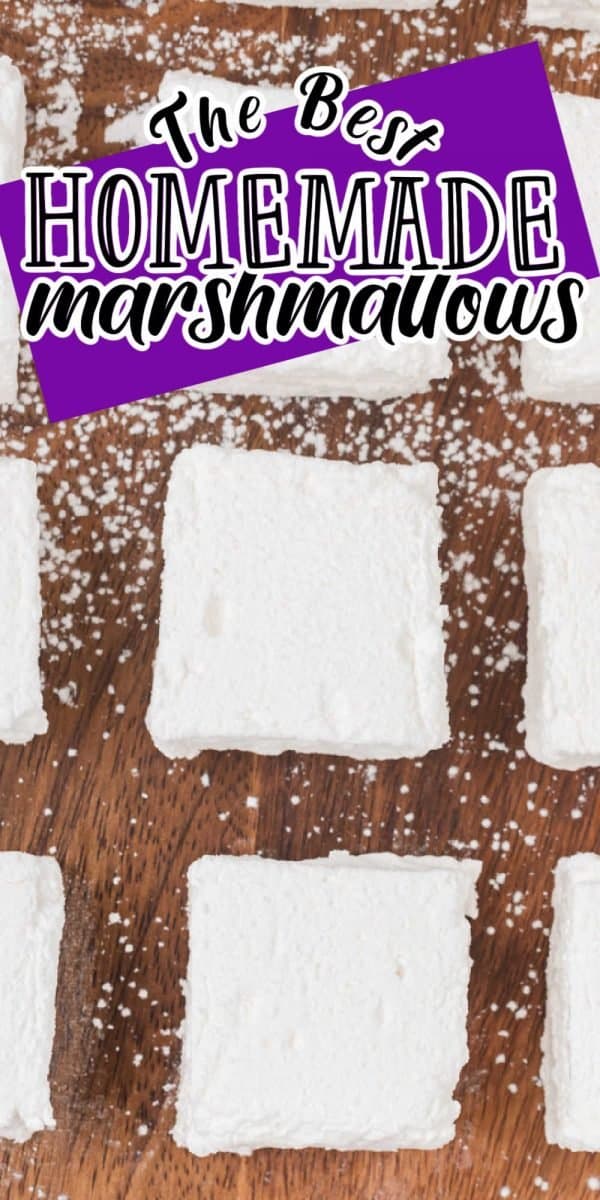
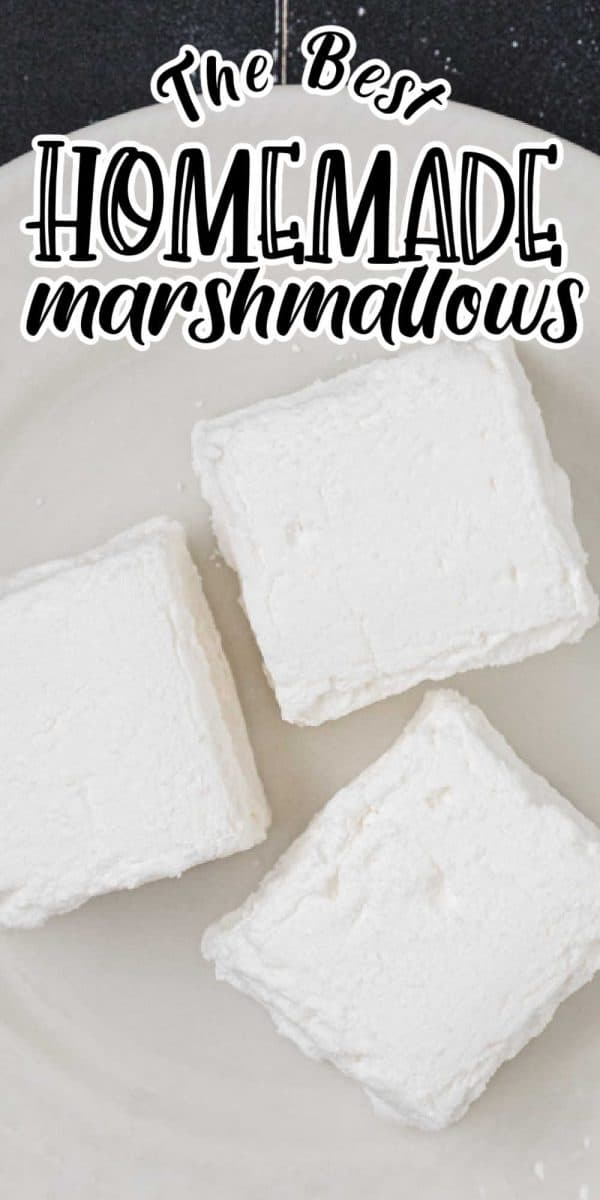
Homemade Marshmallows
Ingredients
- 3 envelopes of Knox gelatin
- 1/2 cup cold water
- 2 cups granulated sugar
- 2/3 cups corn syrup
- 1/4 cup water
- 1/4 teaspoon salt
- 1 tablespoon vanilla extract
- Powdered sugar for dredging
- cooking oil
Instructions
- Line your baking sheet with parchment paper.
- Get out your electric mixer and the bowl of your stand mixer. Set it up with the whisk attachment. In the bowl of an electric mixer add in the cold water. Then sprinkle gelatin on top of the cold water.
- Let the gelatin sit and soak for 10 minutes.
- In a small saucepan, combine sugar, corn syrup, and 1/4 cup water and heat over medium heat. Bring the mixture to a boil and let it boil for 1 minute.
- Once the sugar syrup mixture is done, pour the boiling sugar syrup into the gelatin mixture in your electric mixer. Turn the mixter speed to high speed and carefully add in the salt.
- Allow the mixture to beat on high speed for 12 minutes.
- After 12 minutes add in the vanilla extract and turn th mixere to medium-low speed and mix just to incorporate it into the mixture.
- Use a spatula to spread a little bit of cooking oil onto the parchment paper and you will want to add some to the side of the pan you are using. This will prevent the marshmallow mixture from sticking to it.
- Rub the rubber spatula again with oil and pour the marshmallow mixture onto the sheet pan lined with parchment paper and spread evenly. Scrap any of the mixture out of the mixing bowl.
- Get another piece of parchment paper and spread oil on one side, then place the oil side down on top of the marshmallow mixture.
- Let the marshmallow mixture sit for at least 2 hours. You want the marshmallows to firm up, depending on the temperature in your house it might take a little longer for the marshmallows to set.
- Remove the homemade marshmallow slab from the pan.
- Dredge (which means to cover the whole thing) the marshmallow slab with confectioners’ sugar. You only want a light coating of confectioners’ sugar on the top of them.
- Cut marshmallows into equal pieces with a pizza wheel or a large sharp knife, you can make them any size you want to.
- Dredge each piece of marshmallow in powdered sugar again lightly.
Video
More Recipes you will love
- How to Make Chocolate Covered Oreo Cookies
- Strawberry Meringue Cookies
- Best Homemade Pie Crust Recipe


Comments & Reviews
FIONA NICHOLSON says
Hi I just made your m arshmallows they were amazing now making a second batch try streawberry ones this time Thanks so much for sharing the recipe, I will keep looking too see what else you have made Thanks again Fiona from Scotland.
Madalene says
This recipe was so simple and completely amazing! Best tasting marshmallows I have ever had hands down!
Jeannette says
Wow! I am so impressed by myself!! Who knew I would be able to make marshmallows?! These are amazing. You are so right; there’s no way I want to go back to the kind you find in the grocery store. I do have one question dealing with that statement: Can I use these to make Rice Krispie Treats? Thank you very very much for putting these on your blog and your wonderfully clear directions using words and pictures.
Deidra says
Just made these and they are so amazing. Thank you for the amazing recipe!