Do you want to build a snow man? Well with this Olaf shirt you are able to build your own snowman shirt. I want to find something for my son to wear when my daughter was wearing her Elsa dress at Disney. The problem was he is only wear size 12 months. All the Olaf stuff in his size was tacky like the one shirt that had glitter on it. I knew my husband would never go for that shirt on our son.
I decided to stop looking for shirts and to make his shirt with thing I already had in my craft closet. This DIY Olaf shirt is very simple and I was done with it in only 15 minutes!
I found him these cute blue plaid shorts to go with it to add a pop of color. This design can be done on any size shirt you will just need to blow up the image larger to fit the shirt which can be done using using word.
This Olaf print off is already the perfect size for a oneies. The print off I used for Olafs head is found here
 DIY Painted Olaf Shirt
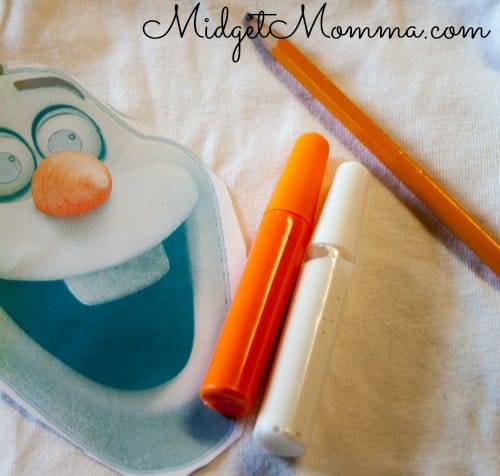
Supplies for DIY Painted Olaf Shirt
- White oneies or shirt
- White, black, and orange fabric paint (I used puff paint)
- Pencil
- Olaf face print out
- Small piece of cardboard
Directions for DIY Painted Olaf Shirt
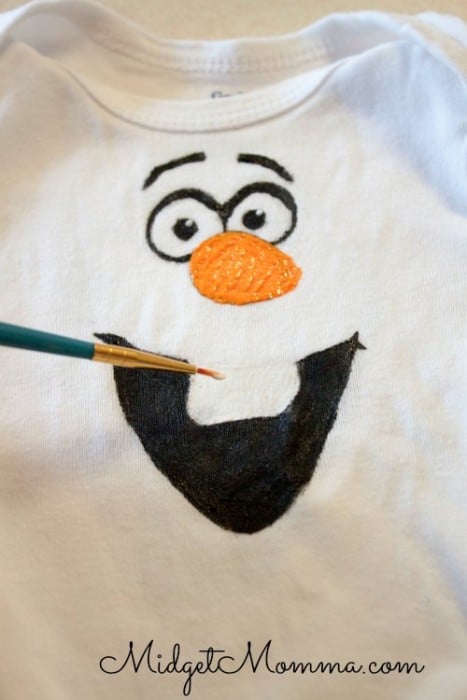
Print out the Olaf picture here. Then cut out Olaf’s face from the print off. Place the paper face in between the shirt towards the top.
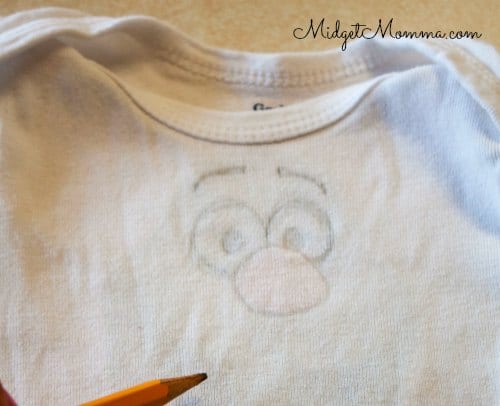
Using your pencil trace the outlines of his eyes, eye brows, noes and mouth. Place the cardboard in between the shirt to prevent and bleeding.
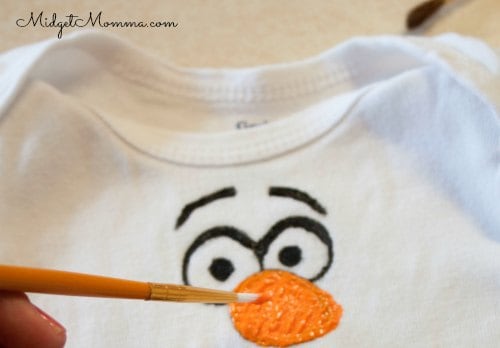
With your fabric paint, paint his eye brows and eyes black. Using the orange paint, paint on his nose. With the white paint, paint in his buck teeth. With the black paint, paint in mouth.
Carefully add a white dot to the center of each eye ball. Let it dry completely before moving it.
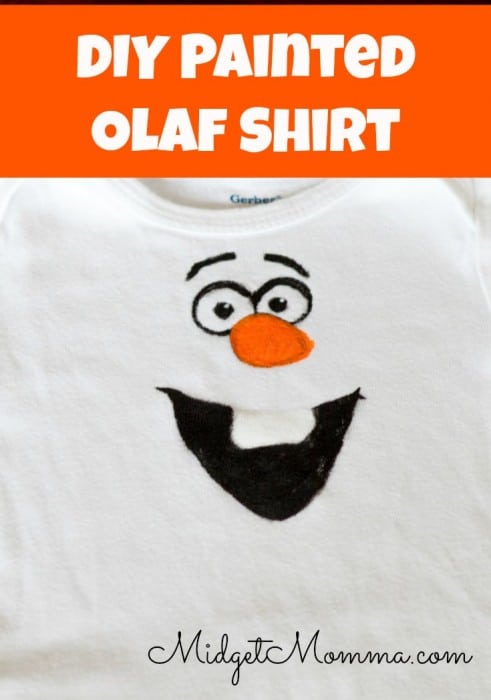
 DIY Painted Olaf Shirt


Follow Us For More!
Be sure to share your review in the comments below and follow us on Pinterest, Facebook, Instagram or Tiktok for even more food + family fun!