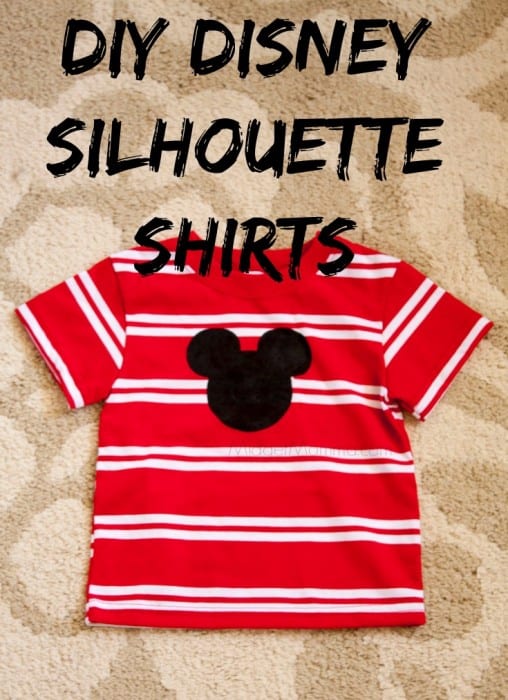
Out of all the my diy Disney shirt i have made this DIY Disney Silhouette Shirts method is my favorite method. It used freezer paper as a stencil. Now you might be wondering what is freezer paper. It is found at your local grocery store with all the foil and zip top bags. Freezer paper has a plastic coating provides a barrier to air and moisture to protect the quality of your food in the freezer. But for this DIY it is great because with the heat from your iron will slight melt that plastic so it will stick to the shirt. You can use any Disney silhouette image you would like for your shirt. All you need to do is go to Google and search Disney silhouettes. When I print it I just chose a large or smaller number on the zoom in option on the print page depending what size your need for your shirt.
DIY Disney Silhouette Shirts
DIY Disney Silhouette Shirts Supplies
- Shirt
- Fabric paint
- Disney silhouette image
- Iron
- Foam brush
DIY Disney Silhouette Shirts Directions
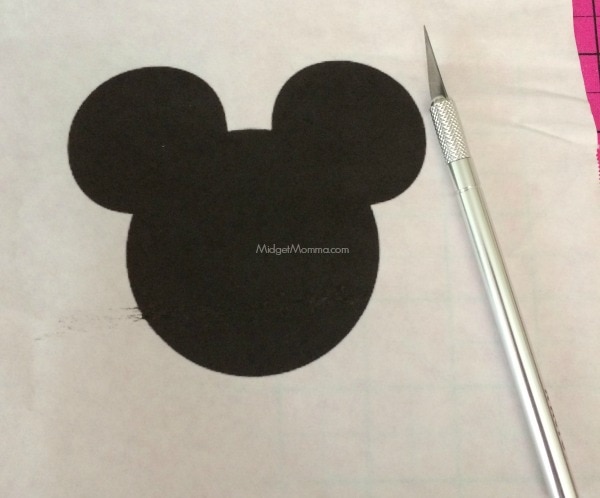
Print your image on the matte side of a piece of freezer paper. Cut all of the black parts of the image out using an X-Acto knife.
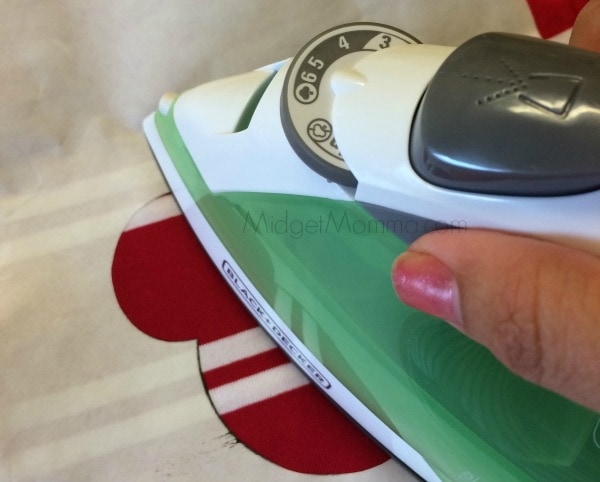
Place the stencil on your shirt, shiny side down, and iron in on. Put another piece of freezer paper inside the shirt to keep the paint from bleeding through.
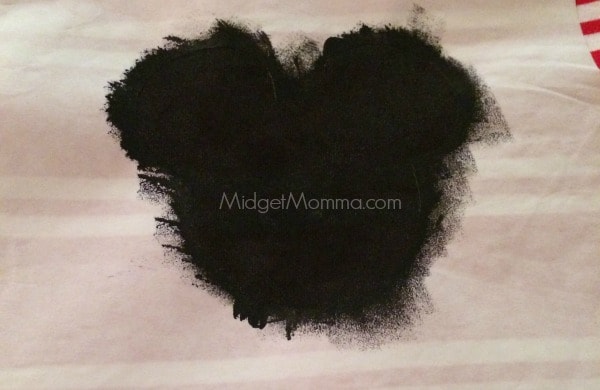
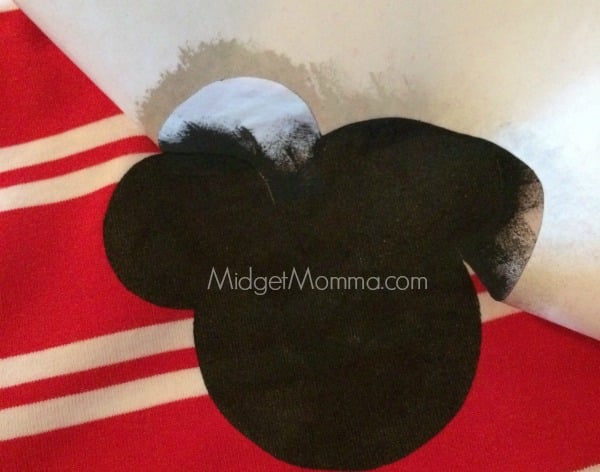
Using your foam dab the paint onto the shirt starting from the outside in. You don’t want to have to much paint on your brush it might case the paint to bleed under the stencil.
You want to make sure you use a dab motion not a painting motion. If you need to you can add a second coat once the first coat of paint dries.
Let the paint completely dry, than peel off the stencil. Follow the directions on your fabric paint on how to set the paint.


Follow Us For More!
Be sure to share your review in the comments below and follow us on Pinterest, Facebook, Instagram or Tiktok for even more food + family fun!